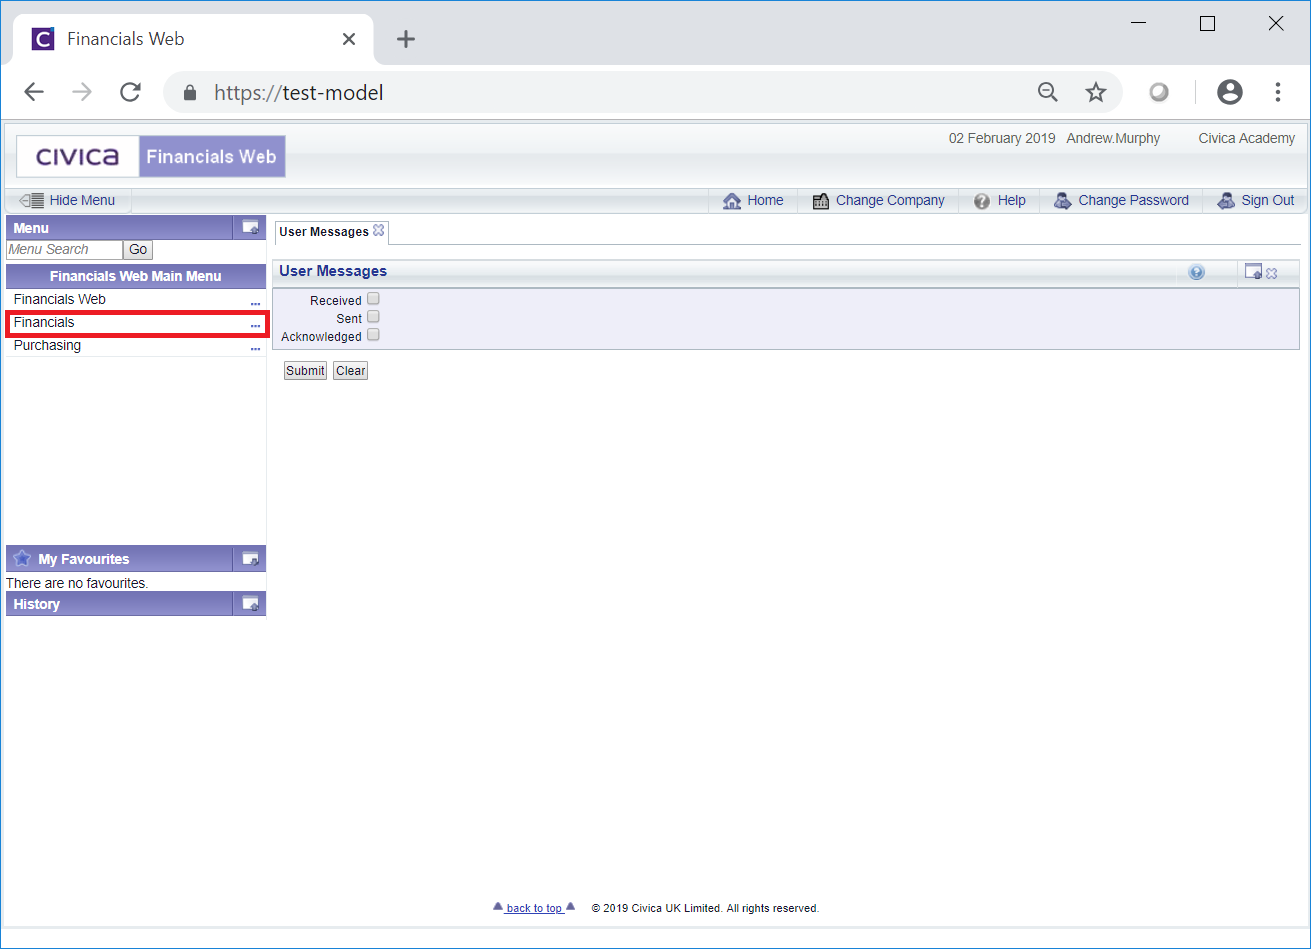
VAT Returns are created via the GL VAT Return Header form, which can be accessed by selecting the Financials option on the Financials Web Main Menu:
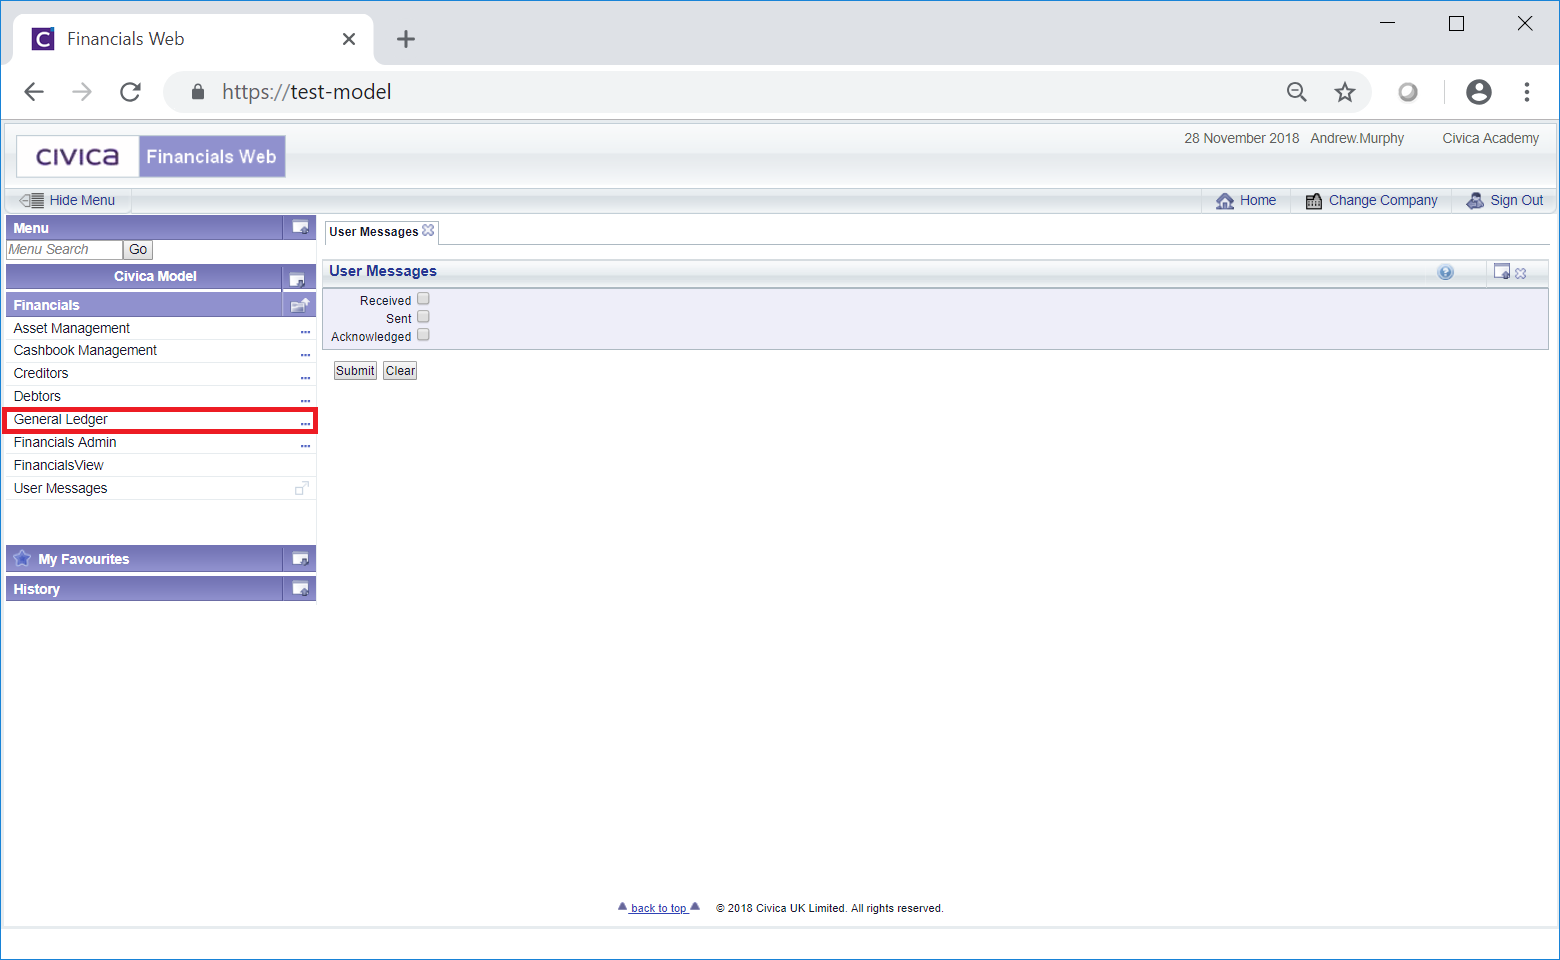
Then the General Ledger menu option:
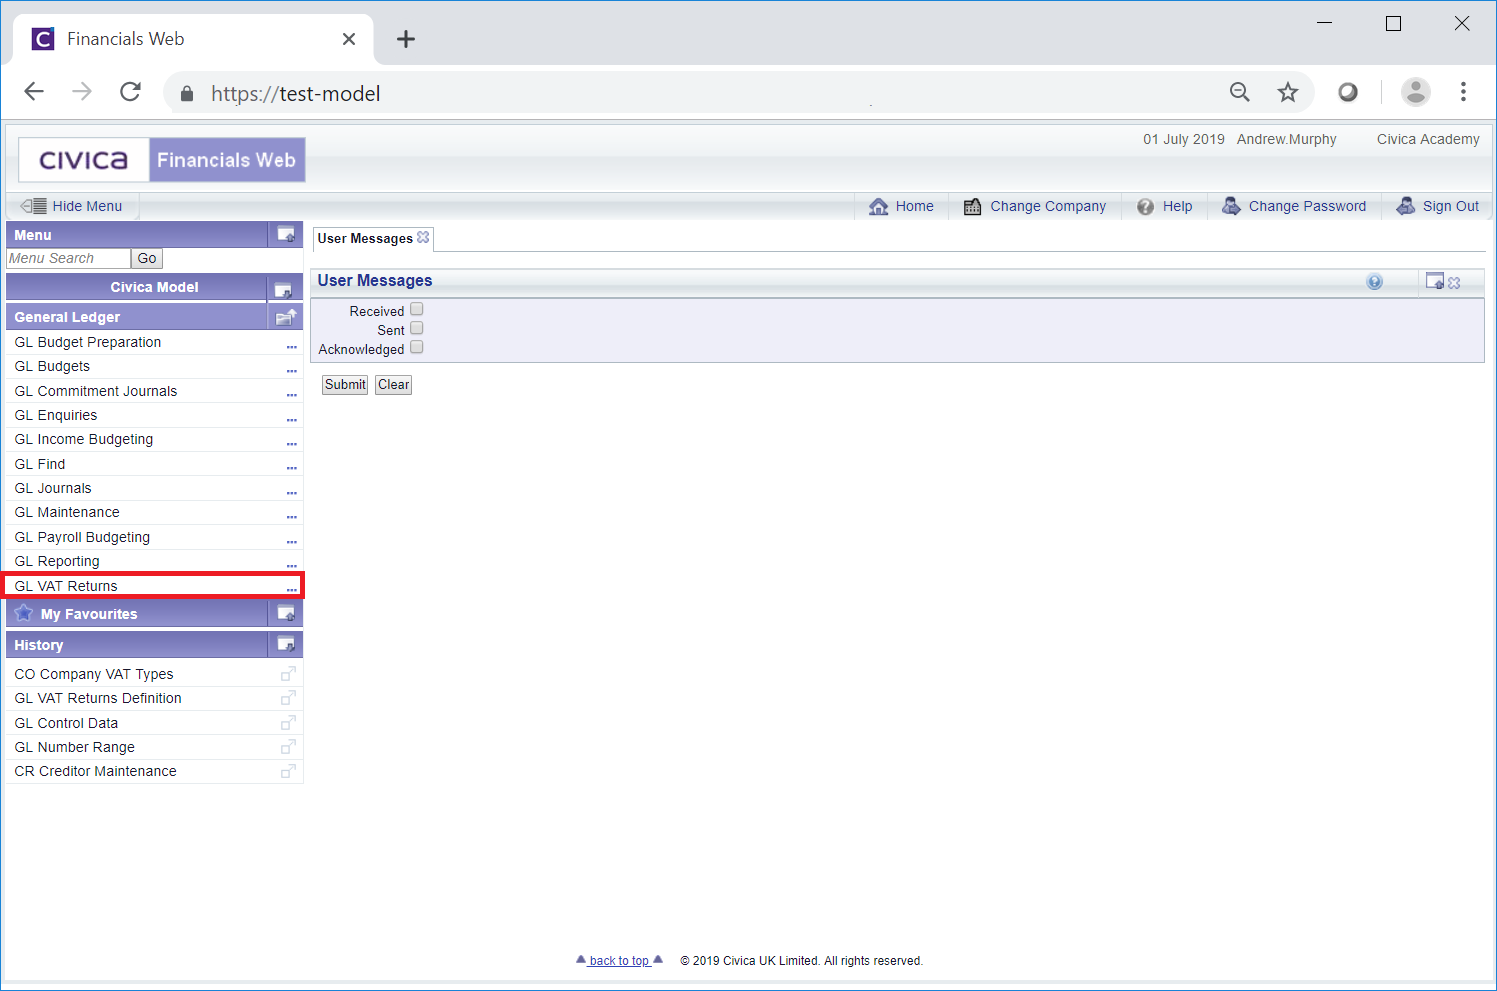
Then the GL VAT Returns menu option:
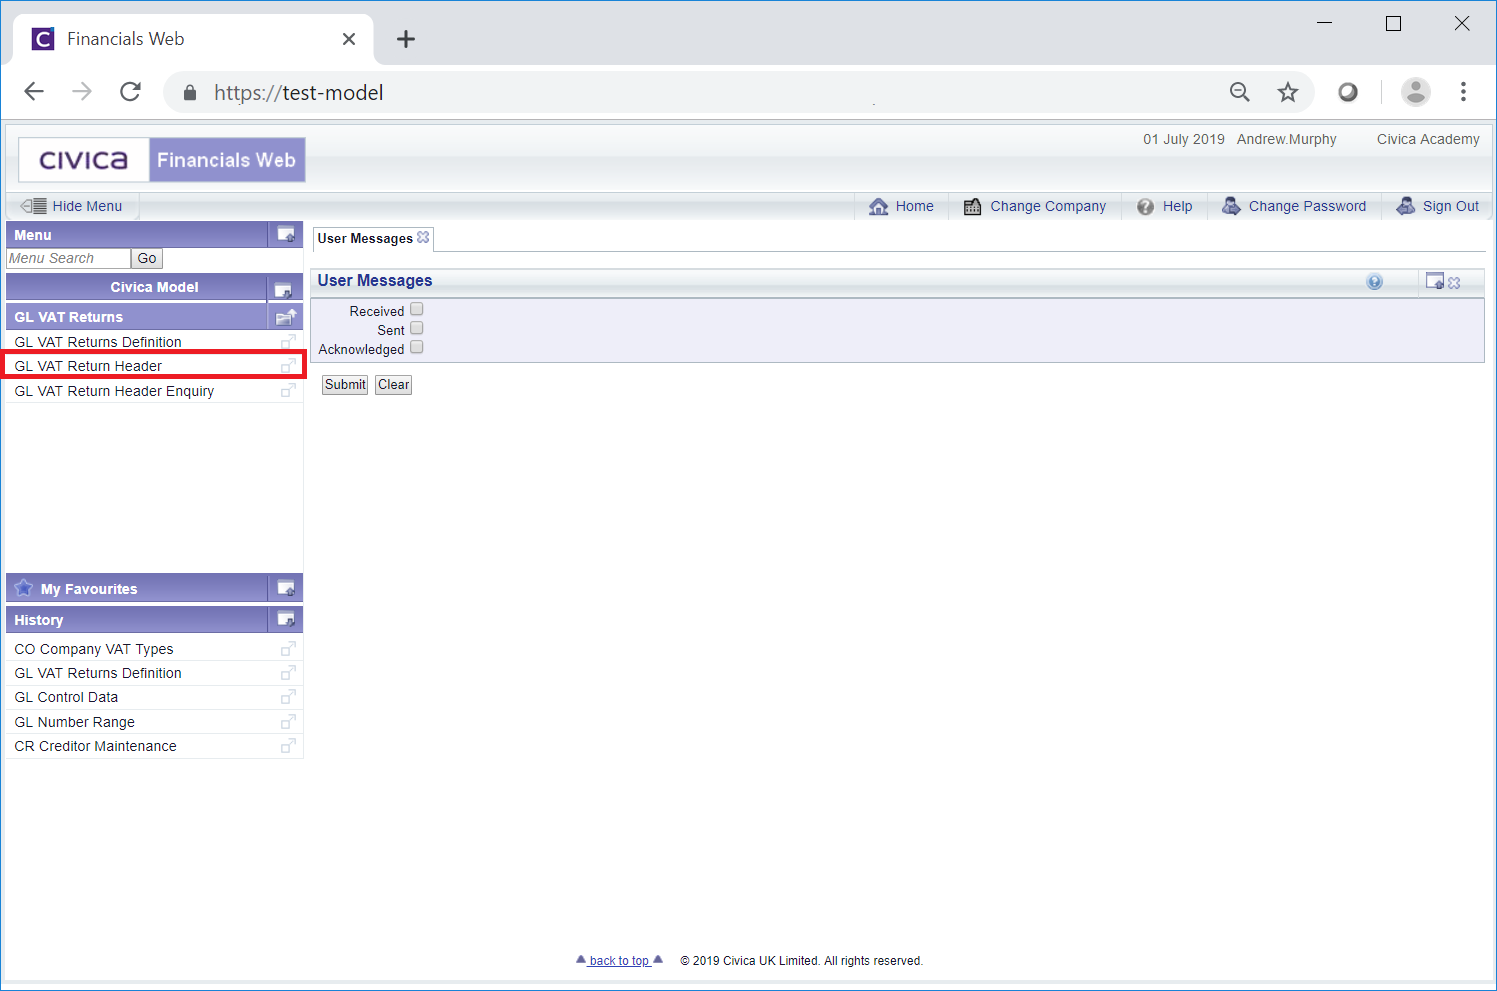
Then the GL VAT Return Header menu option:
The GL VAT Return Header form will open:

In the Definition Reference field, select the required VAT Return Definition and click on the ![]() button:
button:
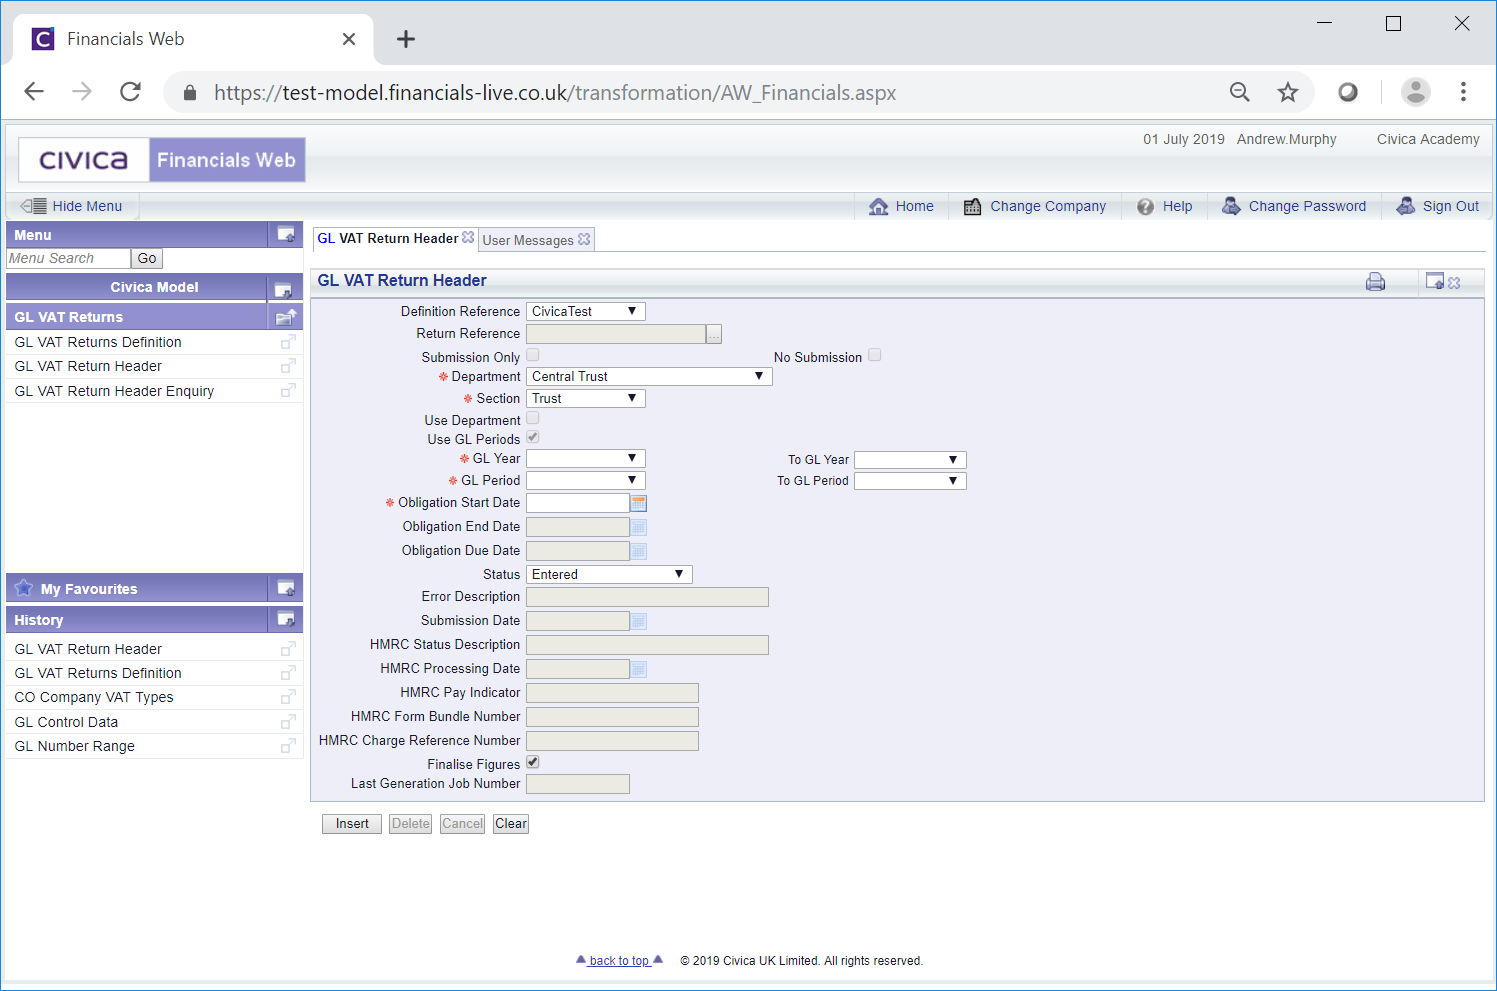
The following fields will be updated:
The following fields will need to be completed:
Ensure the following field is selected, if required:
Clicking on the ![]() button will clear all the fields and the initial GL VAT Return Header form will be displayed allowing you to create a new VAT Return or view an existing one.
button will clear all the fields and the initial GL VAT Return Header form will be displayed allowing you to create a new VAT Return or view an existing one.
Click on the ![]() button and further buttons and a Grid will be displayed at the bottom of the form:
button and further buttons and a Grid will be displayed at the bottom of the form:
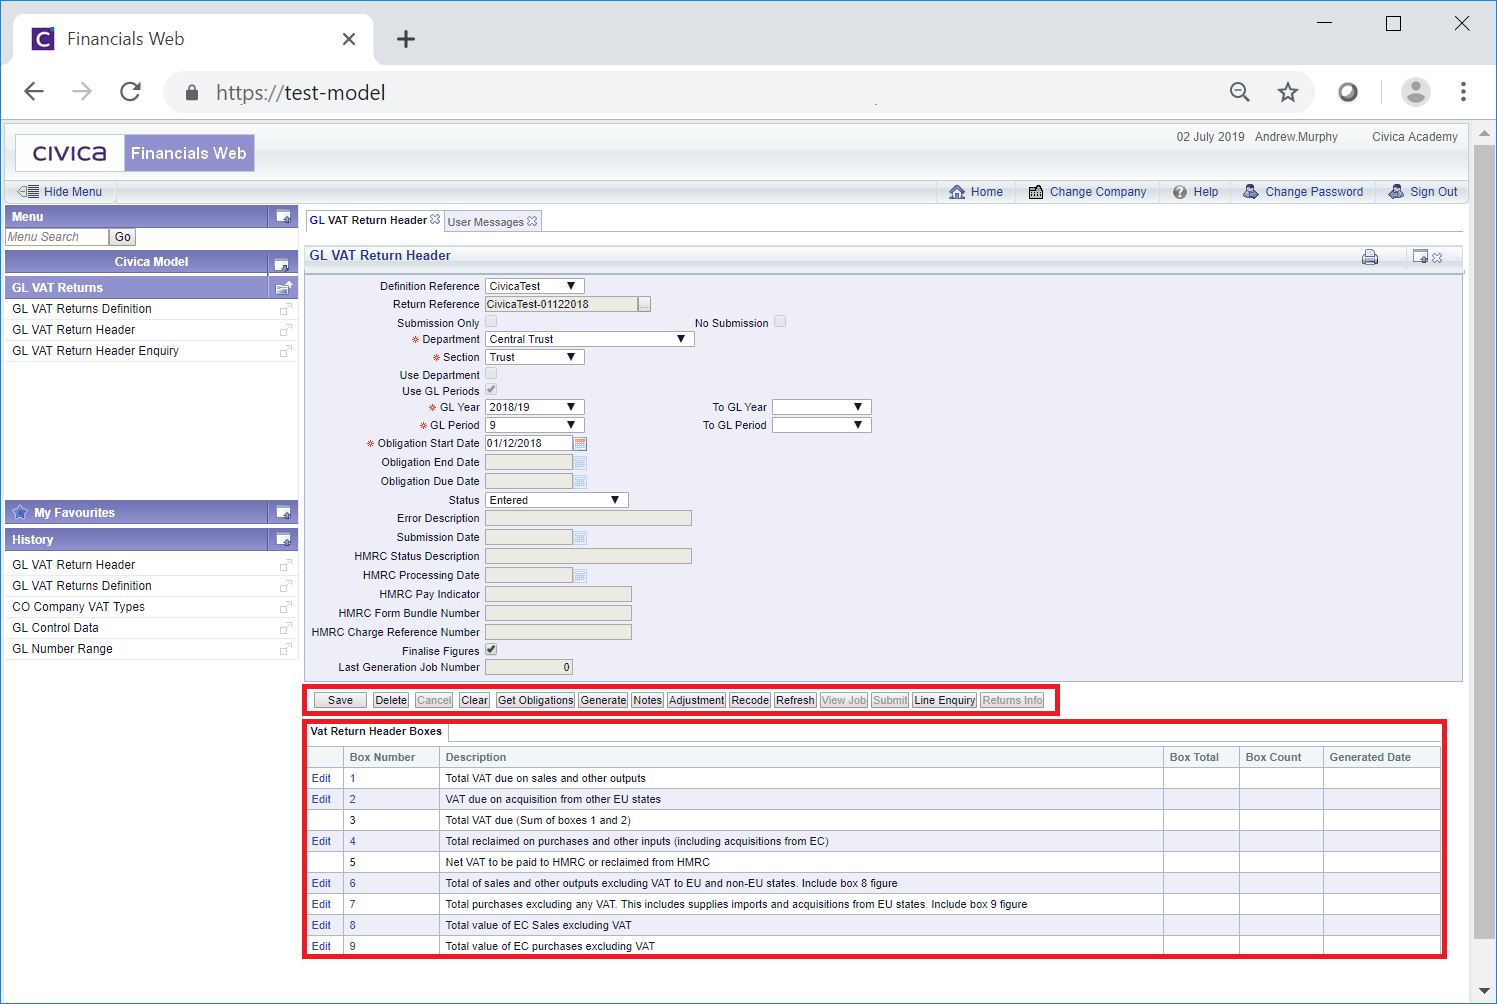
The buttons available are as follows:
 : Clicking on this button will open the GL VAT Return Header Obligation form that will provide the Obligation date details from HMRC, i.e. the Obligation Start Date, Obligation End Date and Obligation Due Date, for the next VAT Return that is due from your organisation. This form is further detailed in the Get Obligations section.
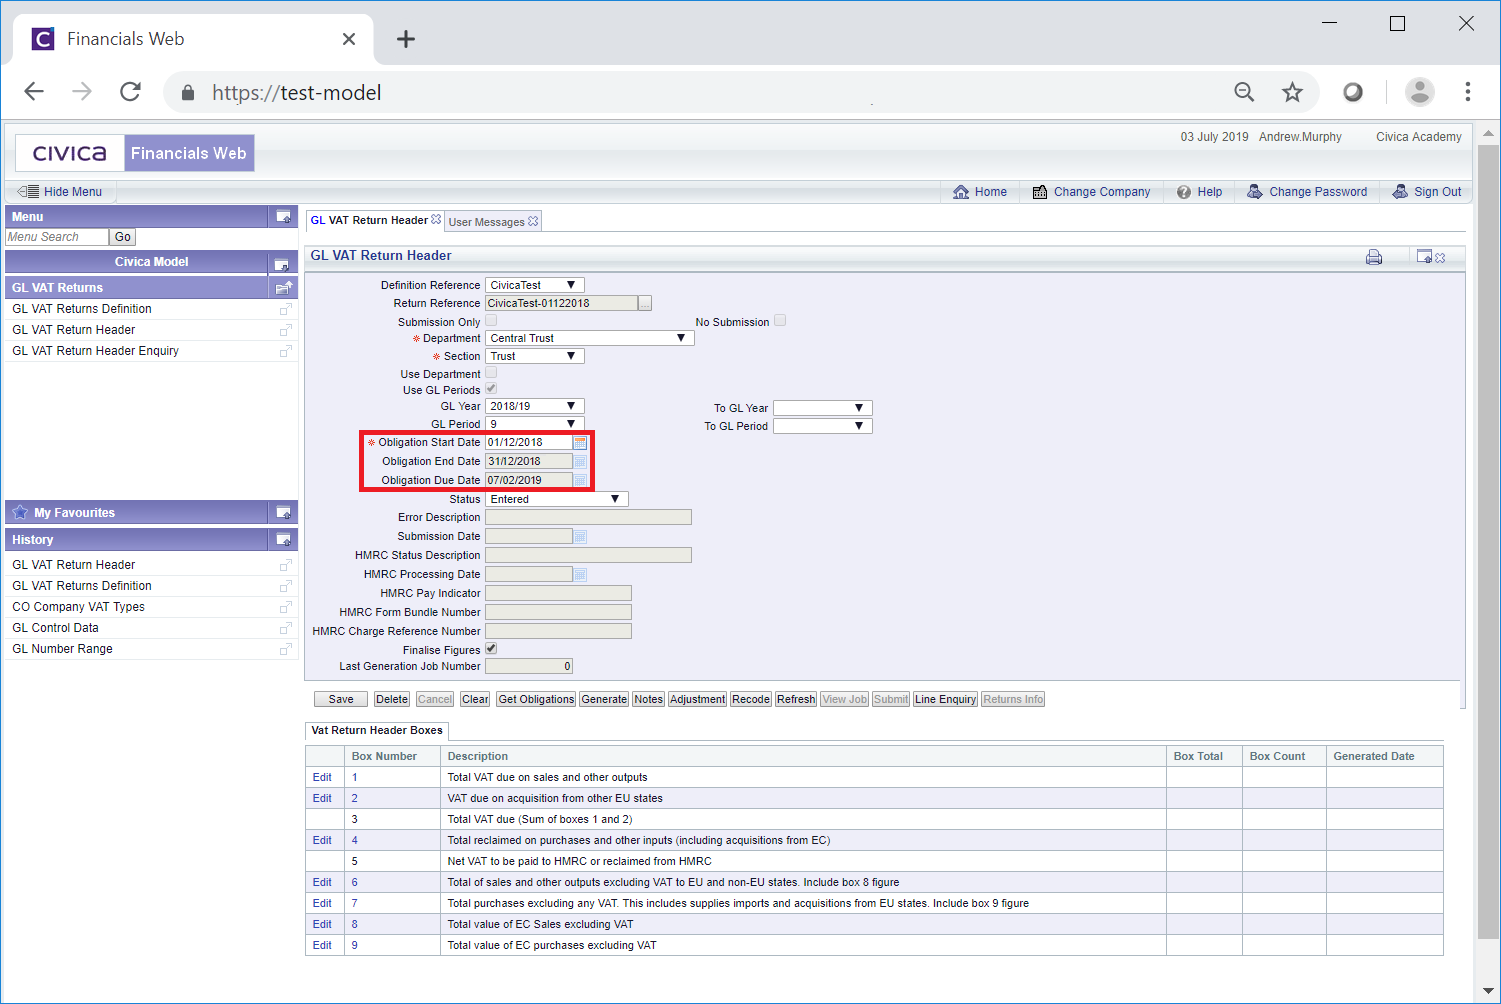
Once these obligation dates have been obtained from HMRC you will be directed back to the GL VAT Return Header form and clicking on the  button will update the Obligation Start Date, Obligation End Date and Obligation Due Date fields:
Once the Job Request has been submitted, the Status field on the GL VAT Return Header form will change to Generate Submitted and the Last Generation Job Number field will be populated with the number of the job just submitted.
Where the Job Request is running the Status field will change to Generating and once it has completed successfully, i.e. without any errors, the Status field will change to Generated and the Grid at the bottom of the form will be updated with the results:
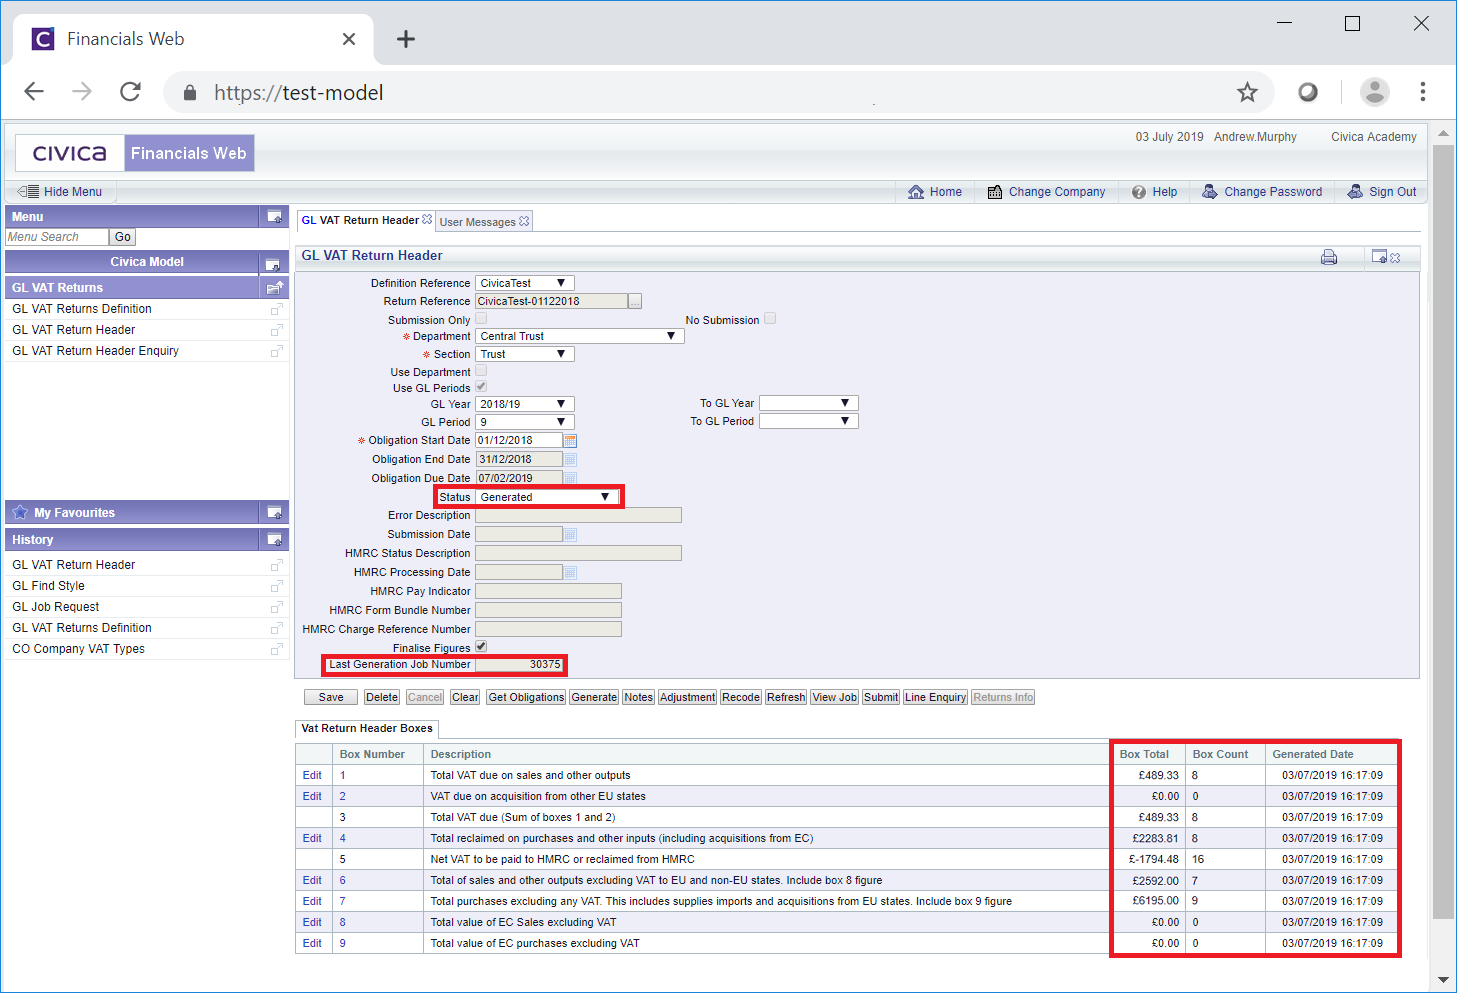
Where the Job Request has completed but with errors, the Status field will change from Generating to Generated with Errors.
Once submitted the Job Request can be viewed by clicking on the  button, which is further detailed below.
Please note: select the ![]() button, which is further detailed below, to refresh the status of the VAT Return.
button, which is further detailed below, to refresh the status of the VAT Return.
 : Once the information has been generated, i.e. via the button will open the GL VAT Return Adjustment form allowing you to add adjustment transactions into the VAT Return.
These adjustments may be for Partial VAT Exemption adjustments, recording of anticipated future Purchasing/Creditors invoices, adjustments for Bad Debt Relief, and any other required adjustments. This form is further detailed in the Creating VAT Return Adjustments section.
For example, changing a VAT Code from Zero-rated to Standard would change the VAT Amount whereas changing it from Zero-rated to Exempt would not. In this example you would click on this button to change the VAT Code of an item from Zero-rated to Standard.
button or by generating the VAT Return information via the : Once a Job Request has been submitted to generate the information for the VAT Return via the button will open the GL Report Viewer form so you can view the progress of the Job Request. Viewing Job Requests is further detailed in the Report Viewer section in the Reporting How to Guide.Once submitted to HMRC a read-only version of the GL VAT Return Header form will open with the following fields updated.
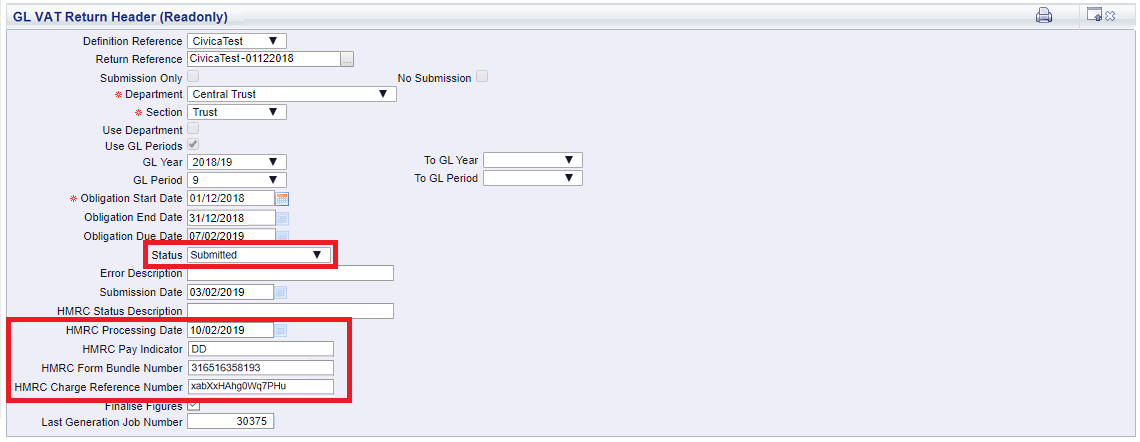
As the form is read-only no further changes can be made to the Return.
Transactions for individual boxes can be displayed by clicking on the link in the Box Number column in the Grid, as detailed further below.
 : This button will only be enabled once the Return has been submitted successfully via the
  button, as detailed immediately above.
Clicking on this button will open the GL VAT Return Header Returns Info screen:
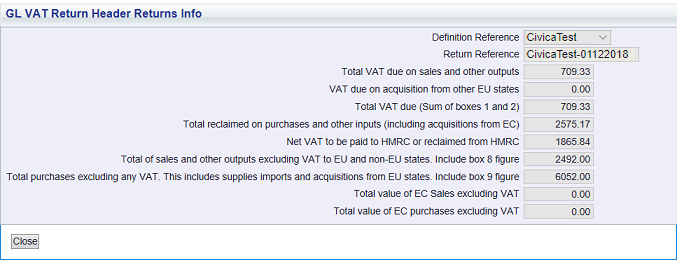
This screen will provide a summary of the VAT Return.
The VAT Return Header Boxes tab on the Grid at the bottom of the GL VAT Return Header form has links in the following columns:
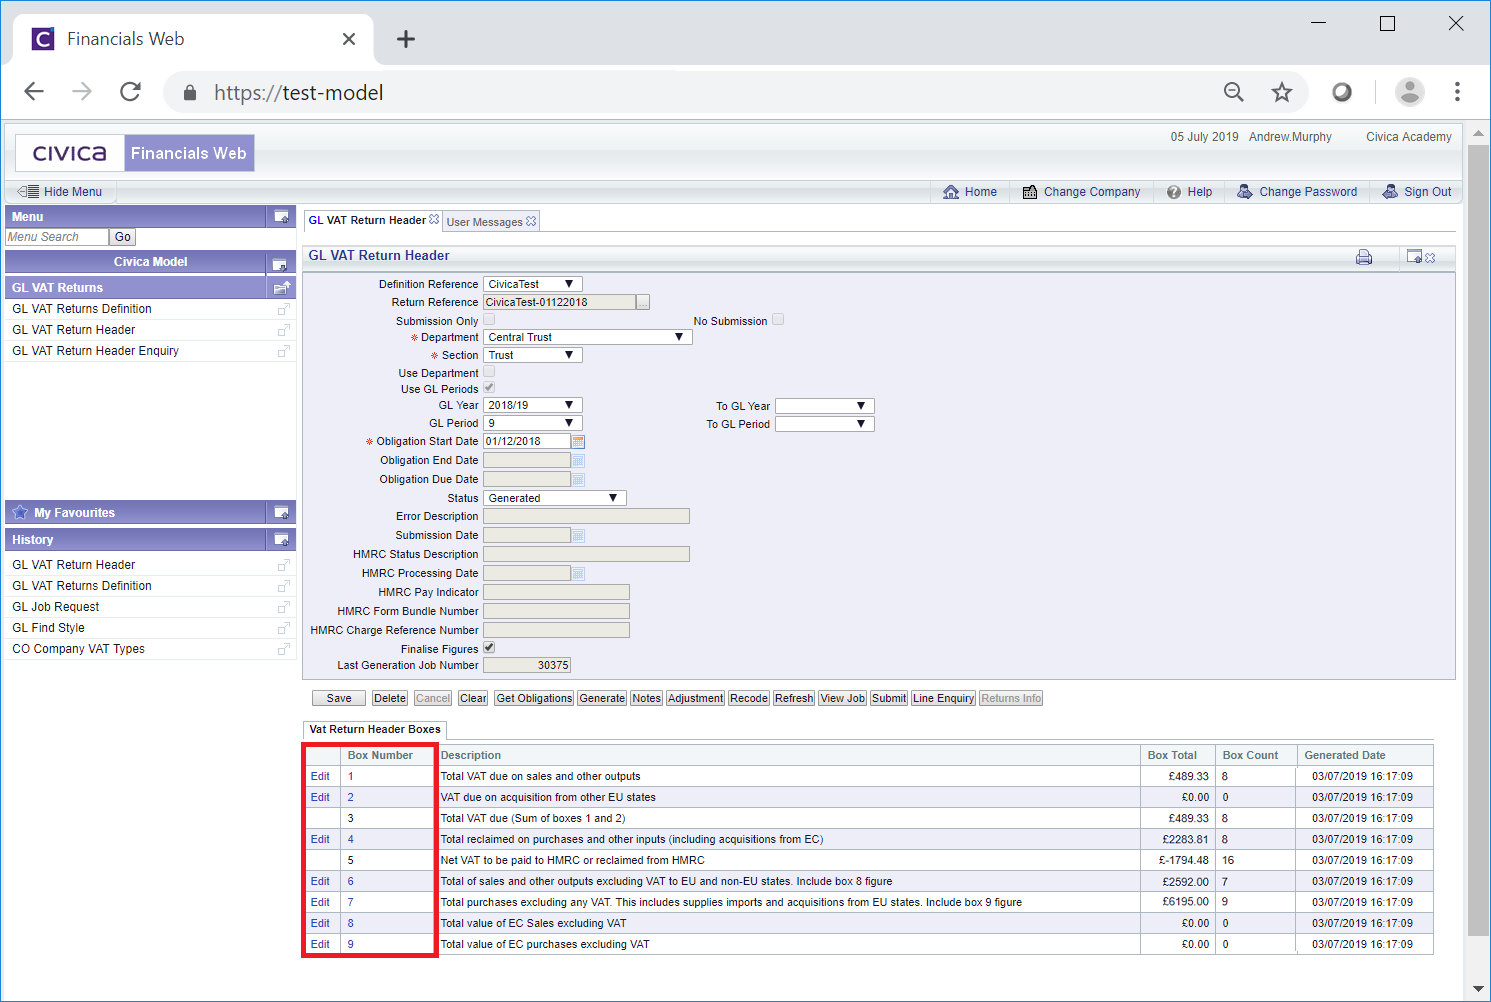
The first column has an Edit link - please do not use this link as the Boxes have already been configured to produce the required information.
The second column - Box Number - has a link that when clicked on will open the GL VAT Return Lines form detailing the transactions that are contained in that Box (or Line). This form is further detailed in the VAT Return Lines Individual Boxes section.
Please note: there are no links for Boxes 3 and 5 as these sum up the amounts in the other Boxes (or Lines).