PO Invoices can be created via the CR PO Invoice form.
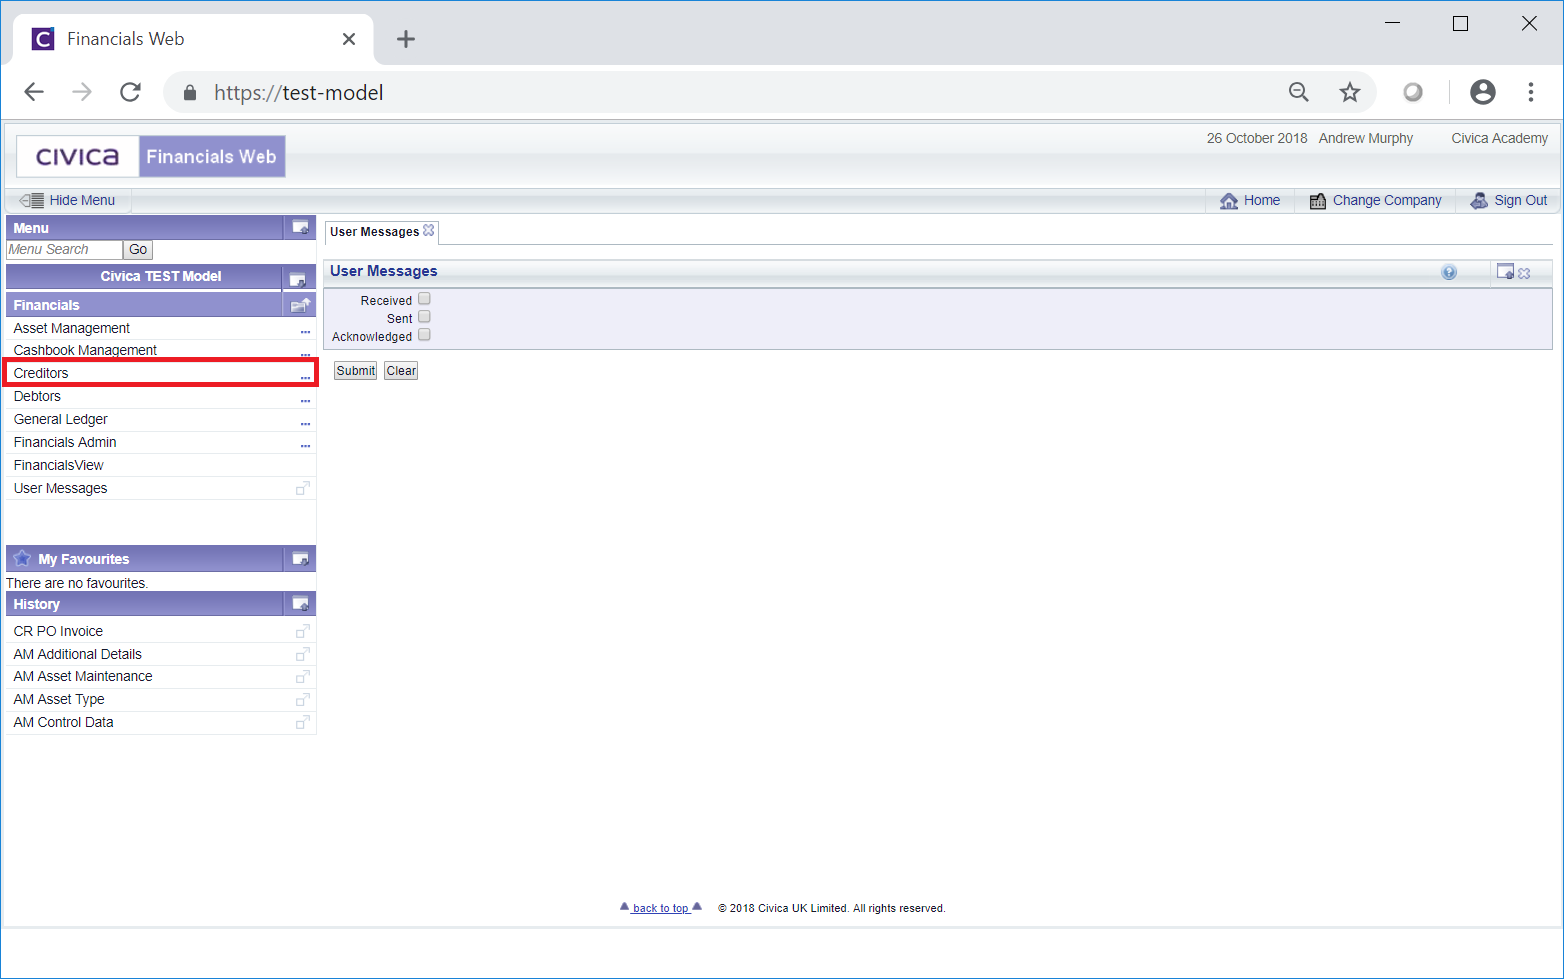
This can be accessed from the Financials menu by selecting the Creditors menu option:
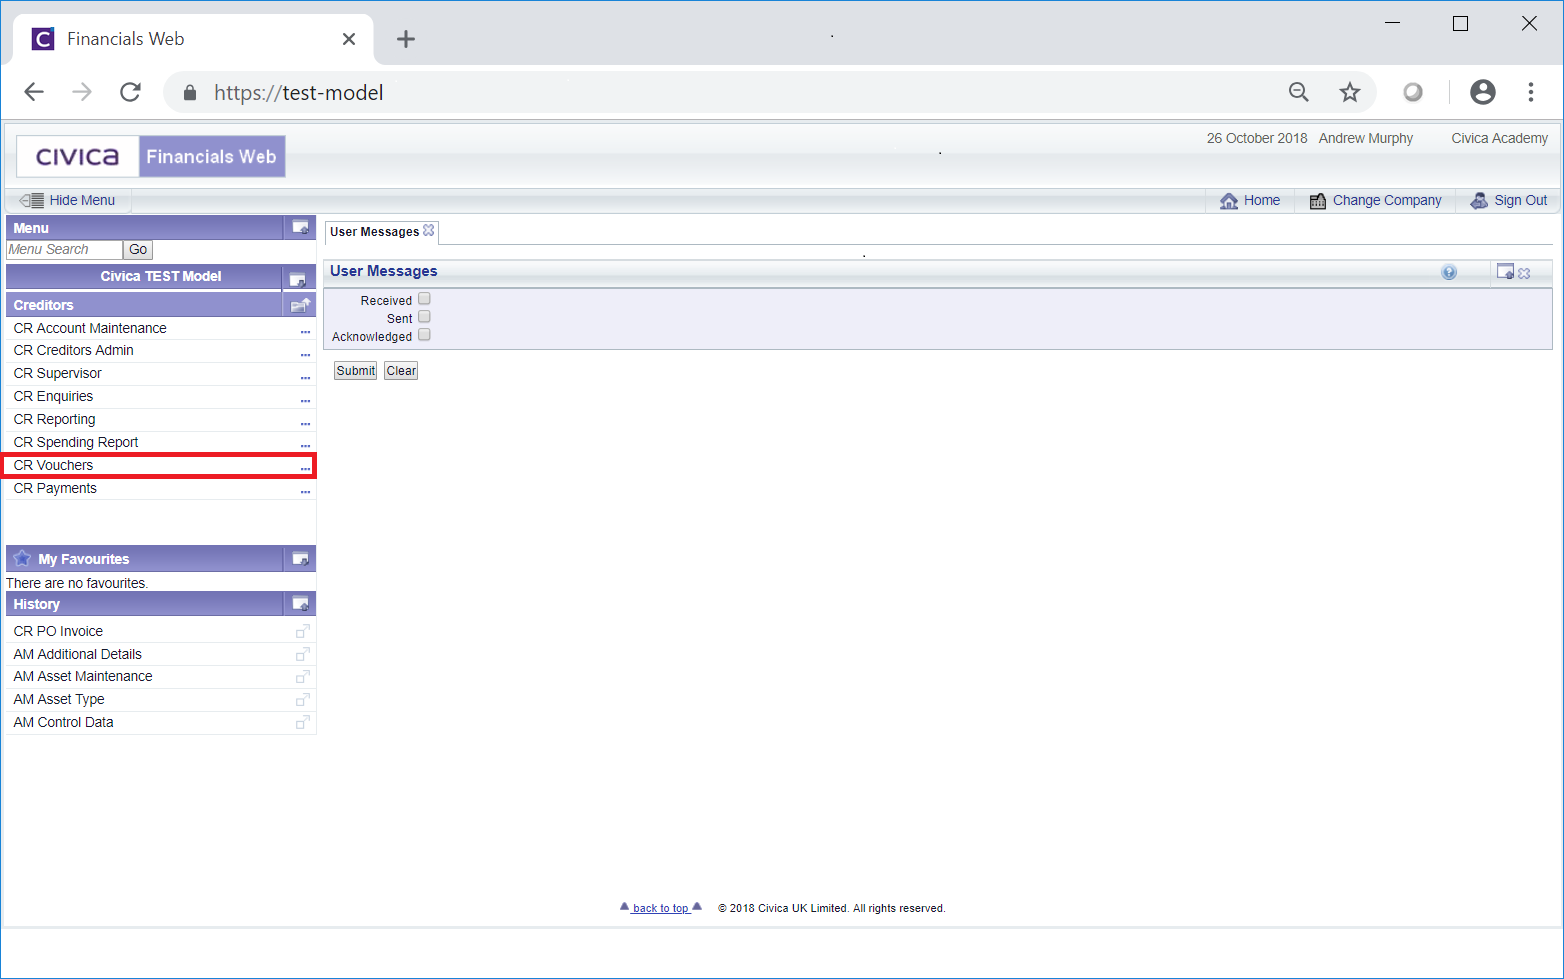
Then the CR Vouchers menu option:
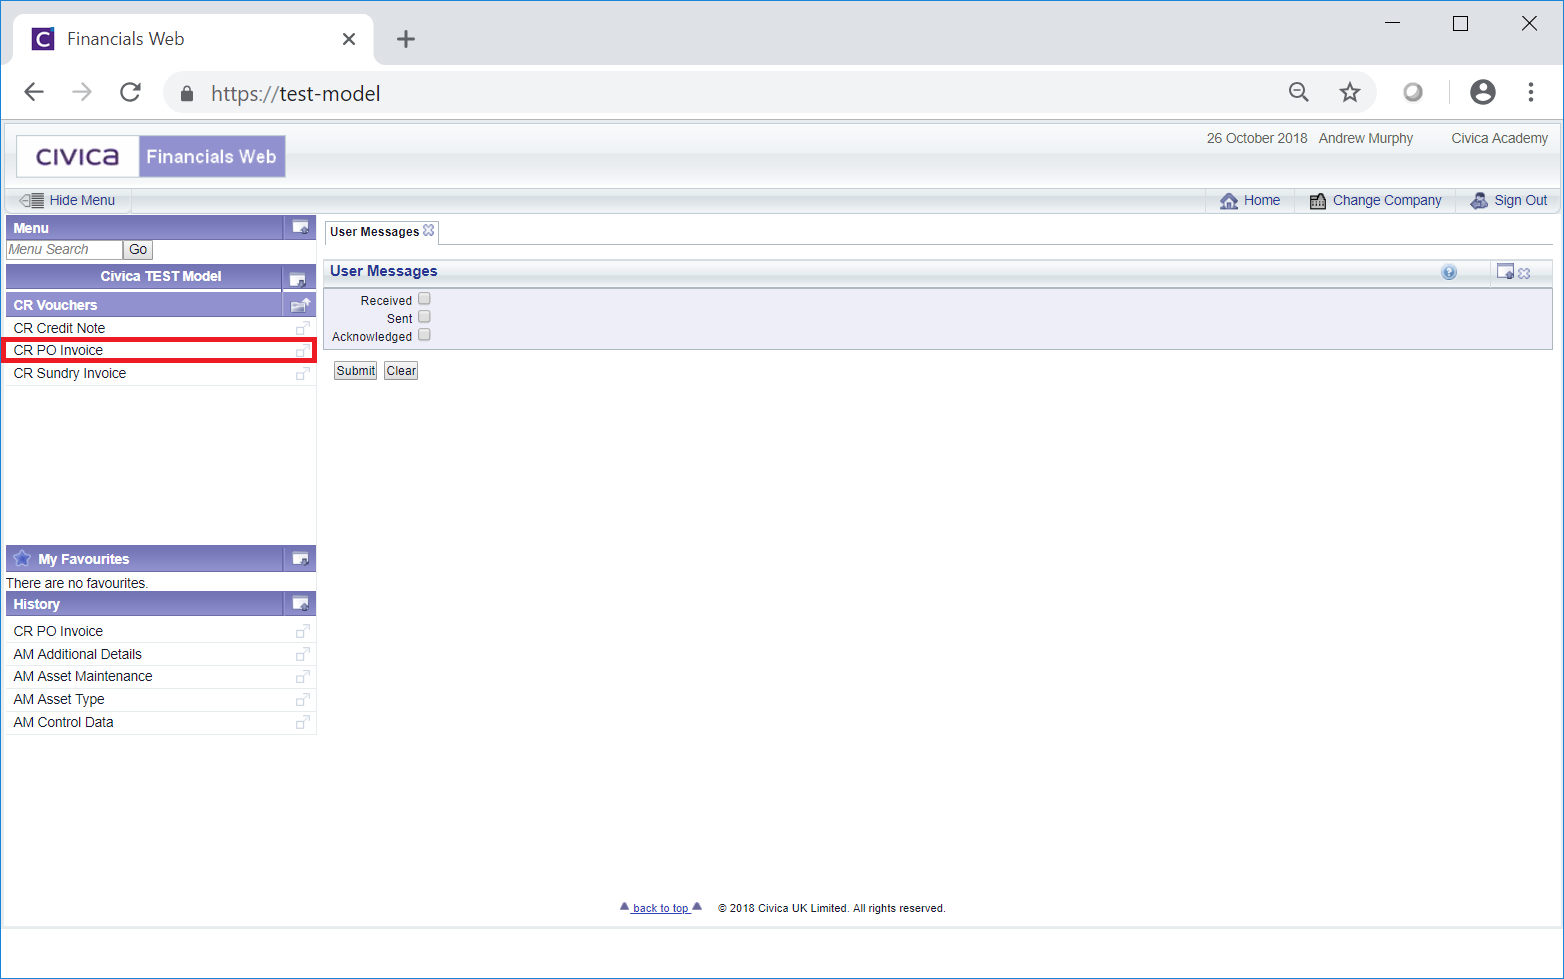
Then the CR PO Invoice menu option:
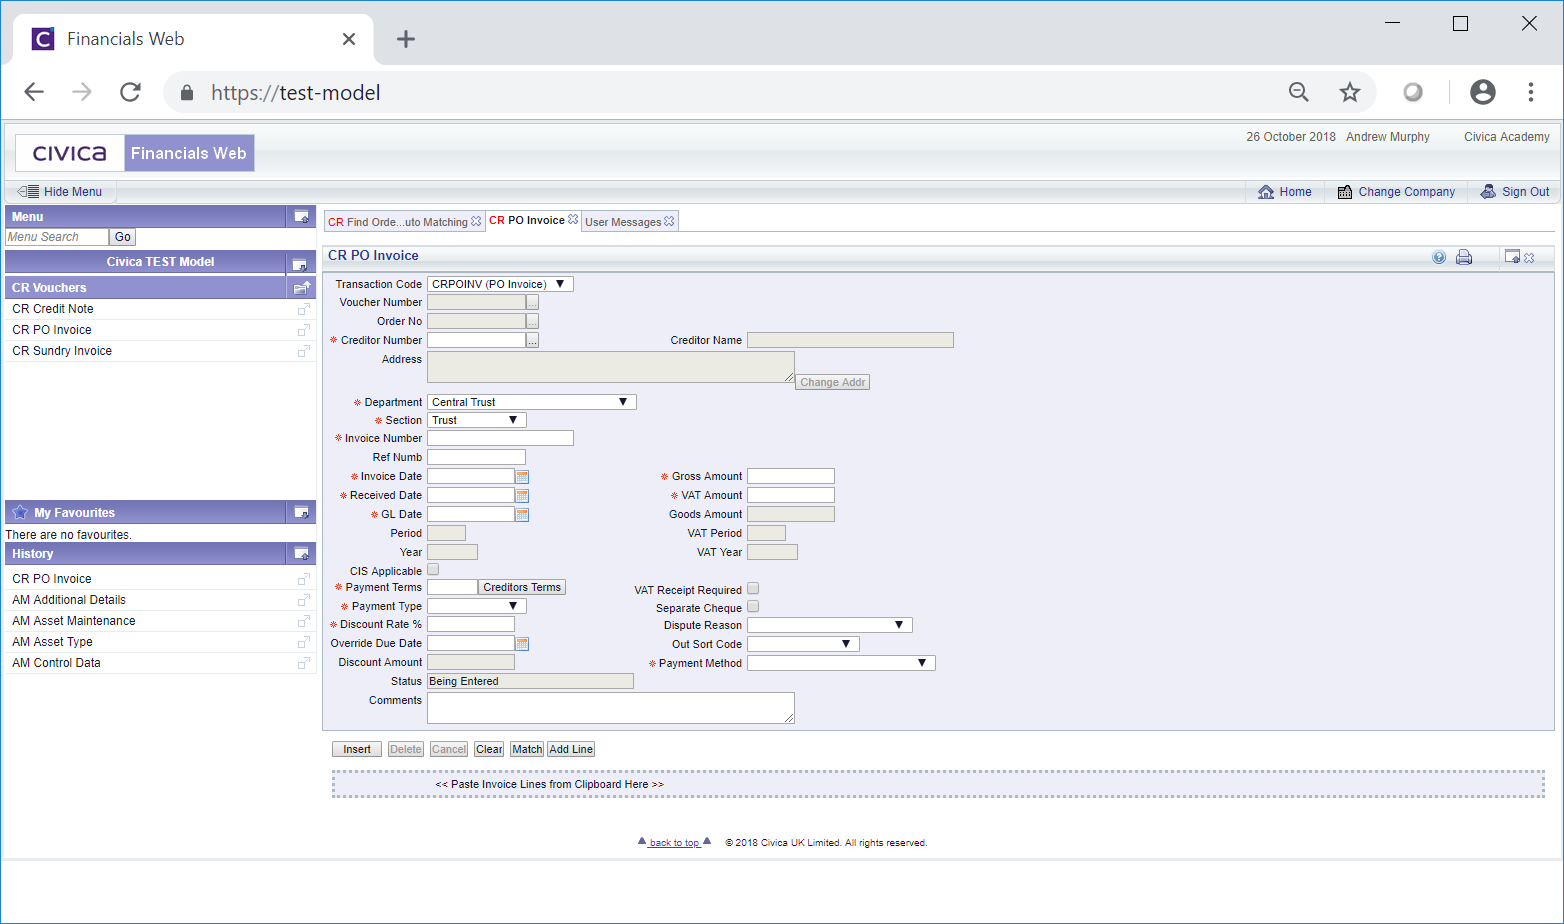
The CR PO Invoice form will open:
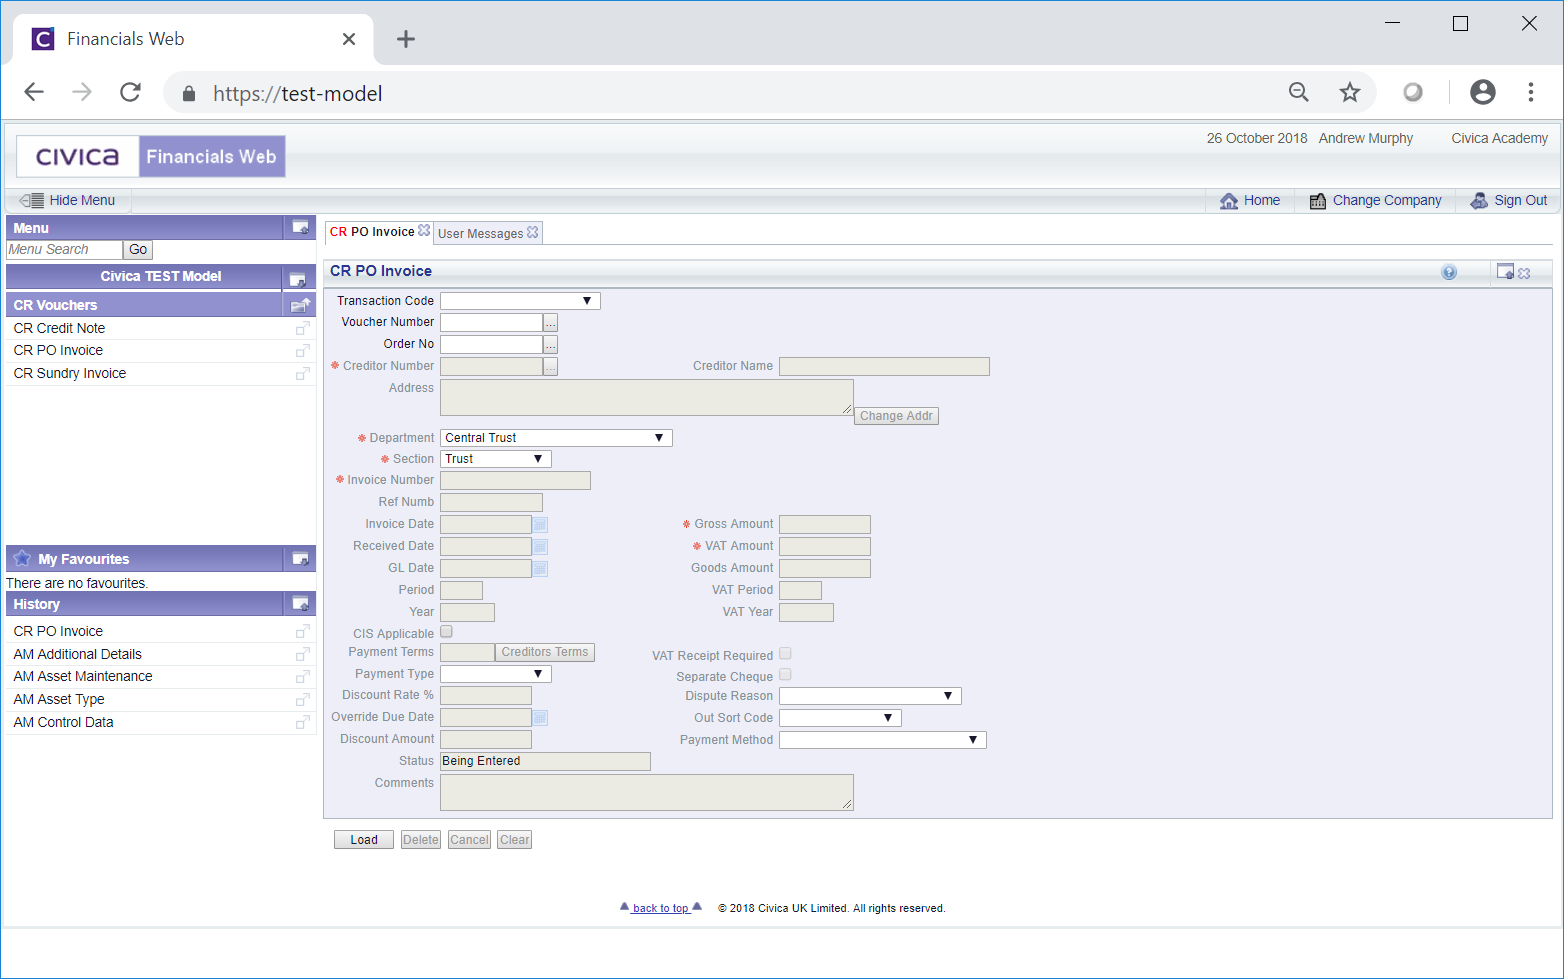
To create a new PO Invoice select the relevant option from the Transaction Code field.
A Purchase Order number can be added to the ![]() field to match this Purchase Order to the PO Invoice and click on the
field to match this Purchase Order to the PO Invoice and click on the ![]() button. Alternatively clicking on the Find Order button
button. Alternatively clicking on the Find Order button ![]() will open the CR Find Order For Auto Matching form that will allow you to search for and select required Purchase Order. This form is further detailed in the Order for Auto Matching Enquiry section. Once the required Purchase Order has been selected it will be added to the
will open the CR Find Order For Auto Matching form that will allow you to search for and select required Purchase Order. This form is further detailed in the Order for Auto Matching Enquiry section. Once the required Purchase Order has been selected it will be added to the ![]() field.
field.
The Creditor's details will be added to relevant fields on the form and add a Voucher Lines Grid will be displayed at the bottom of the form with the Lines from the Purchase Order:
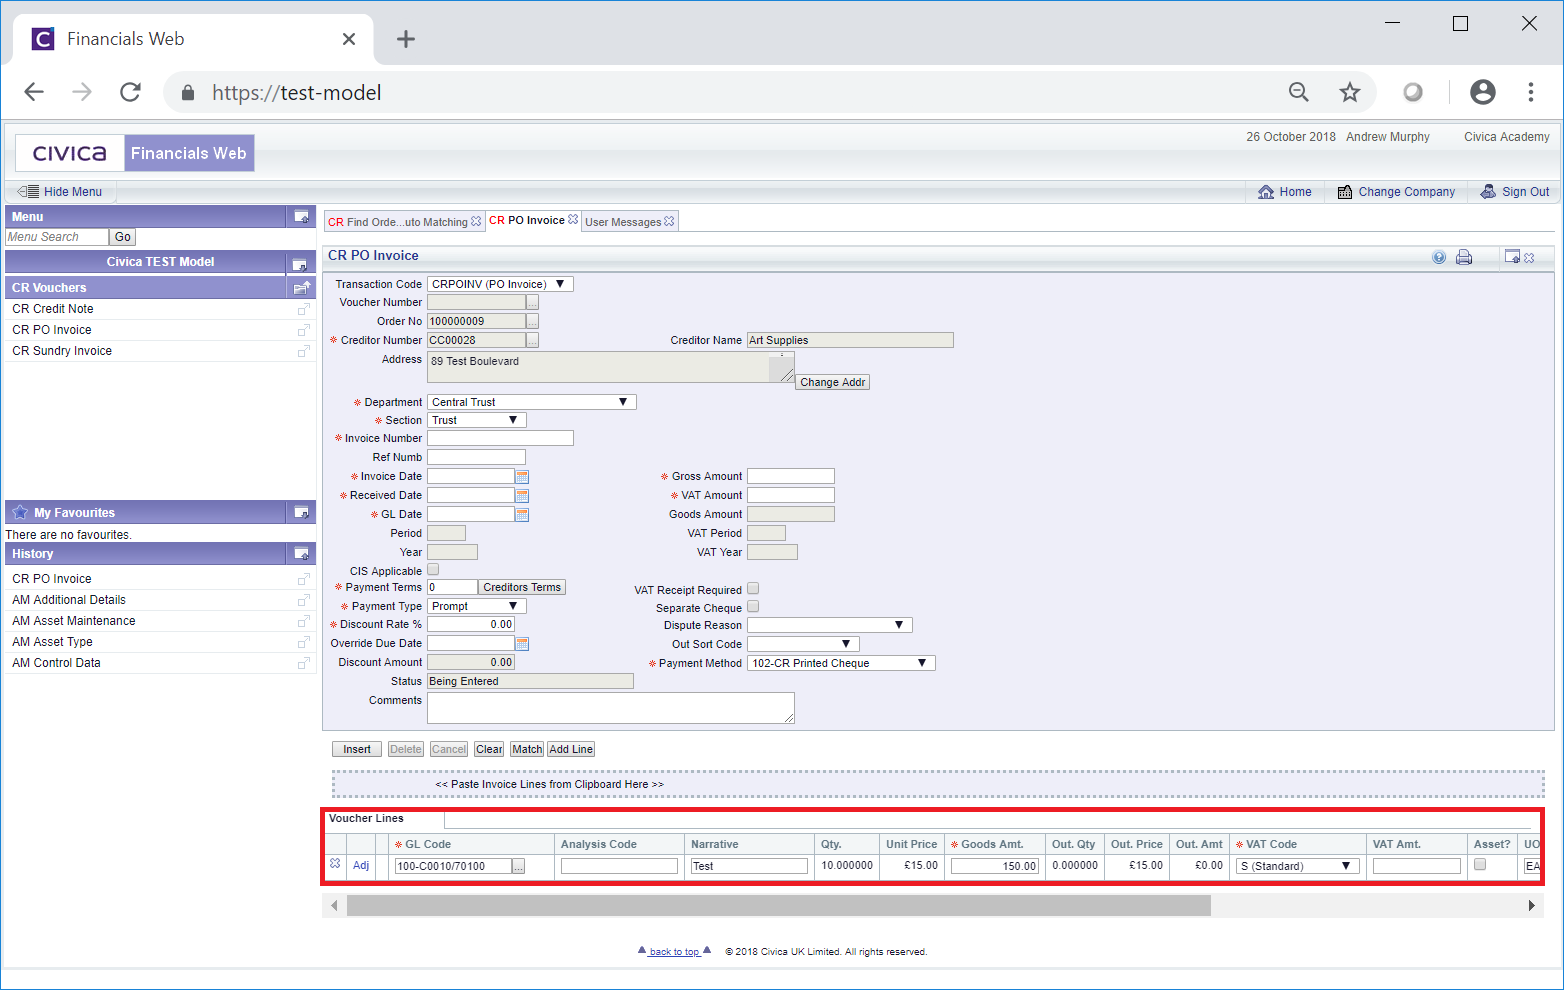
To the left of the matched Line is an Adj link:
![]()
Clicking on this link will open the PO LIne Adjustment screen that will allow you to make certain adjustments to the values of the PO Line. This screen is further detailed in the PO Line Adjustment section.
In addition where the product is an Asset, an Asset Request can be sent to the FinancialsLIVE Asset Management module to create an Asset for it. An Asset Request can be created and sent by selecting the Asset? option on the Line. Creating an Asset in the Asset Management module from an Asset Request is further detailed in the Asset Registration Request section.
Lines added to the Grid can be removed by clicking on the  button located to the left of the Line.
Click on the ![]() button:
button:
Please Note: Where you have opted to auto generated Voucher Numbers, one will be created automatically. Otherwise you will need to add the Voucher Number before clicking on the ![]() button:
button:
Add following fields are available (mandatory fields are notated with a red asterisk *).
Once the Creditor number is added to this field the name of the Creditor will be added to the Creditor Name field, which cannot be changed.
The Address field will also be populated from the Main address on the Creditor record, which is further detailed in the Maintain Creditor Addresses section. This can be changed by clicking on the  button located at the bottom right hand corner of the Address field. This will open the CR Find Creditor Addresses screen that will list all the Addresses that are on the Creditor record. Selecting a different Address on this form will replace the details in the Address field with the selected address details. This form is further detailed in the Find Creditor Addresses section.
Please note: when adding details to the Gross Amount field and the VAT Amount field, the Goods Amount field on the form will be updated with the net amount.
Where a Grid is displayed at the bottom of the form, the total amount in the Goods Amt. column in the Grid should be equal to the amount in the Goods Amount field on the form.
In addition the total amount in the VAT Amt. column in the Grid should also be equal to the amount in the VAT Amount field in the Grid.
These terms can be changed by clicking on the ![]() button to the right of the Payment Terms field. This will open the CR Find Creditor Payment Terms screen, which will display all the Payment Terms that are on the Creditor record. Selecting a different Payment Term on this screen will replace the details in these three fields with the selected term details. This form is further detailed in the Find Creditor Payment Terms section.
button to the right of the Payment Terms field. This will open the CR Find Creditor Payment Terms screen, which will display all the Payment Terms that are on the Creditor record. Selecting a different Payment Term on this screen will replace the details in these three fields with the selected term details. This form is further detailed in the Find Creditor Payment Terms section.
Alternatively the details in each of these fields can be amended by clicking into the field and typing in the required details.
Please note: the option added to this field will be used when processing the payment for the Invoice, which is further detailed in the Creditor Payments section.
The options available will be dependant on the set up of your organisation. Organisations that have responsibility for school/academies, e,g a Trust, will have payment method options for the Trust, which will be denoted with a Department of 100, and payment method options for each school/academy, which will be denoted with subsequent Department numbers, e.g, 101, 102, 103 etc.
There will also be separate options for both BACS and Cheque payments. For example BACS payment methods for the Trust will include 100-CRBACS. BACS payments for individual schools/academies in the Trust will include 101-CRBACS, 102-CRBACS, 103-CBACS etc. Cheque payment methods for the Trust will include100-CRCHQ and for individual schools/academies in the Trust will include 101-CRCHQ, 102-CRCHQ, 103-CRCHQ etc.
If the Invoice is to be paid from the Trust, the option selected in the Payment Method field should include the Trust department number, e.g. 100-CRBACS for BACS payments or 100-CRCHQ for Cheques. If the Invoice is to be paid from an individual school/academy, the option selected should include that school/academy Department number, e.g. for BACS payments 101-CRBACS, 102-CRBACS, 103-CBACS etc, or for Cheque payments 101-CRCHQ, 102-CRCHQ, 103-CRCHQ etc.
Ensure that the correct option is selected in this field.
The following buttons are available on the CR PO Invoice form:
Once matched, a Grid will be displayed as the bottom of the form with the selected Purchase Orders:
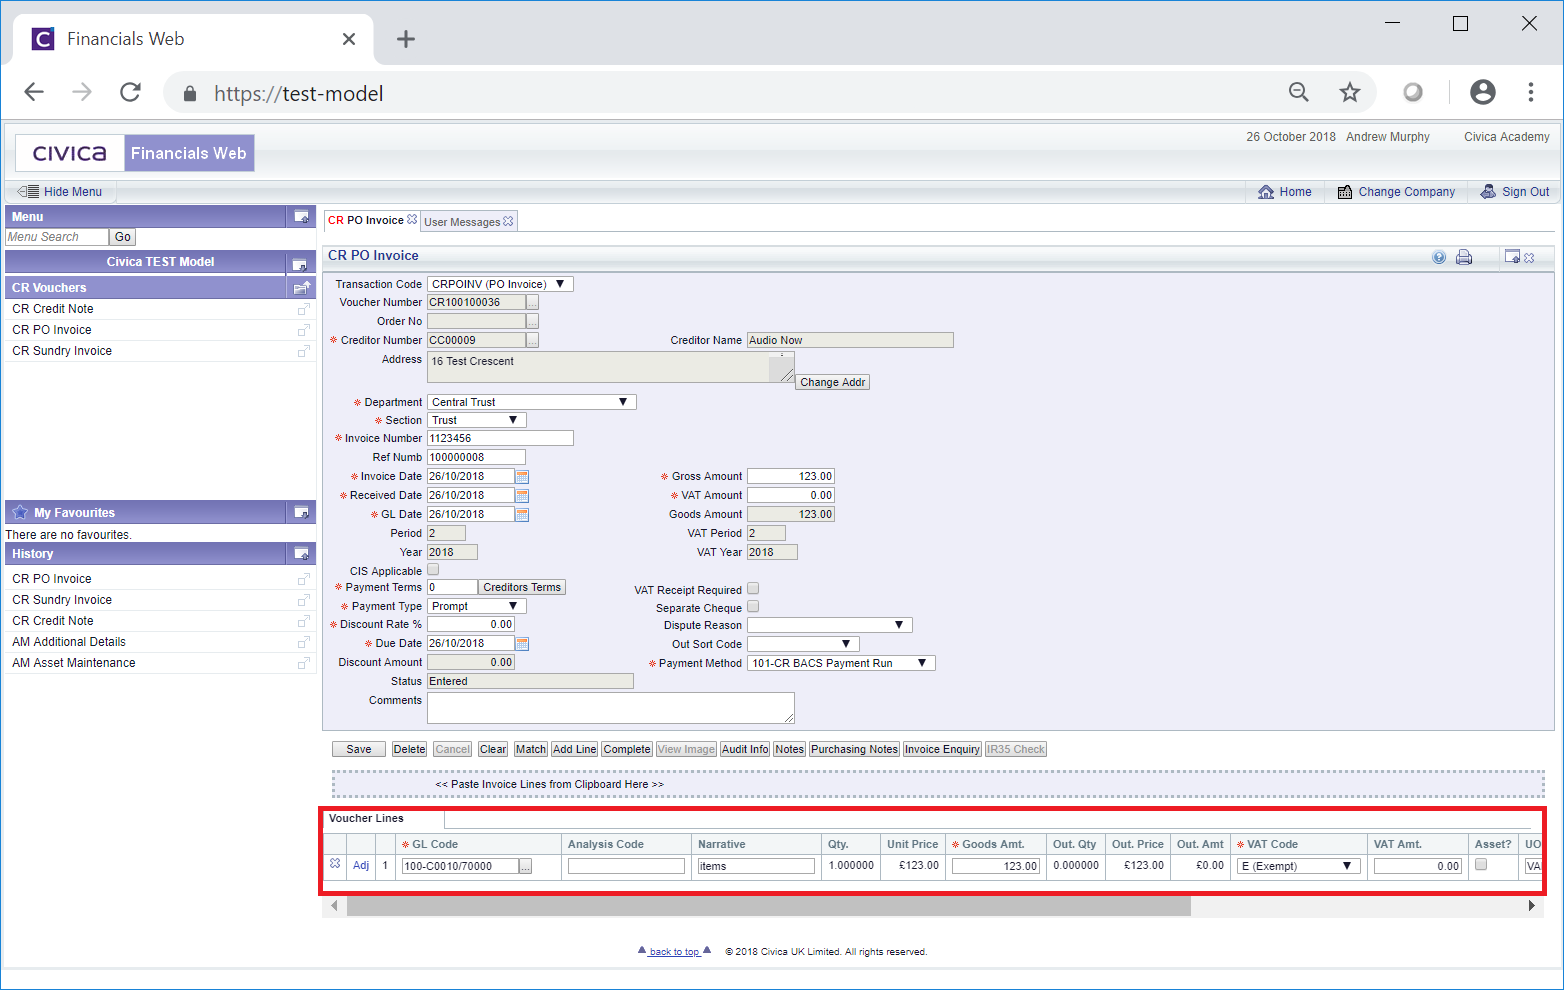
To the left of the Line is an Adj link:
![]()
Clicking on this link will open the PO LIne Adjustment screen that will allow you to make certain adjustments to the values of the PO Line. This screen is further detailed in the PO Line Adjustment section.
Please ensure that the total of the Goods Amount column on the Grid equals the amount on the Goods Amount field on the form. Also the total of the amounts in the VAT Amount column in the Grid should equal the amount in the VAT Amount field on the form.
Lines added to the Grid can be removed by clicking on the ![]() button located to the left of the Line.
button located to the left of the Line.
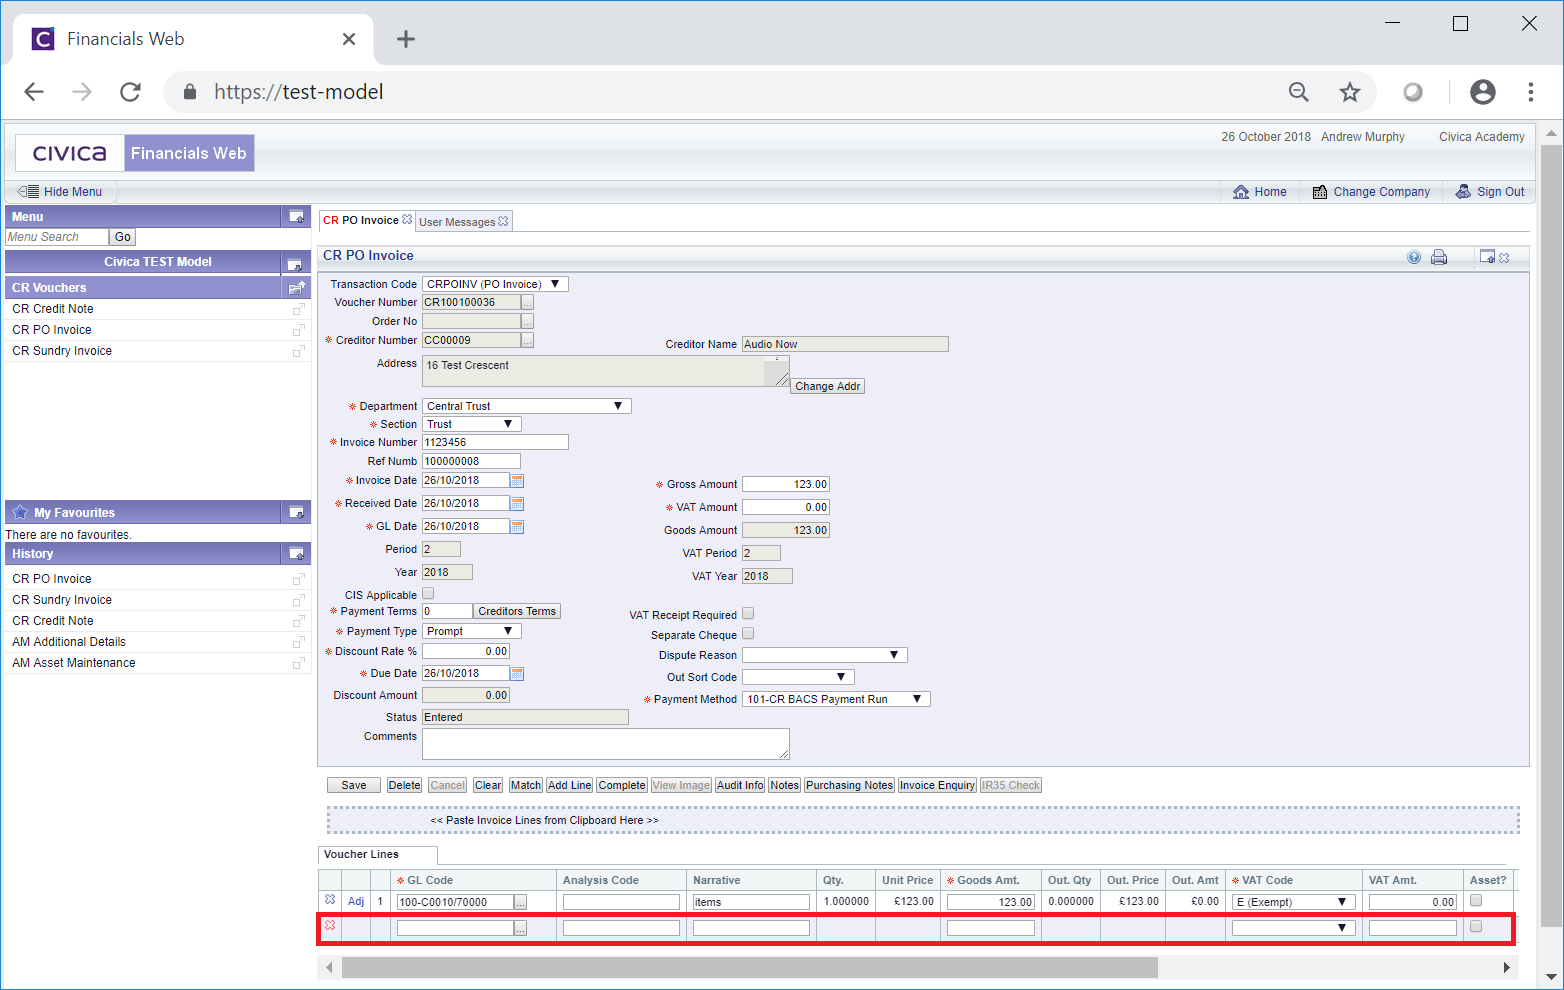
Add the required details to the new Line on the Grid (mandatory fields are notated with a red asterisk *).
The required Ledger Code can be added directly into the GL Code column for the Line. Alternatively clicking on the Find Ledger Code button located next to this field: ![]() will open the CR Ledger Code Search form allowing you to search for and select the required Ledger Code. This form is further detailed in the Ledger Code Search section. Once selected the required Ledger Code will be added to this field.
will open the CR Ledger Code Search form allowing you to search for and select the required Ledger Code. This form is further detailed in the Ledger Code Search section. Once selected the required Ledger Code will be added to this field.
More blank Lines can added by clicking on the ![]() button. Please ensure that the total of the Goods Amt. column equals the amount on the Goods Amount field on the form. Also the total of the amounts in the VAT Amt. column in the Grid should equal the amount in the VAT Amount field on the form.
button. Please ensure that the total of the Goods Amt. column equals the amount on the Goods Amount field on the form. Also the total of the amounts in the VAT Amt. column in the Grid should equal the amount in the VAT Amount field on the form.
Any new Line added to the Grid can be removed by clicking on the ![]() button located to the left of the Line.
button located to the left of the Line.
If a Grid already exists at the bottom of the form, i.e. when adding an Order No as detailed above, the Lines in the Grid can be removed, if required, by clicking on the ![]() button located to the left of the Line.
button located to the left of the Line.
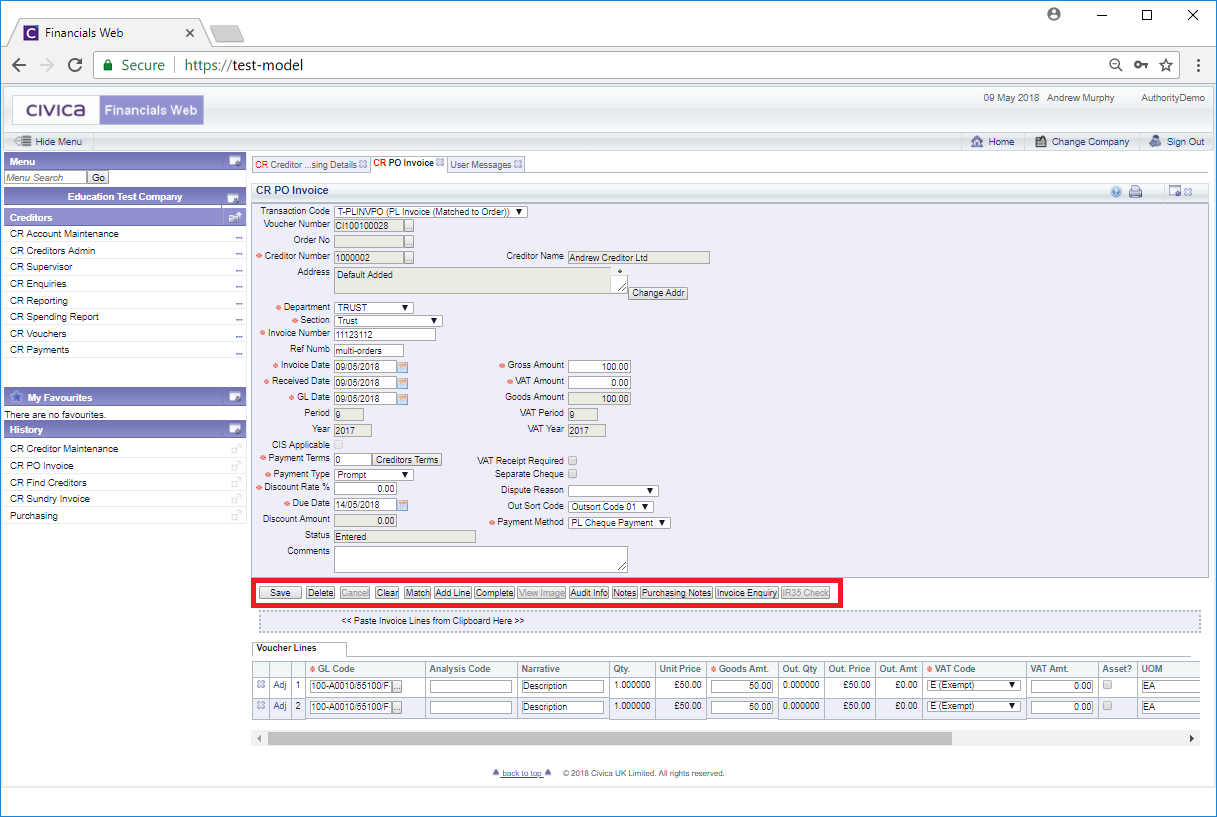
The additional buttons are:
 : Where this button is a enable, an image of the PO Invoice will be available. Otherwise it will not be enabled. Clicking on this button when enabled and you will be able to view the image.