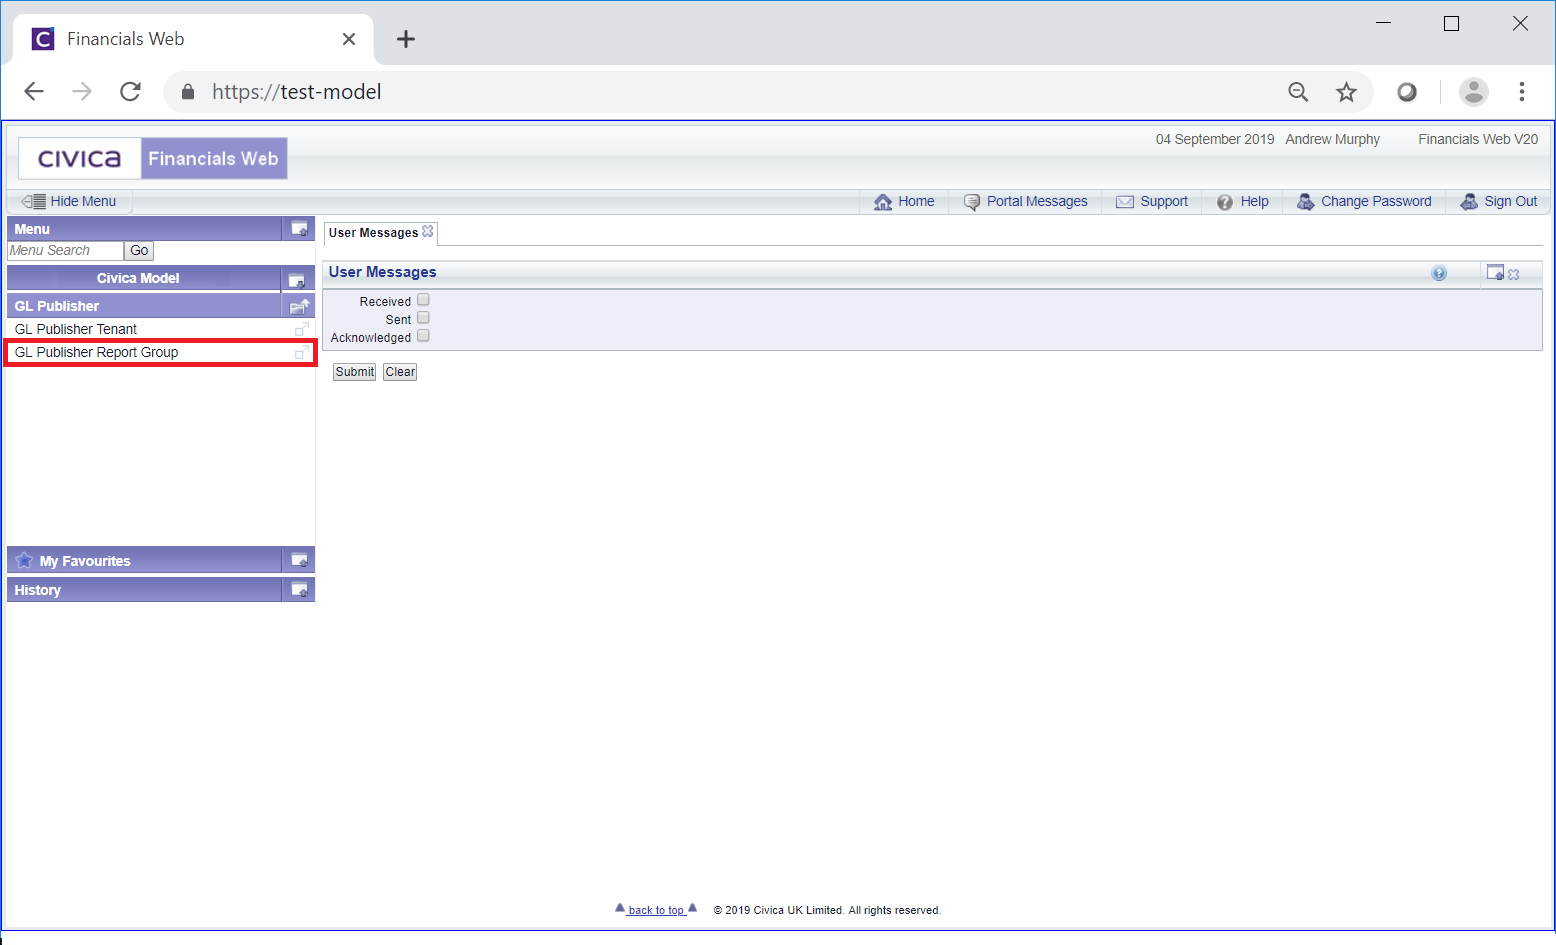
Publishing Report Groups will allow you to create a bundle of FinancialsLIVE Reports, for example Month End or Year End Reports, and keep them at a particular location using Civica's Bundling software.
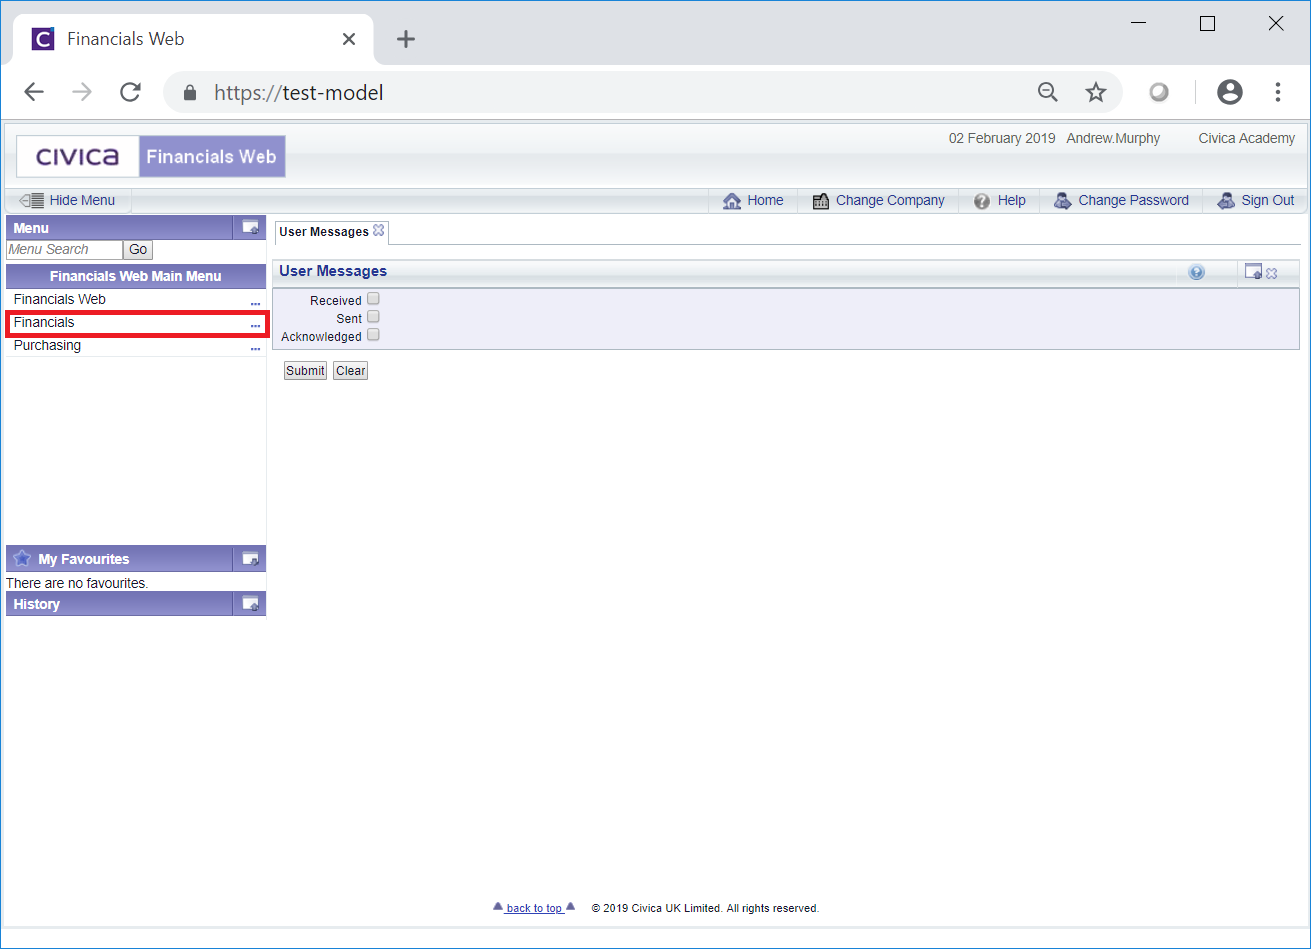
These can be created on the GL Publisher Report Group form, which can be accessed by selecting the Financials option on the Financials Web Main Menu:
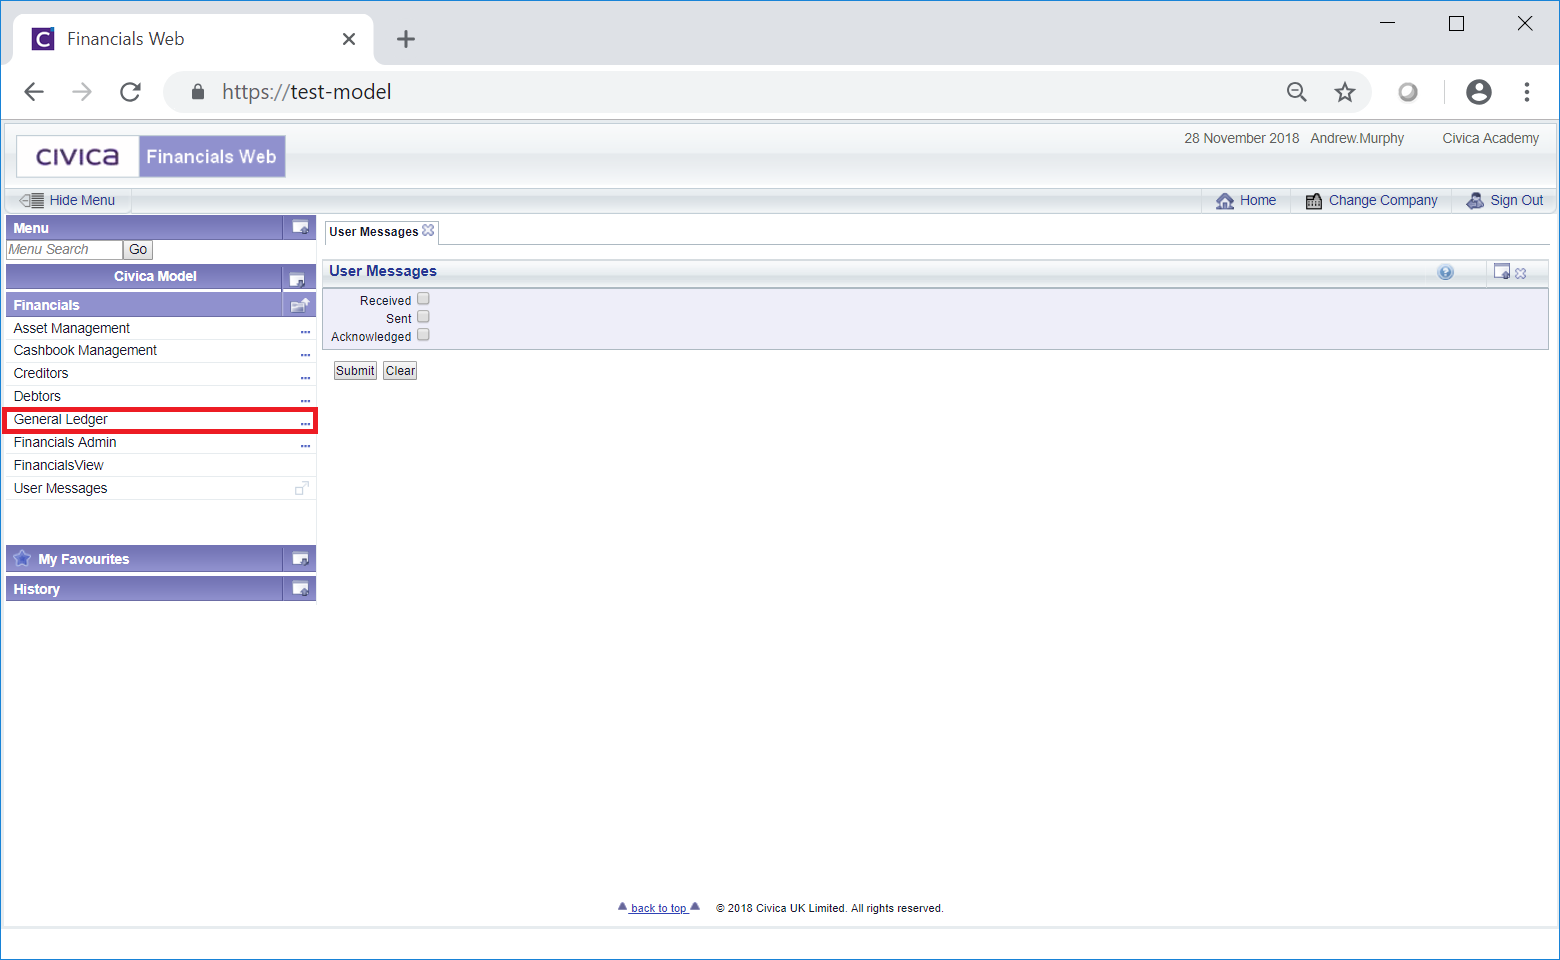
Then the General Ledger menu option:
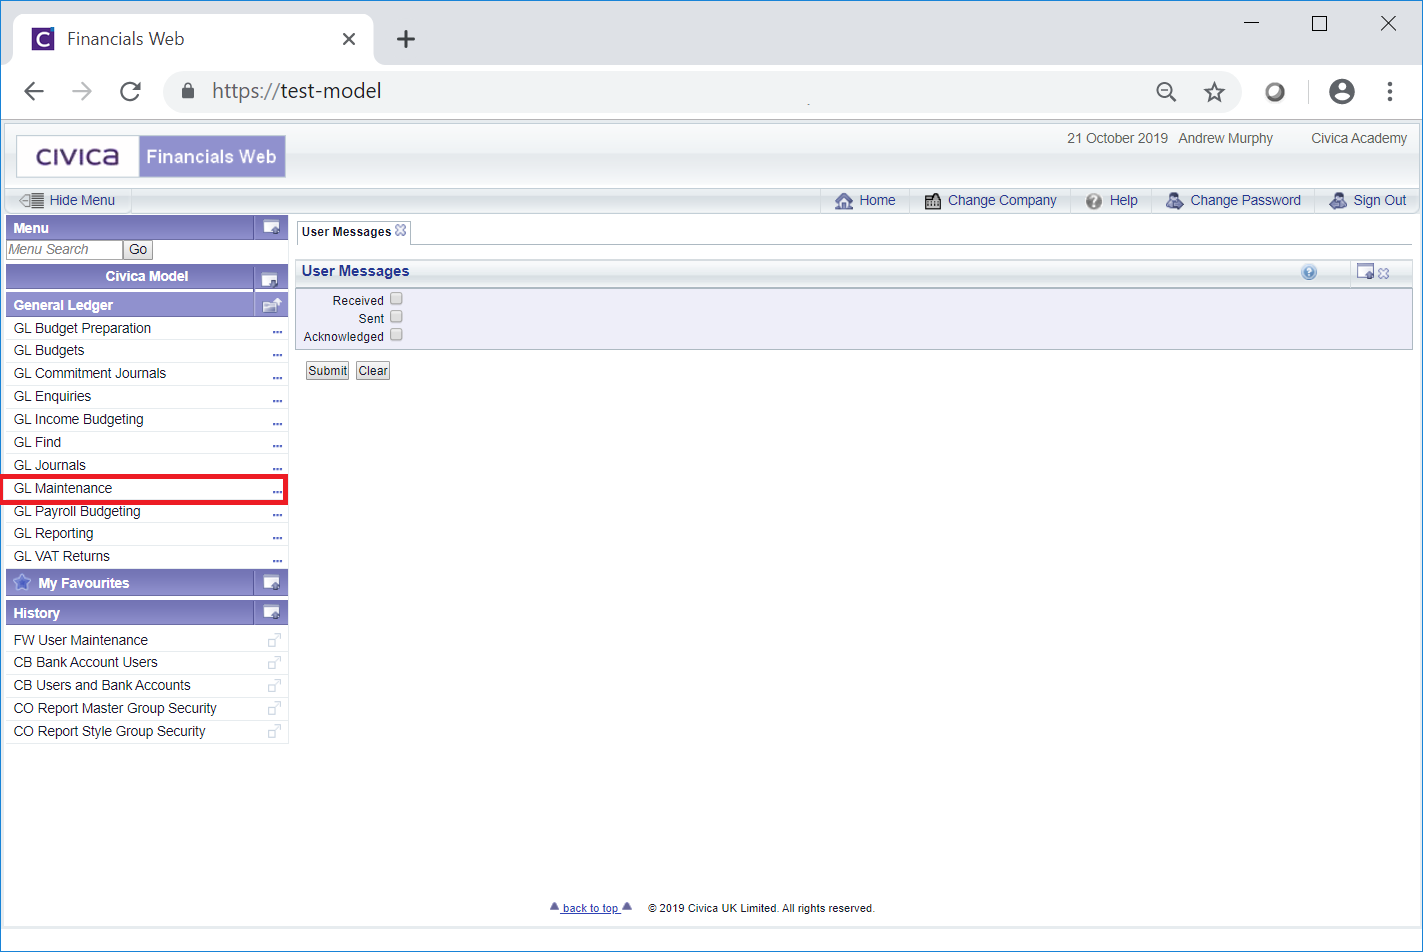
Then the GL Maintenance menu option:
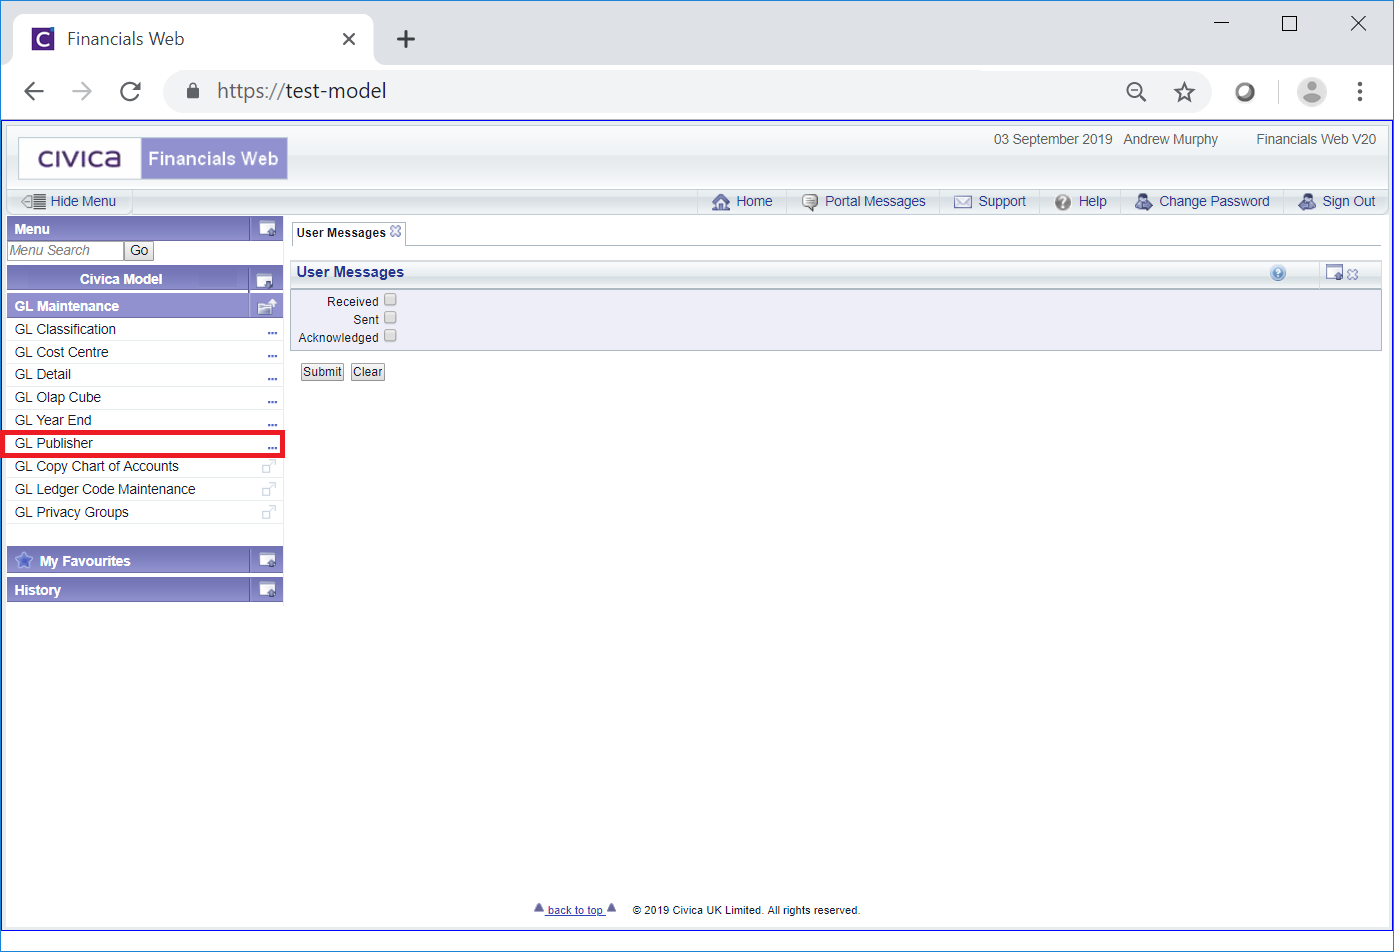
Then the GL Publisher menu option:
Then the GL Publisher Report Group menu option:
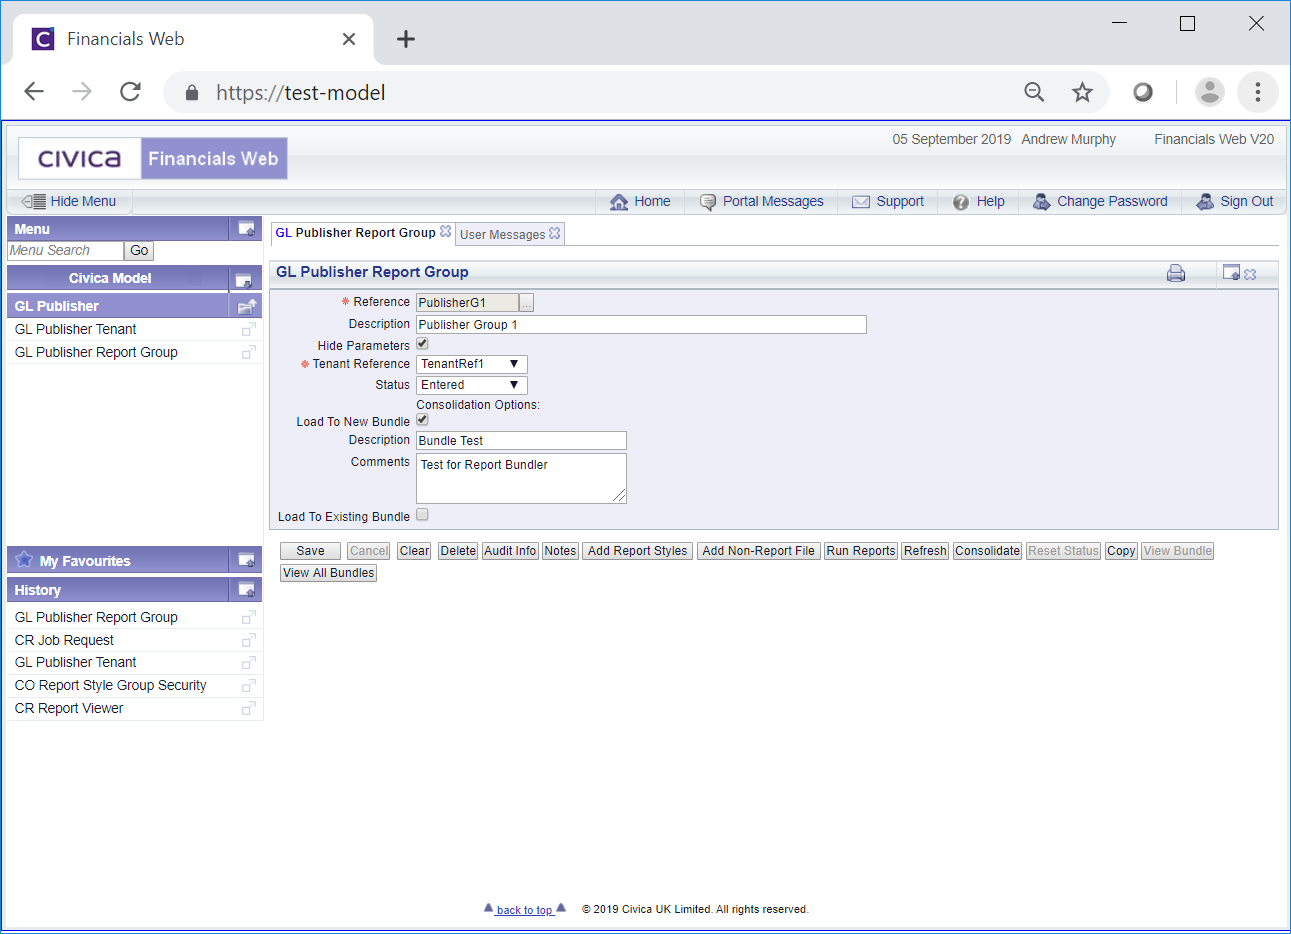
The GL Publisher Report Groups form will then open:
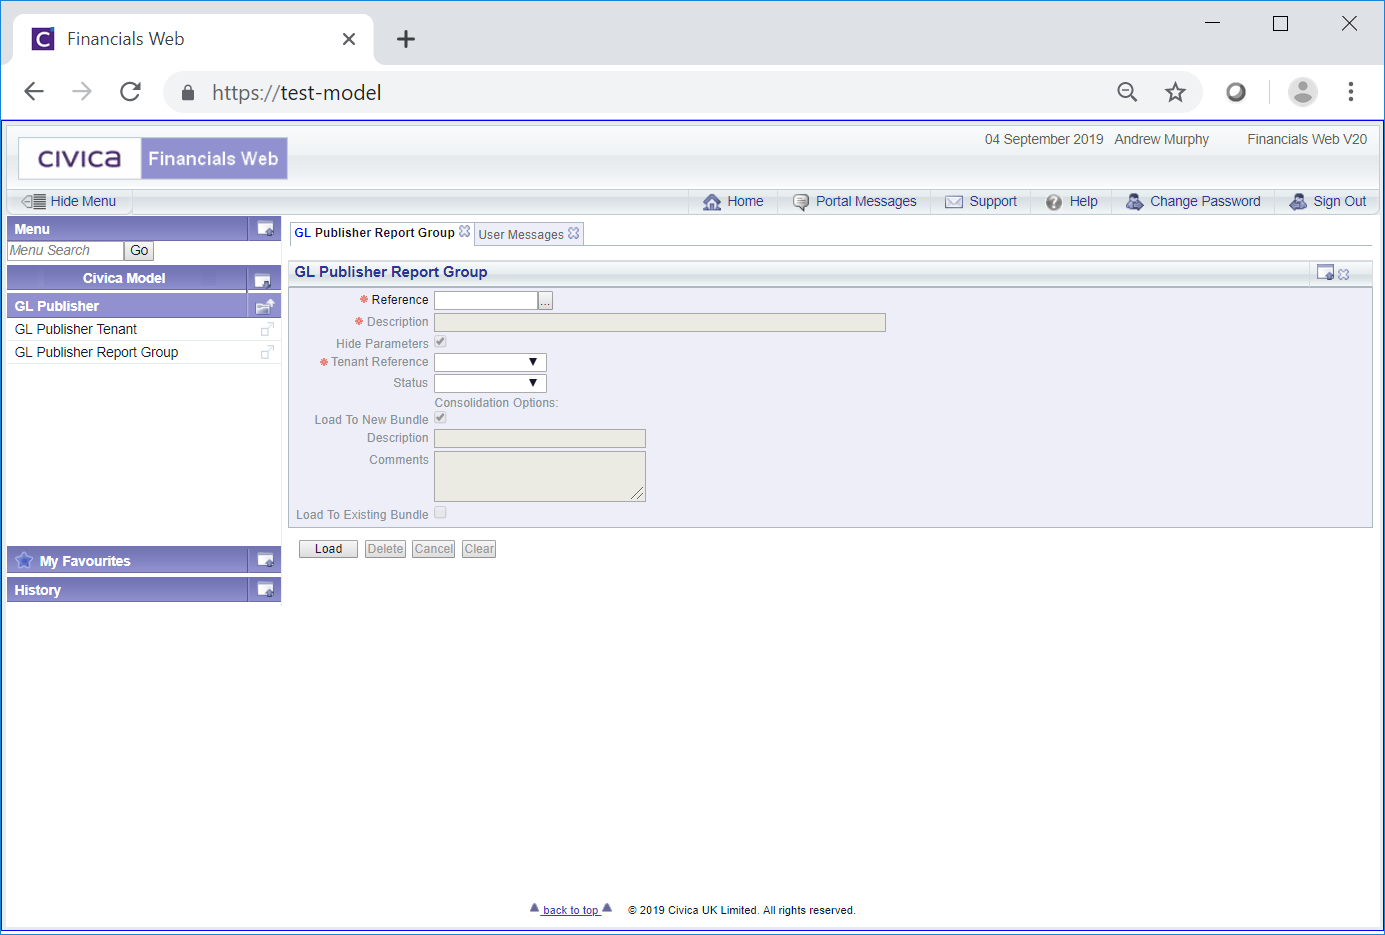
To create a GL Publisher Report Group add the code for the GL Publisher Report Group and click on the  button. Further fields will then become available on the form:
The fields on the form are as follows (mandatory items are notated with a red asterisk *):

Any Report from any FinancialsLIVE module can be run directly from the Publishing facility. The parameters added to these fields will be used instead of the parameters within these Reports when they are run in the Publishing facility. This means that Monthly or Year End Reports can be run via Publishing without having to change the parameters in the individual Reports.
 and cannot be changed.
The Consolidated Options section of the form has the following options:
When the ![]() button, which is detailed below, is clicked on and this option is selected, a new Bundle will be created and will include items that have been added to the Report Group.
button, which is detailed below, is clicked on and this option is selected, a new Bundle will be created and will include items that have been added to the Report Group.
This option has the following fields displayed when selected:
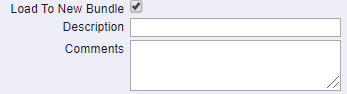
These fields are:
Where this option is selected the following field will be displayed:

Clicking on the ![]() button will clear all the fields and return you to the initial version of the GL Publisher Group Report form allowing you to create a new Report Group or view an existing one.
button will clear all the fields and return you to the initial version of the GL Publisher Group Report form allowing you to create a new Report Group or view an existing one.
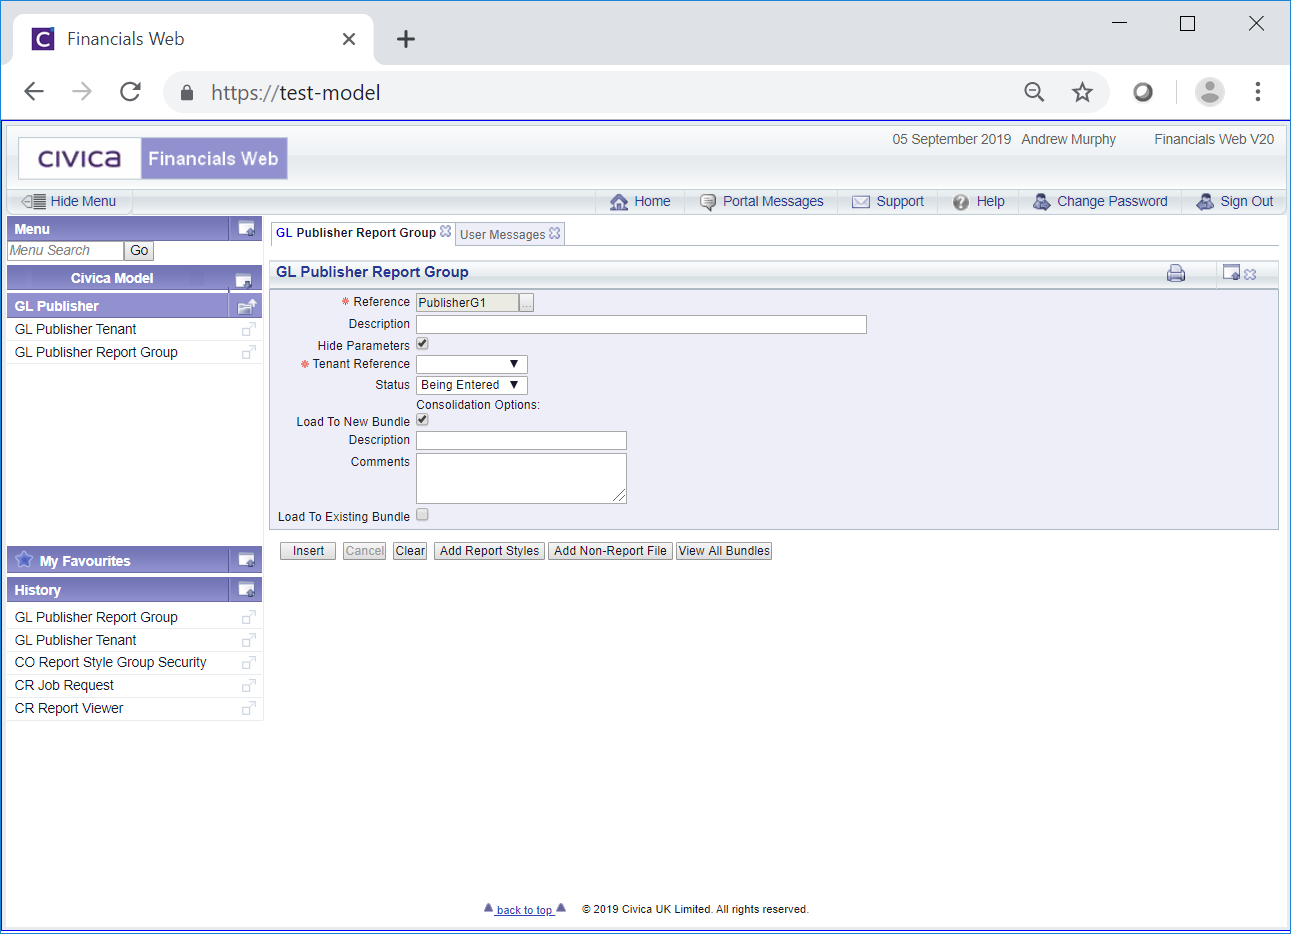
Click on the  button to create the GL Publisher Report Group - additional buttons will also be available:
The Status field has changed to  as the Report Group has now been created.
The buttons available on the form are:
 : Click on this button to save any changes made to the form, including changes to the fields and items added to the Report Group.
 : Clicking on this button will delete the Publisher Report Group - a message will be displayed asking for confirmation that it is to be deleted. Please note: once a Bundle has been created from the Report Group, the Bundle should firstly be deleted in the Civica Bundle software.
 : Clicking on this button will open the Audit Info screen, providing audit information on the Publisher Report Group and is further detailed in the Audit Info section.
 : Clicking on this button will allow you to add a note to the Publishing Report Group. Notes are further detailed in the Notes section.
 : Click on this button and a Select Report Styles form will open allowing you to search for and add Reports Styles to the Report Group. This form is further detailed in the Selecting Report Styles section.
Once the Report Styles have been selected, they will appear in a Reports Grid at the bottom of the GL Publisher Report Groups form:
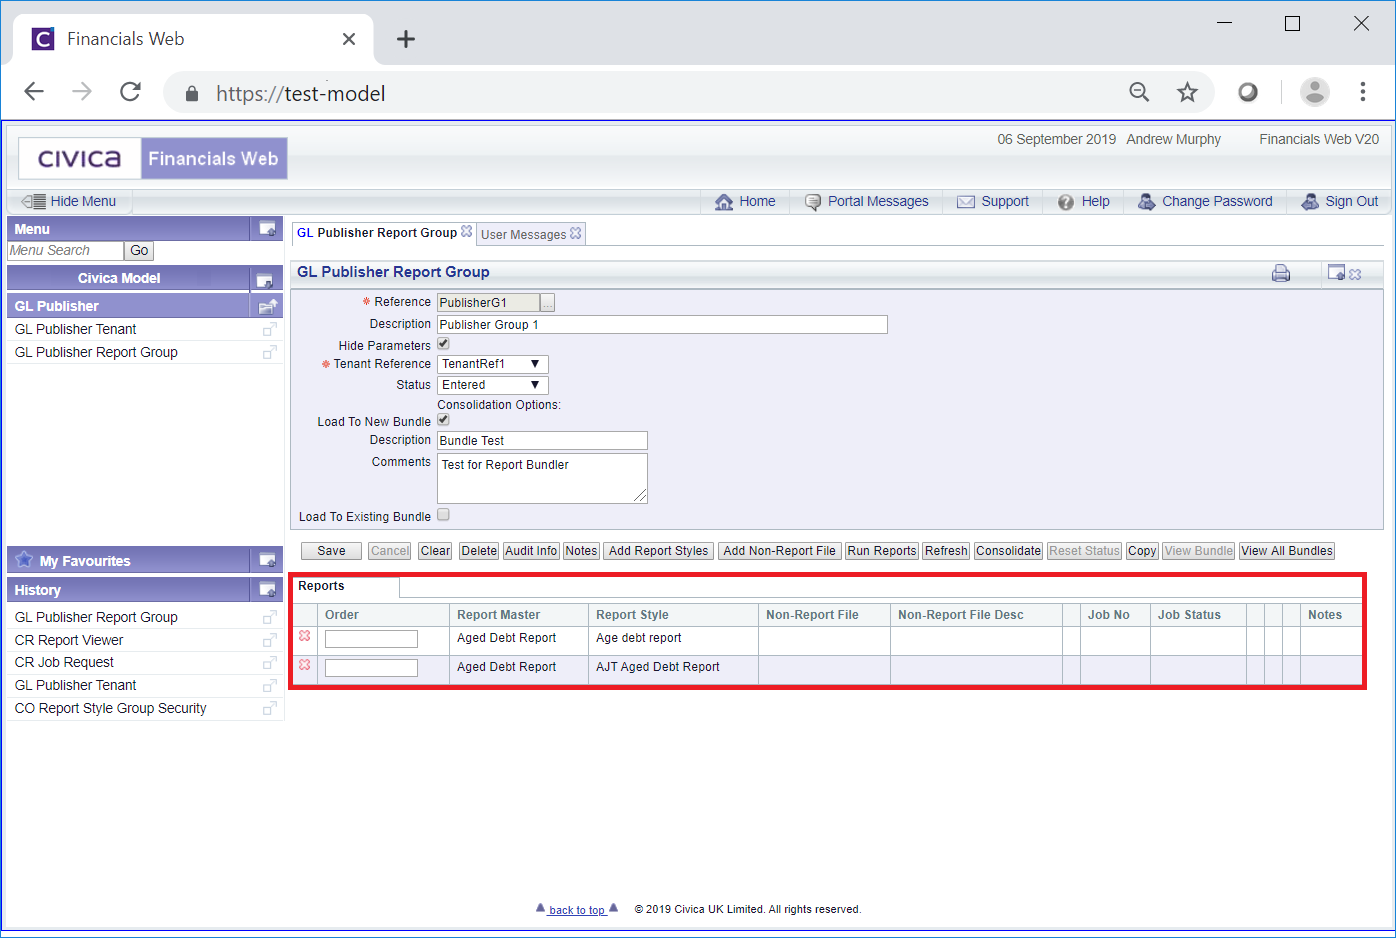
Further Report Styles can be added to the Grid by re-clicking on the button.
Report Styles can be removed from the Grid by clicking on the  button located to the far left of the relevant Line.
In the Order column in the Grid, add the order that the items in the Grid are to be included in the Bundle:

Click on the button to ensure that these changes are saved.
 : Clicking on this button will open the Select Non-Report Files form, allowing you to add a non-Report file, such as a header or a footer for the Bundle, to the Report Group.
This form will allow you to create non-Report files from your network and add them to Publisher and is further detailed in the Creating Non-Report Files section.
This form will also allow you to add any non-Report file that has been added to Publisher to the Report Group and is further detailed in the Adding Non-Report Files section.
Once the non-Report files have been selected, they will appear in the Reports Grid at the bottom of the GL Publisher Report Groups form:
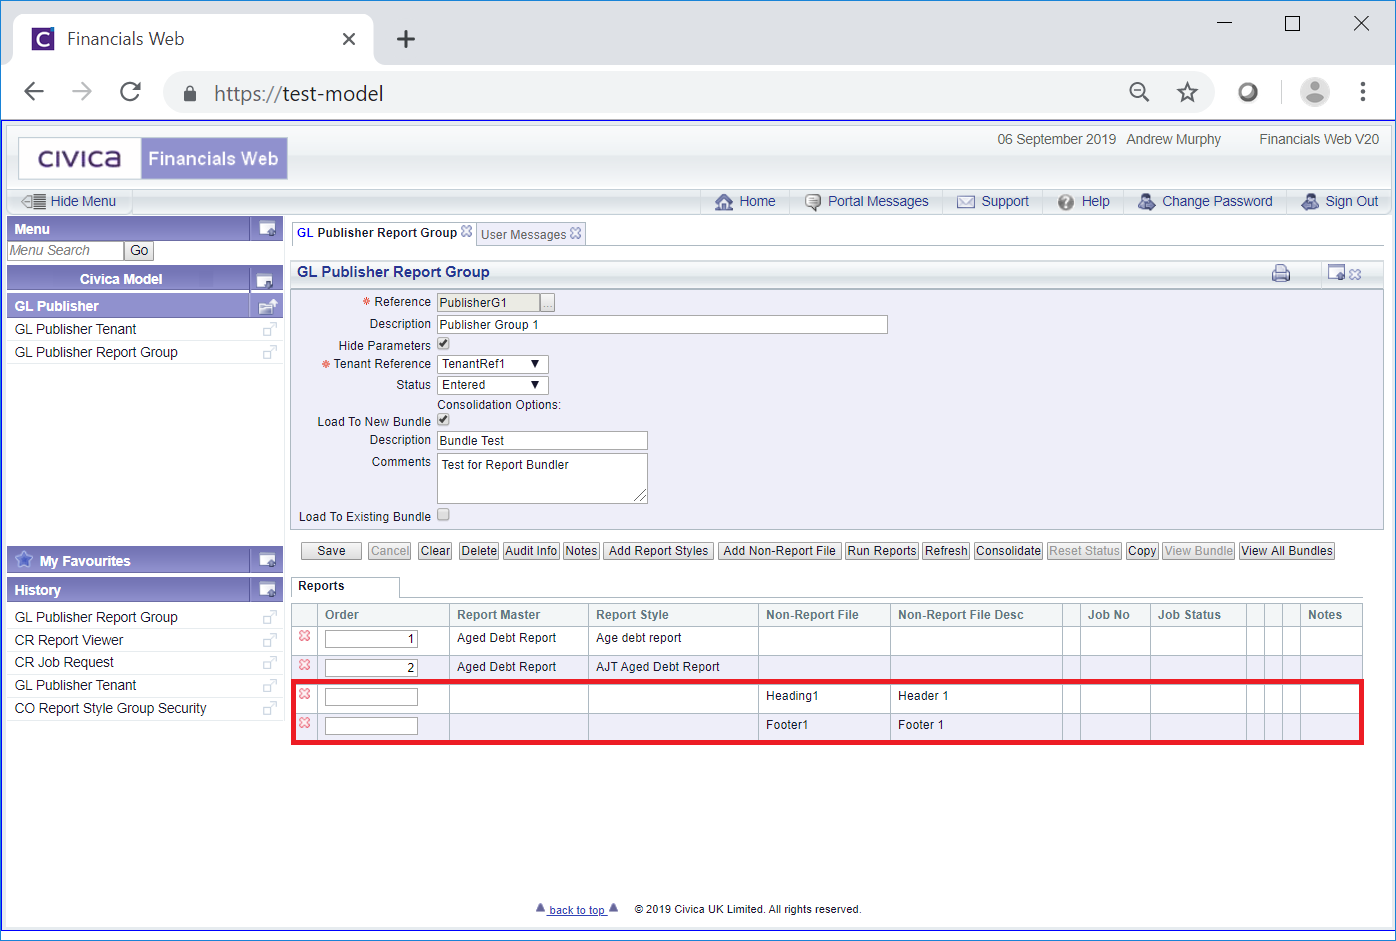
Further non-Report files can be added to the Grid by re-clicking on the button.
Non-Report files can be removed from the Grid by clicking on the button located to the far left of the relevant Line.
In the Order column in the Grid, add the order that the items in the Grid are to be included in the Bundle:

Click on the button to ensure that these changes are saved.
 : Once the required Reports Styles have been added to the Grid at the bottom of the GL Publisher Report Group, the job to generate the Reports can be run directly from this form by clicking on this button, which will open the GL Submit Publisher Reports form. This form is further detailed in the Submitting Group Reports section.
Once submitted the Job No column and the Job Status columns on the Reports Grid at the bottom of the form will be updated.
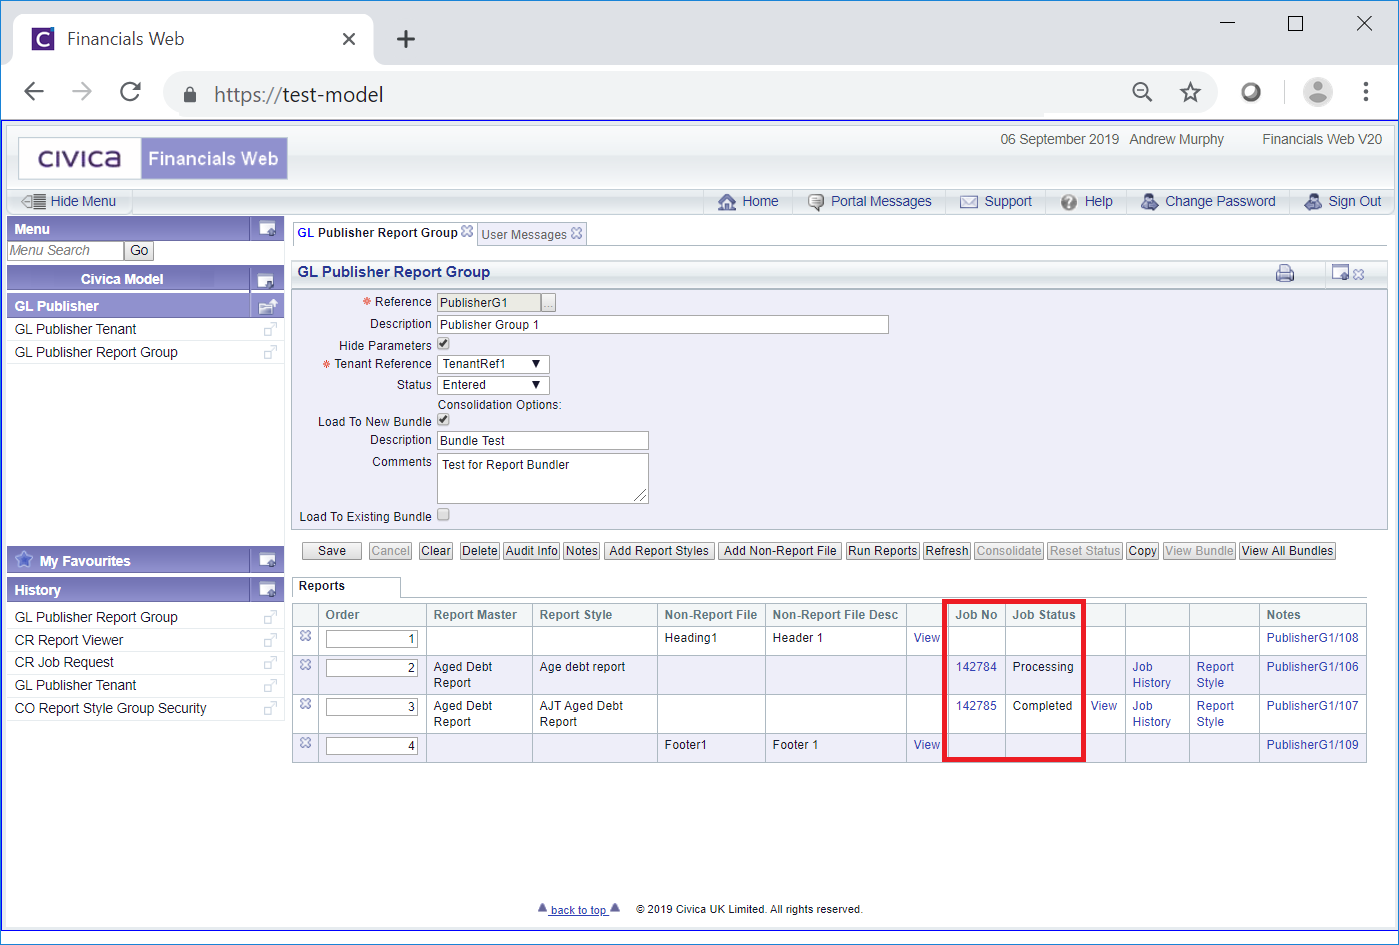
Clicking on the link in the Job No column will open the job details in the Report Viewer for the relevant module. The Report Viewer is further detailed in the Reporting How to Guide section.
 : Click on this button to refresh the Job Status. The job will be completed when the Job Status is set to complete.
Once the job is set to Complete, the Report can be opened by clicking on the View link on the relevant Line on the Grid:

The other links on the Grid are as follows:

These are:
The Status field will change to ![]() and the ,
and the , ![]() , and
, and  buttons will be disabled.
 : This button will only be available when the Status field is set
  . Clicking on this button will reset the Status field back to and the , and buttons will be enabled.
 : This button will be enabled once the Status of the Publishing Report Group is set to
  : This button will be enabled once the Status of the Publishing Report Group is set to