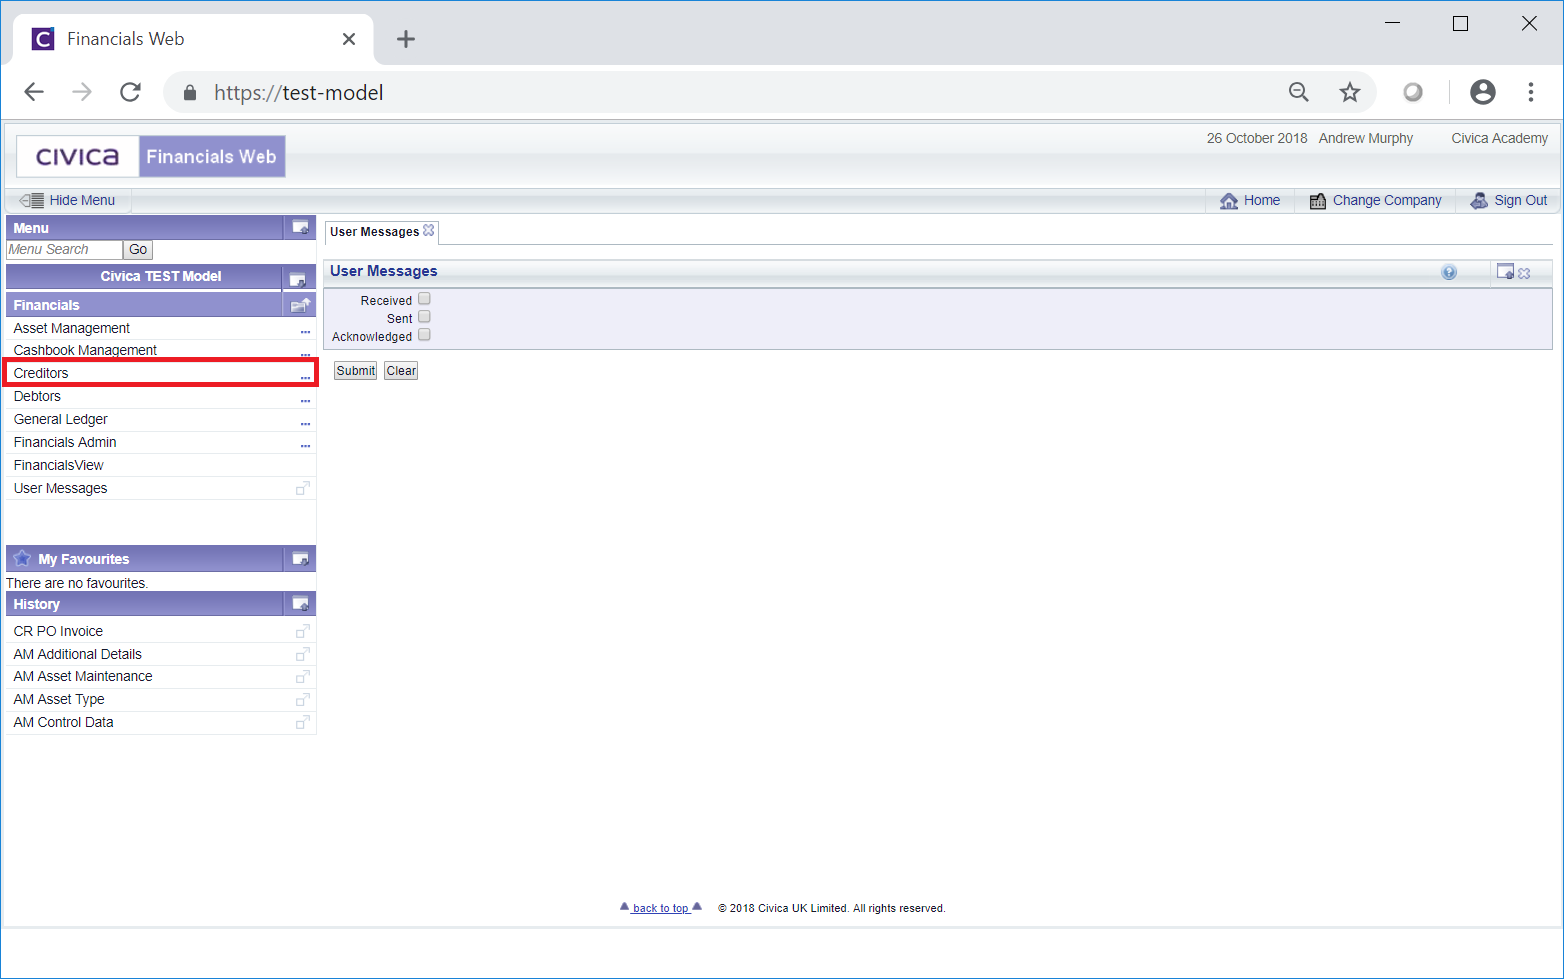
Manual Payments can be viewed and, where appropriate, amended on the CR Manual Payment form, which can be accessed by selecting the Creditors option from the Financials menu:
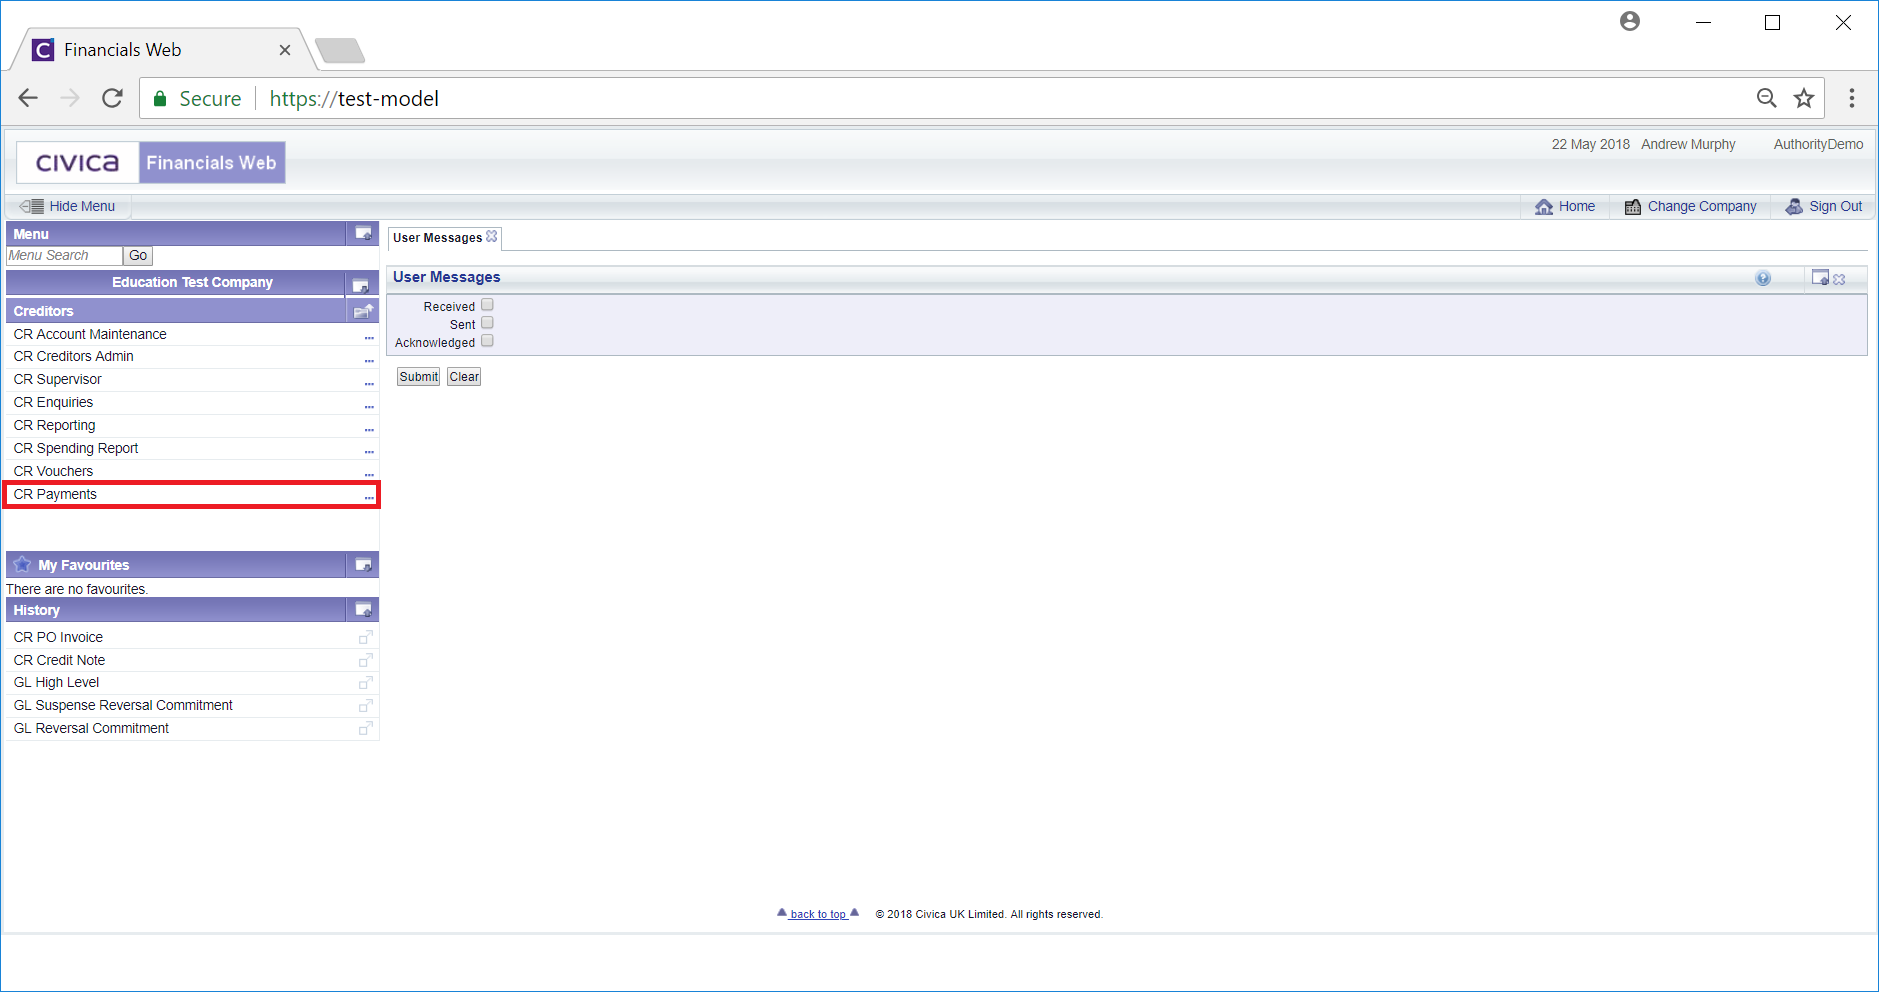
Then selecting the CR Payments option:
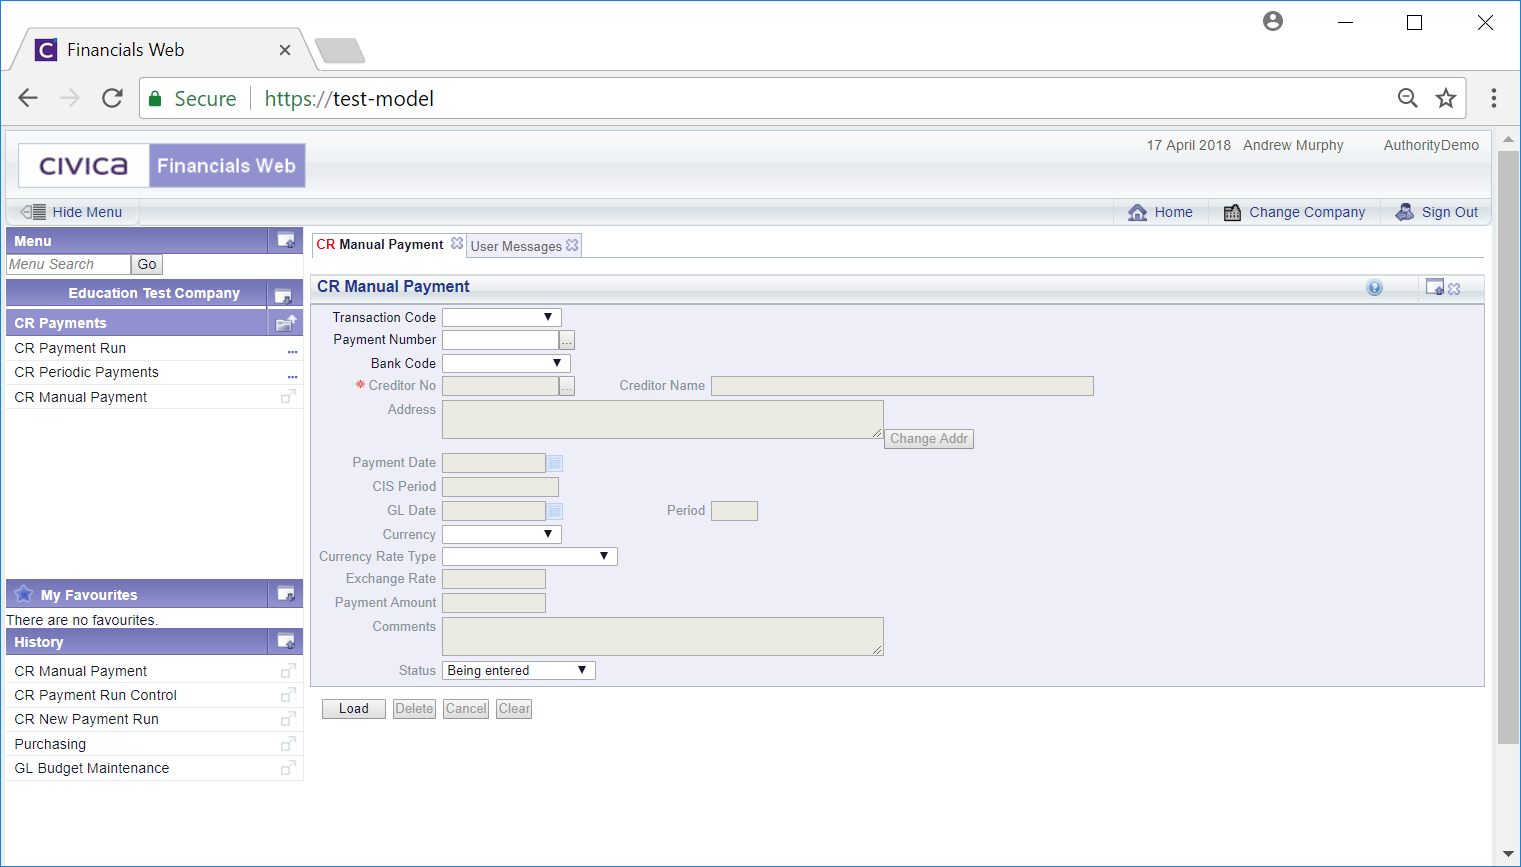
And then the CR Manual Payment option:

The CR Manual Payment form will be displayed:
Add the payment reference of the Manual Payment to the Payment Number field.
Alternatively click on the Find Payment button located immediately to the right of this field: ![]() . This will open the CR Find Payment form, allowing you to search for and select the required Manual Payment. This form is further detailed in the Find Manual Payments section. The Transaction Code, Payment Number and Bank Code of the selected Manual Payment will be added to the Transaction Code, Payment Number and Bank Code fields on the CR Manual Payment form:
. This will open the CR Find Payment form, allowing you to search for and select the required Manual Payment. This form is further detailed in the Find Manual Payments section. The Transaction Code, Payment Number and Bank Code of the selected Manual Payment will be added to the Transaction Code, Payment Number and Bank Code fields on the CR Manual Payment form:
![]()
Click on the ![]() button and further details of the Manual Payment will be displayed on form. A Payments Details Grid may also be displayed at the bottom of the form and further buttons will also be displayed at the bottom of the form:
button and further details of the Manual Payment will be displayed on form. A Payments Details Grid may also be displayed at the bottom of the form and further buttons will also be displayed at the bottom of the form:
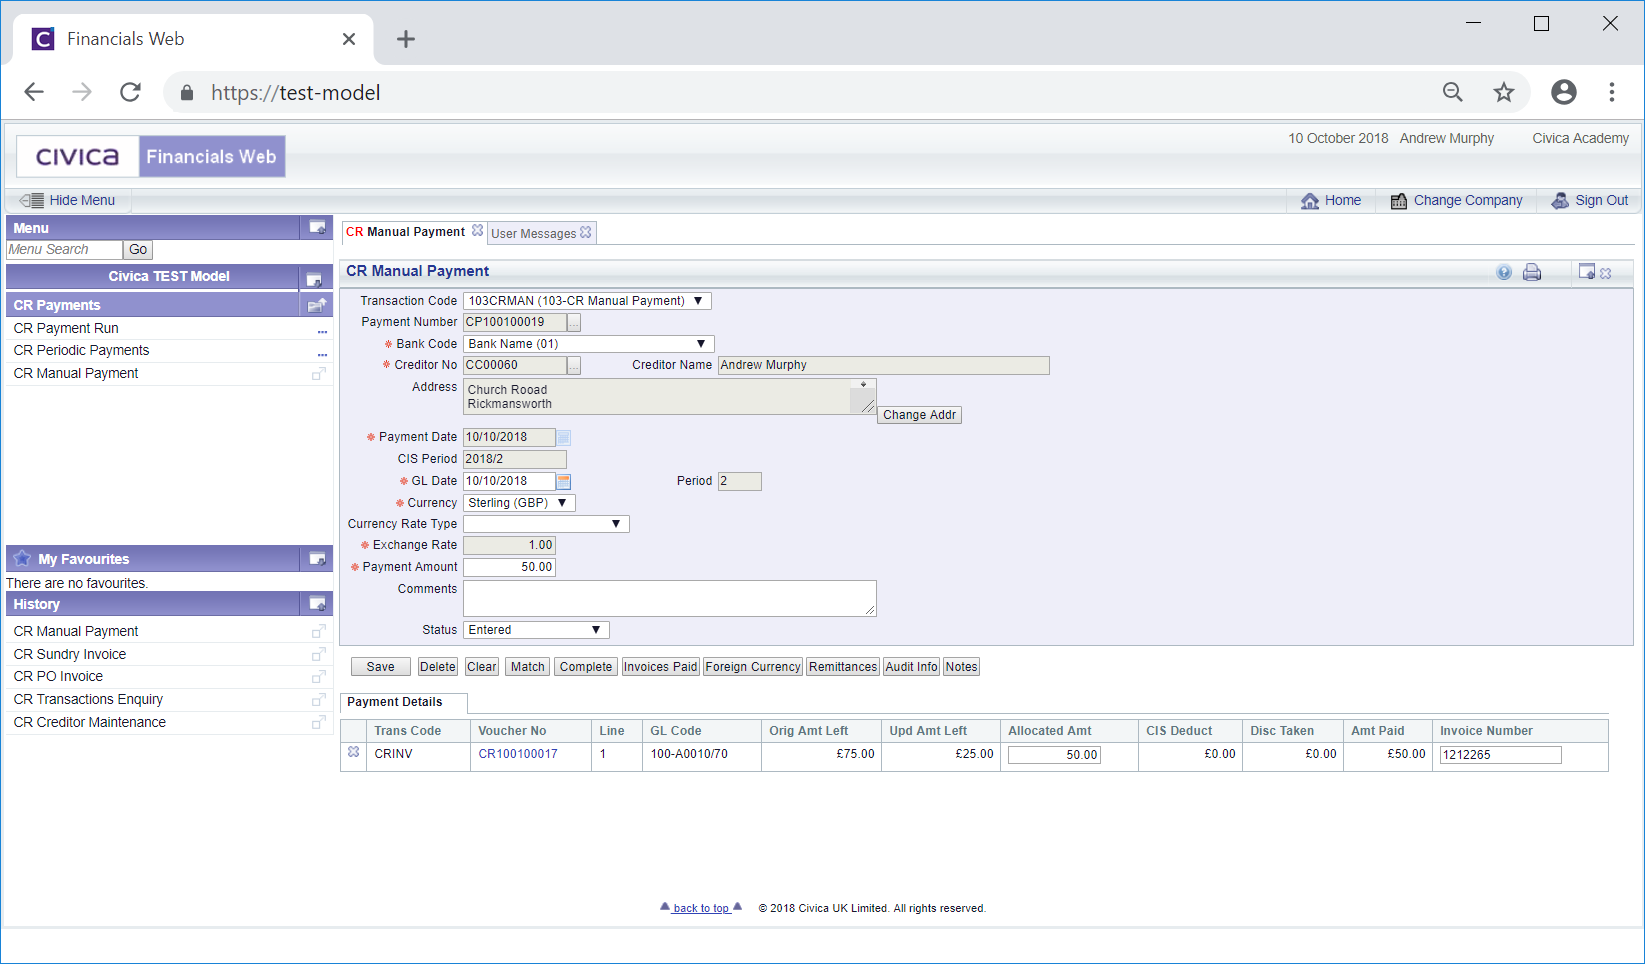
The fields on the form than can be amended are as follows (mandatory fields are notated with a red asterisk *):
Where a Payment Details Grid is displayed at the bottom of the form and the Status field is other than  , a link will be available in the Voucher No column on the Grid:
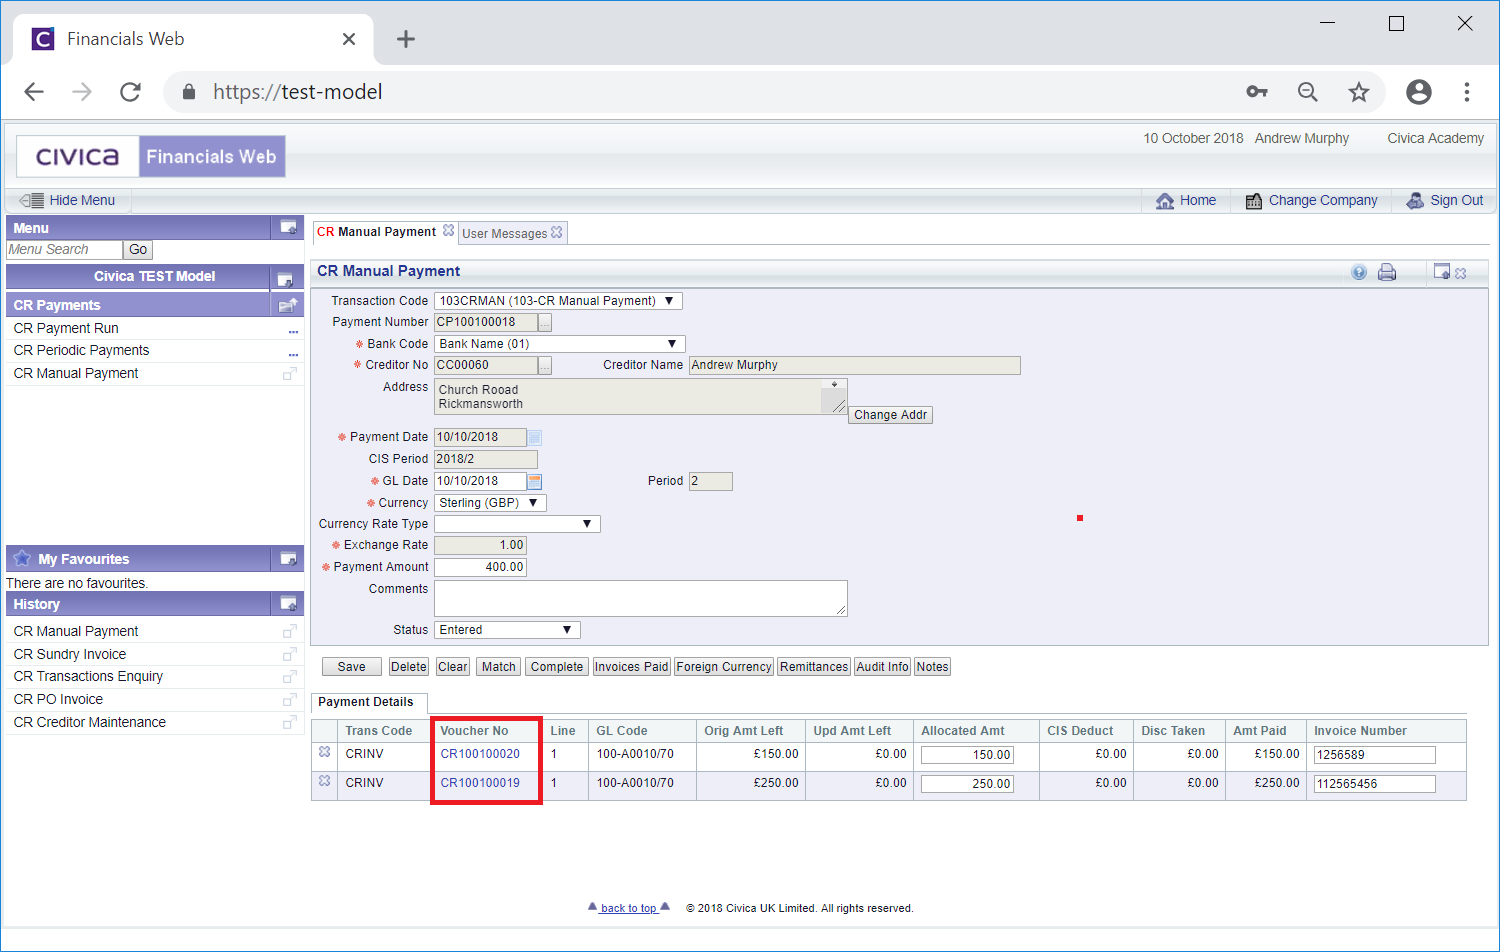
Clicking on this link will open the CR Invoice Enq. screen displaying details of the Invoice. This screen is further detailed in the Invoice Enq section
The following buttons are also displayed - some of which will be enabled dependant on the status in the Status field on the form:
 . Clicking on this button will allow you to match the payment to the relevant outstanding Creditor transactions.
Where a Payment Details Grid is already being displayed at the bottom of the form, clicking on this button will allow you to add further transactions to the Grid. Where the Grid is not being displayed, clicking on this button and selecting the relevant transactions will add the Payment Details Grid to the bottom of the Manual Payments form.
Once this button is selected the CR Find Transaction for Matching form will open allowing you to select these transactions, which is further detailed in the Matching Transactions section. Once the relevant transactions have been selected, they will be added to a Payment Details Grid at the bottom of the CR Manual Payments form:
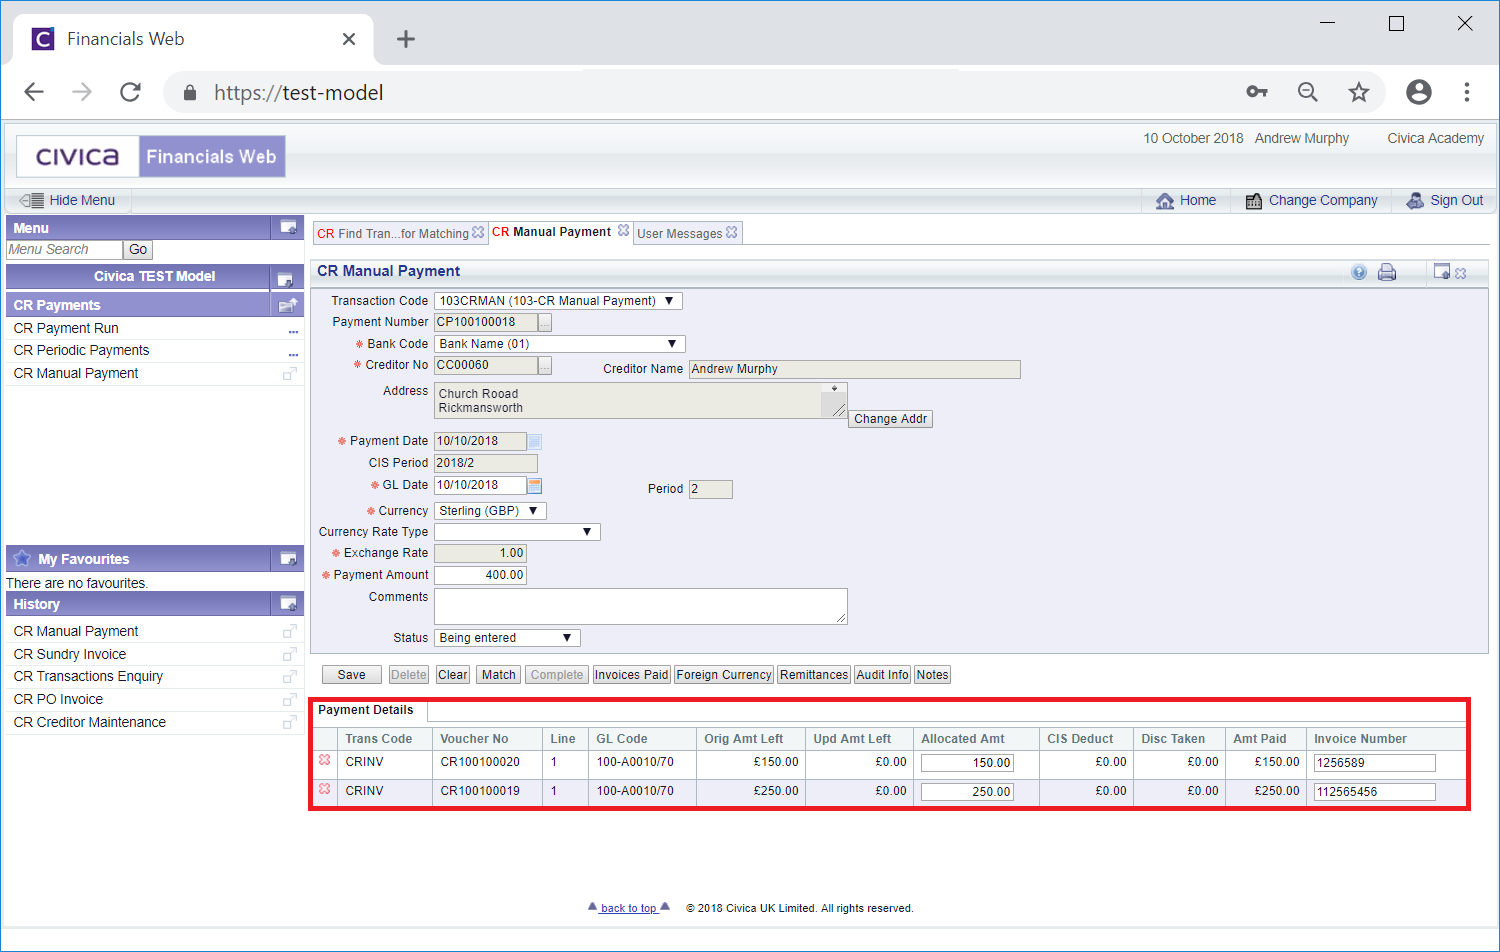
The Lines in the Grid can be removed, if required, by clicking on the ![]() button to the left of the Line.
button to the left of the Line.
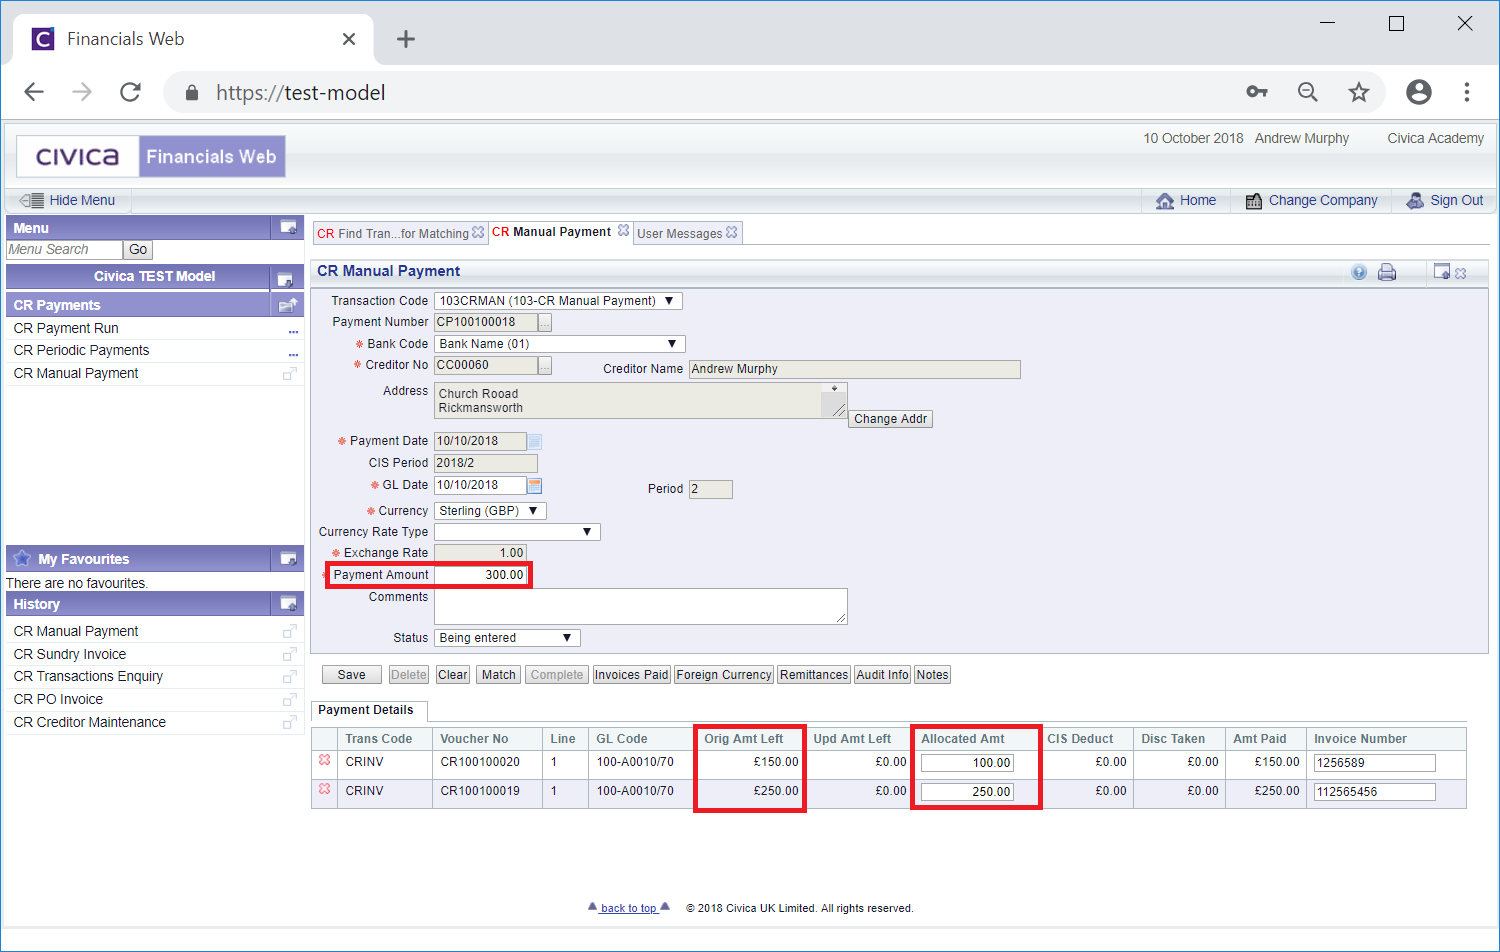
Please note: the amount in the Payment Amount field on the form should be allocated in full to the Lines on the Grid, i.e. in the Allocated Amt column. That is the total amounts in the Allocated Amt column in the Grid should be equal to the amount in the Payment Amount field on the form. These amounts can be amended if required, as can the details in the Invoice Number column in the Grid.
The transactions on the Grid do not have to be fully paid, they can be partly paid. In the example below there are two Lines in the Grid - part of the payment has been allocated to one Line so it is only partly paid and the rest of the payment has been be allocated to the second Line so it is fully paid:
To save changes, including changes to the fields on the form or to the details in the Grid, click on the ![]() button.
button.
If the total amount in the Allocated Amt column on the Grid is not equal to the Payment Amount field on the form, the following message will be displayed:

Selecting the No option will return you to the CR Manual Payment form and the changes will not be saved.
Selecting Yes to this option will return you to the CR Manual Payment form, the changes will be saved and the Status field will be set to  .
.
Otherwise if the total amount in the Allocated Amt column on the Grid is equal to the Payment Amount field on the form, the Status field will be set to ![]() .
.
In both circumstances the Lines in the Grid can still be removed by clicking on the ![]() button to the left of the Line. If the Status was previously at the
button to the left of the Line. If the Status was previously at the ![]() and
and ![]() buttons will now become enabled. These buttons are further detailed below.
buttons will now become enabled. These buttons are further detailed below.
If not previously available the link in the Voucher No column on the Grid will now become available:
Clicking on this link will open the CR Invoice Enq. screen displaying details of the Invoice. This screen is further detailed in the Invoice Enq section
 : Where a Payment Details Grid is displayed at the bottom of the form, clicking on this button will open the CR Invoices Paid By Manual Payment screen with details of the transactions that are in the Grid. This screen is further detailed in the Invoices Paid by Manual Payment section.
 : Clicking on this button will open the CR Payment Foreign Currency screen that will display the currency details of the payment. This screen is further detailed in the Foreign Currency Payments section.
 . Notes are further detailed in the Notes section.