Credit Notes can be created via the DB Credit Note form, which can be accessed from the Financials menu by selecting Debtors > DB Vouchers > DB Credit Note:
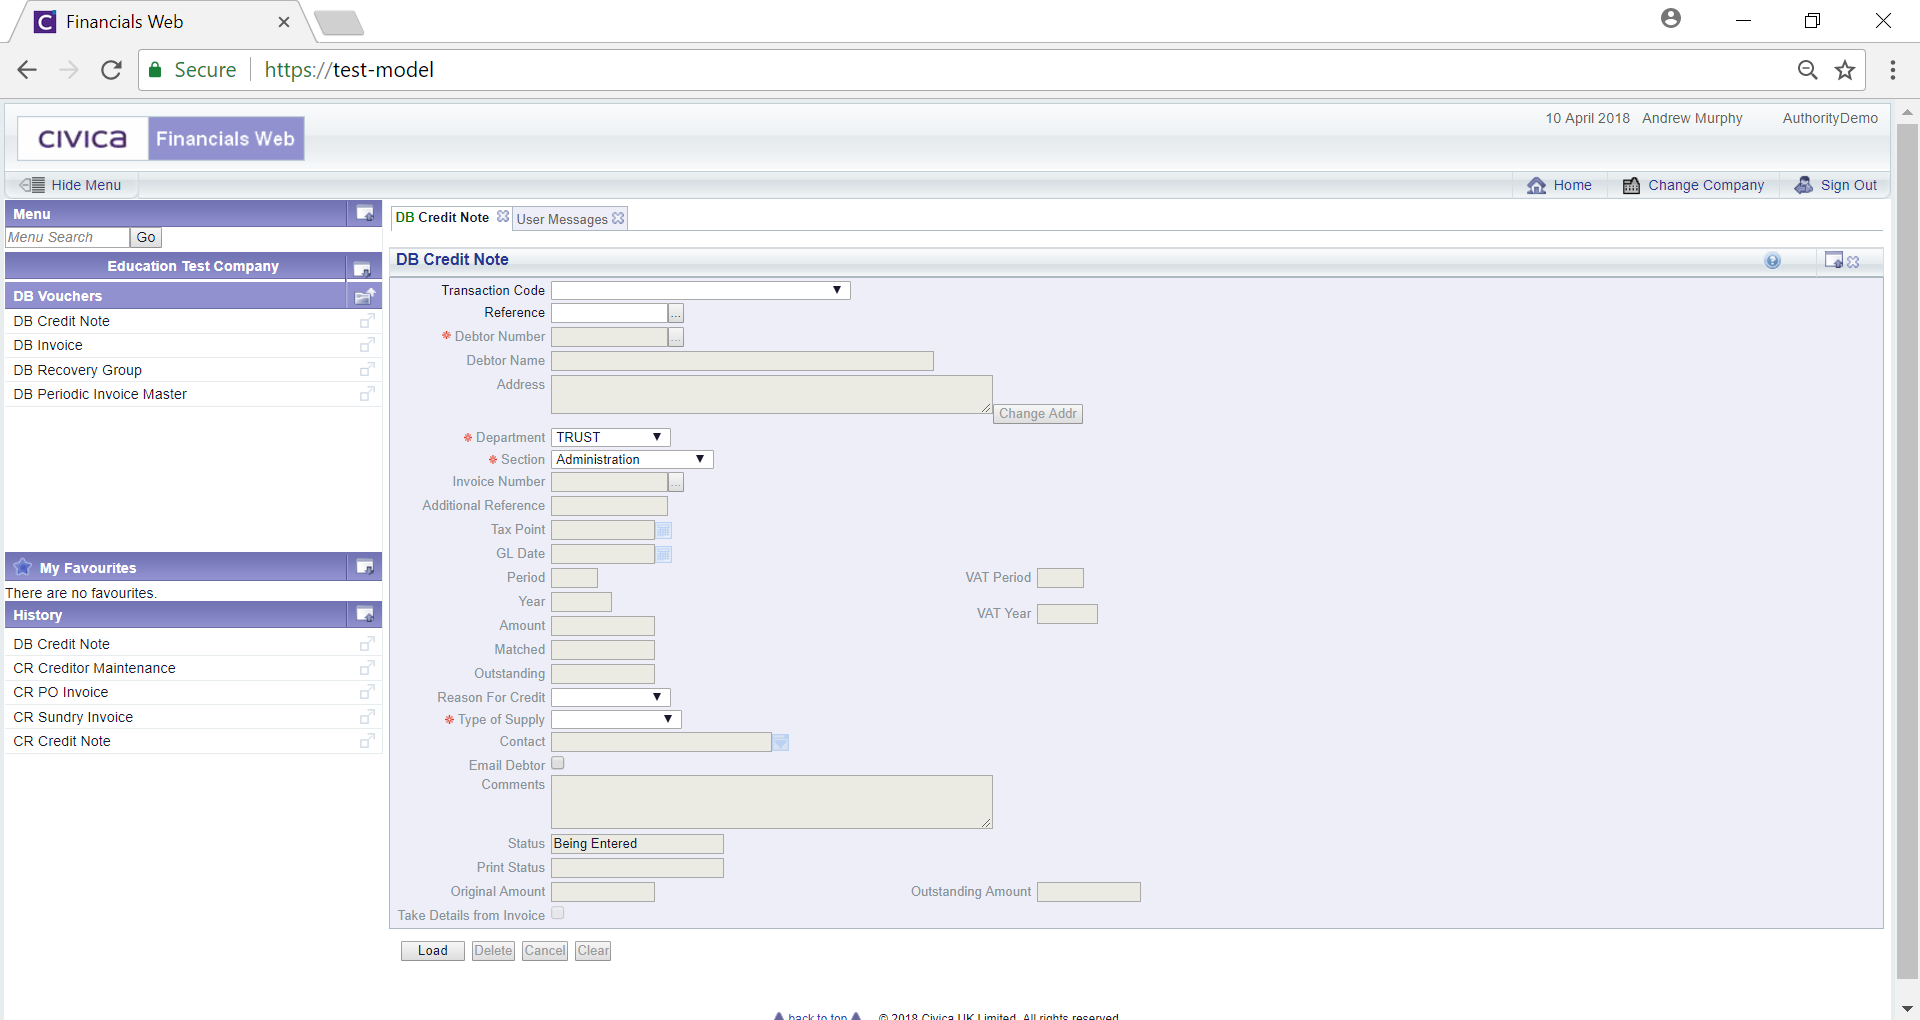
To create a new Credit Note, on the DB Credit Note form select the relevant option from the Transaction Code field and click on the ![]() button.
button.
Please Note: Where you have opted to auto generated Reference Numbers for Credit Notes, one will be created automatically. Otherwise you will need to add the Reference Number before clicking on the ![]() button:
button:
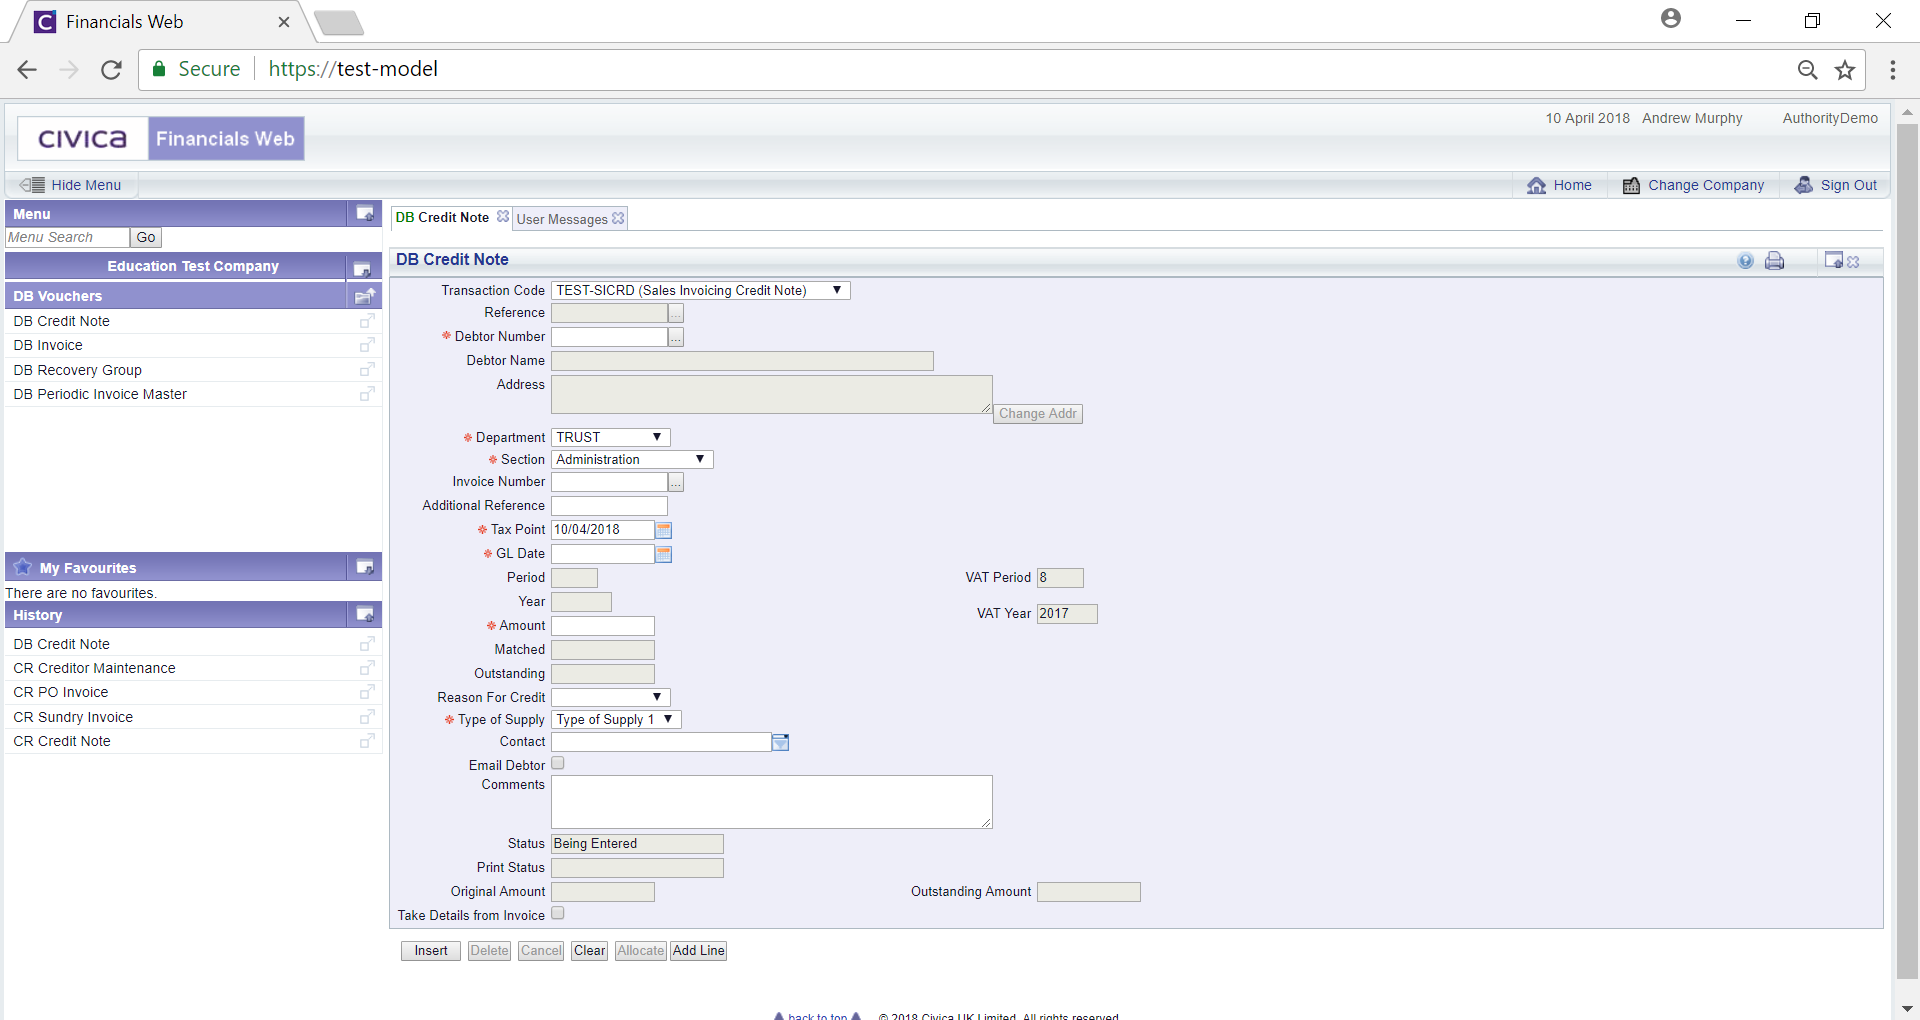
Add details to the fields as required (mandatory fields are notated with a red asterisk *).
The Debtor number can be added to the ![]() field. Alternatively you can search for the required Debtor by clicking on the Find Debtor button located immediately to the right of this field
field. Alternatively you can search for the required Debtor by clicking on the Find Debtor button located immediately to the right of this field ![]() . This will open the DB Find Debtors form, which is further detailed in the Debtor Enquiry form section.
. This will open the DB Find Debtors form, which is further detailed in the Debtor Enquiry form section.
The following buttons are available:
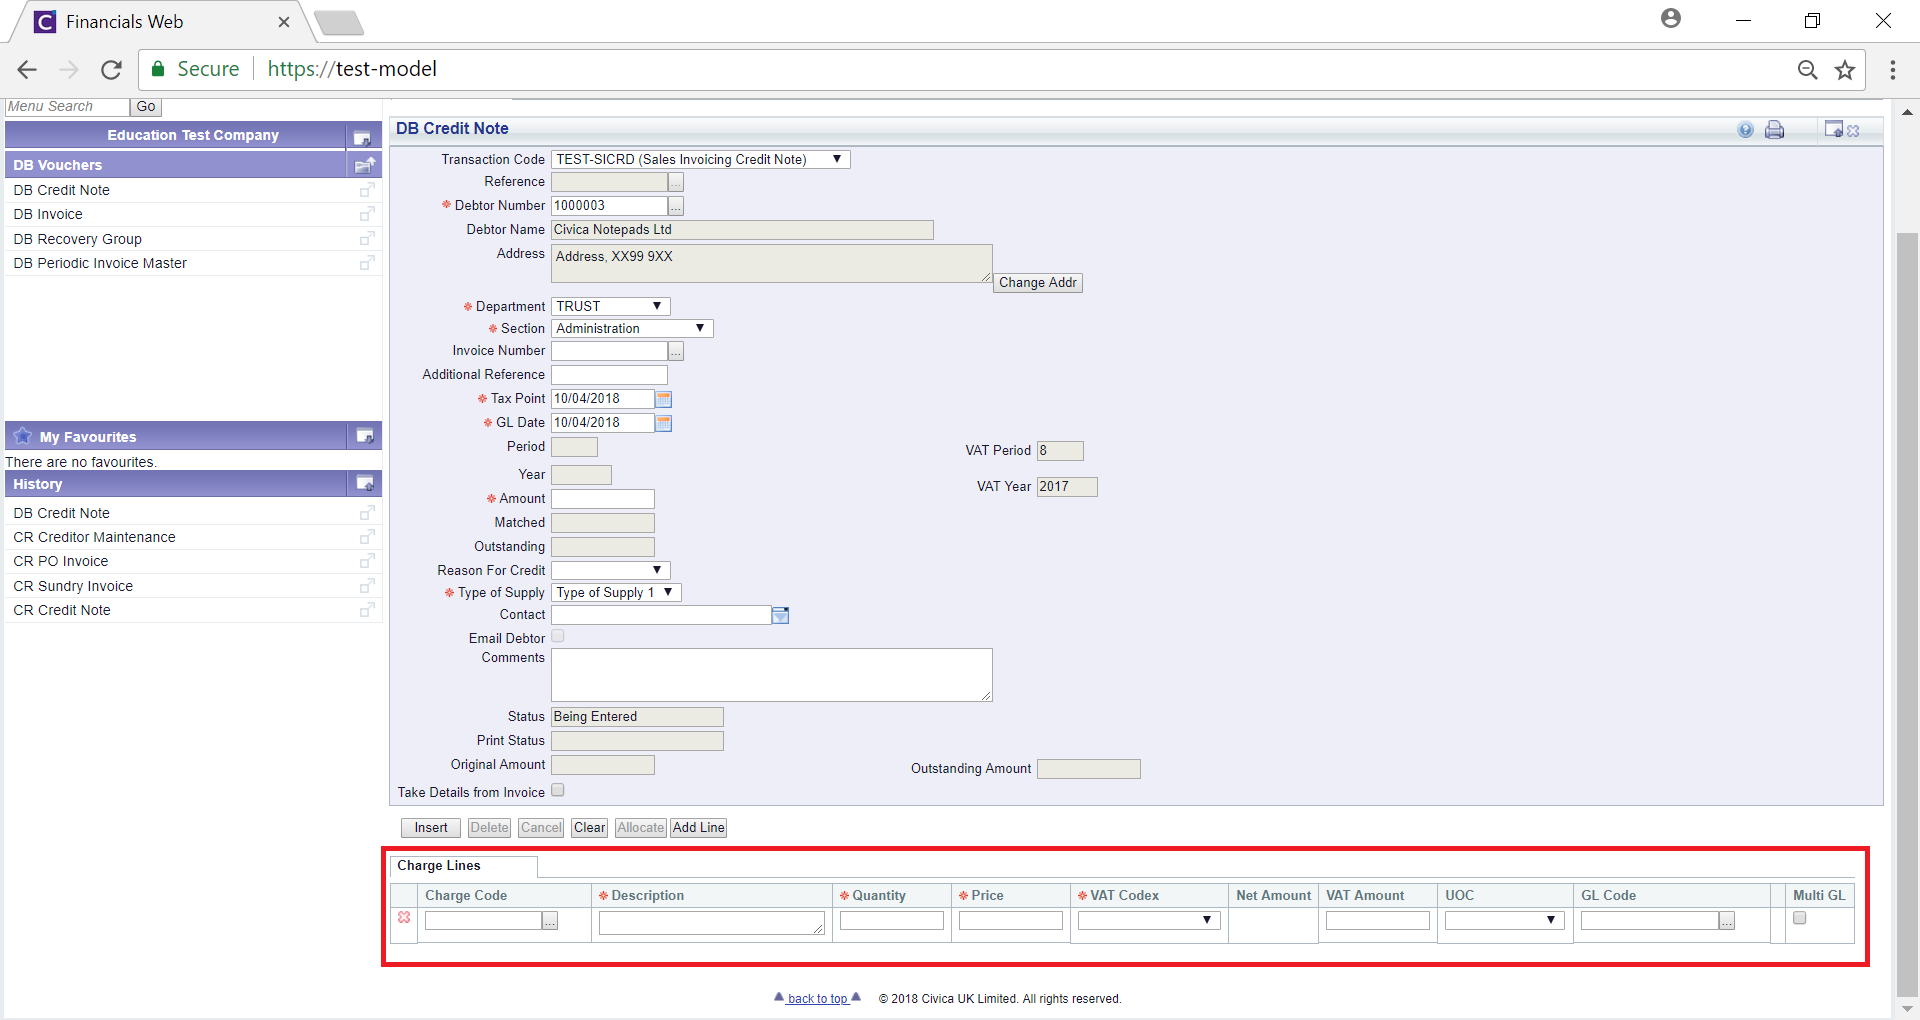
Add details to the fields in the Line as required (mandatory fields are notated with a red asterisk *). Click on this button to add further Lines as required.
Alternatively lines from an existing Sales Invoice can be added by clicking on the ![]() tick box and adding the Invoice number to the
tick box and adding the Invoice number to the ![]() field on the form. Alternatively you can search for the Invoice number by clicking on the Find Invoice button located to the right of this field:
field on the form. Alternatively you can search for the Invoice number by clicking on the Find Invoice button located to the right of this field: ![]() . This will open the DB Find Invoice for Credit Note form, where you can search for and select the relevant Invoice. This form is further detailed in the Find Invoice for Credit Notes section.
. This will open the DB Find Invoice for Credit Note form, where you can search for and select the relevant Invoice. This form is further detailed in the Find Invoice for Credit Notes section.
Once added clicking on the ![]() button, as described below, will add the lines from this Invoice into the Grid below the DB Credit Note form.
button, as described below, will add the lines from this Invoice into the Grid below the DB Credit Note form.
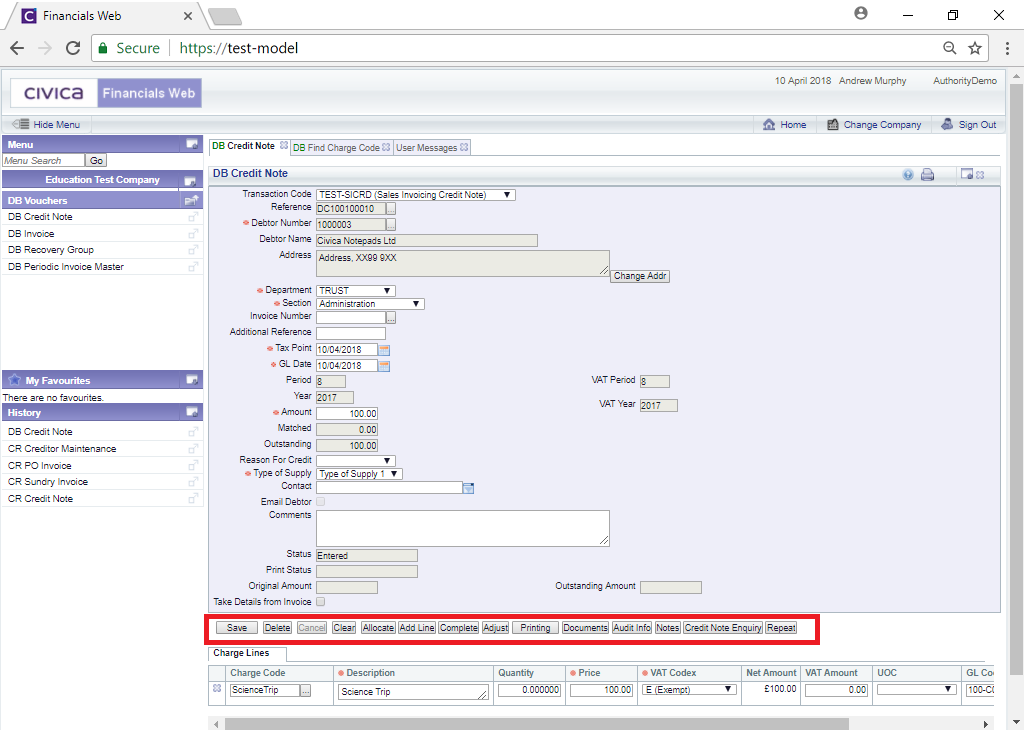
The additional buttons are:
 : Clicking on this button will open the DB New Credit Note Allocation form and allow you to allocate the Credit Note to a Sales Invoice. This is further detailed in the Credit Note Allocation section.