Creditors can be created where bank details are not required, i.e. only Cheque payments are made to the Creditor rather than BACS payments. These Creditors are created via the CR Creditor Maintenance form. Once the Creditor has been created, the Creditor details can be amended, including adding banks details if required.
Where bank details are required the Creditor should be created using the Insert Creditor functionality.
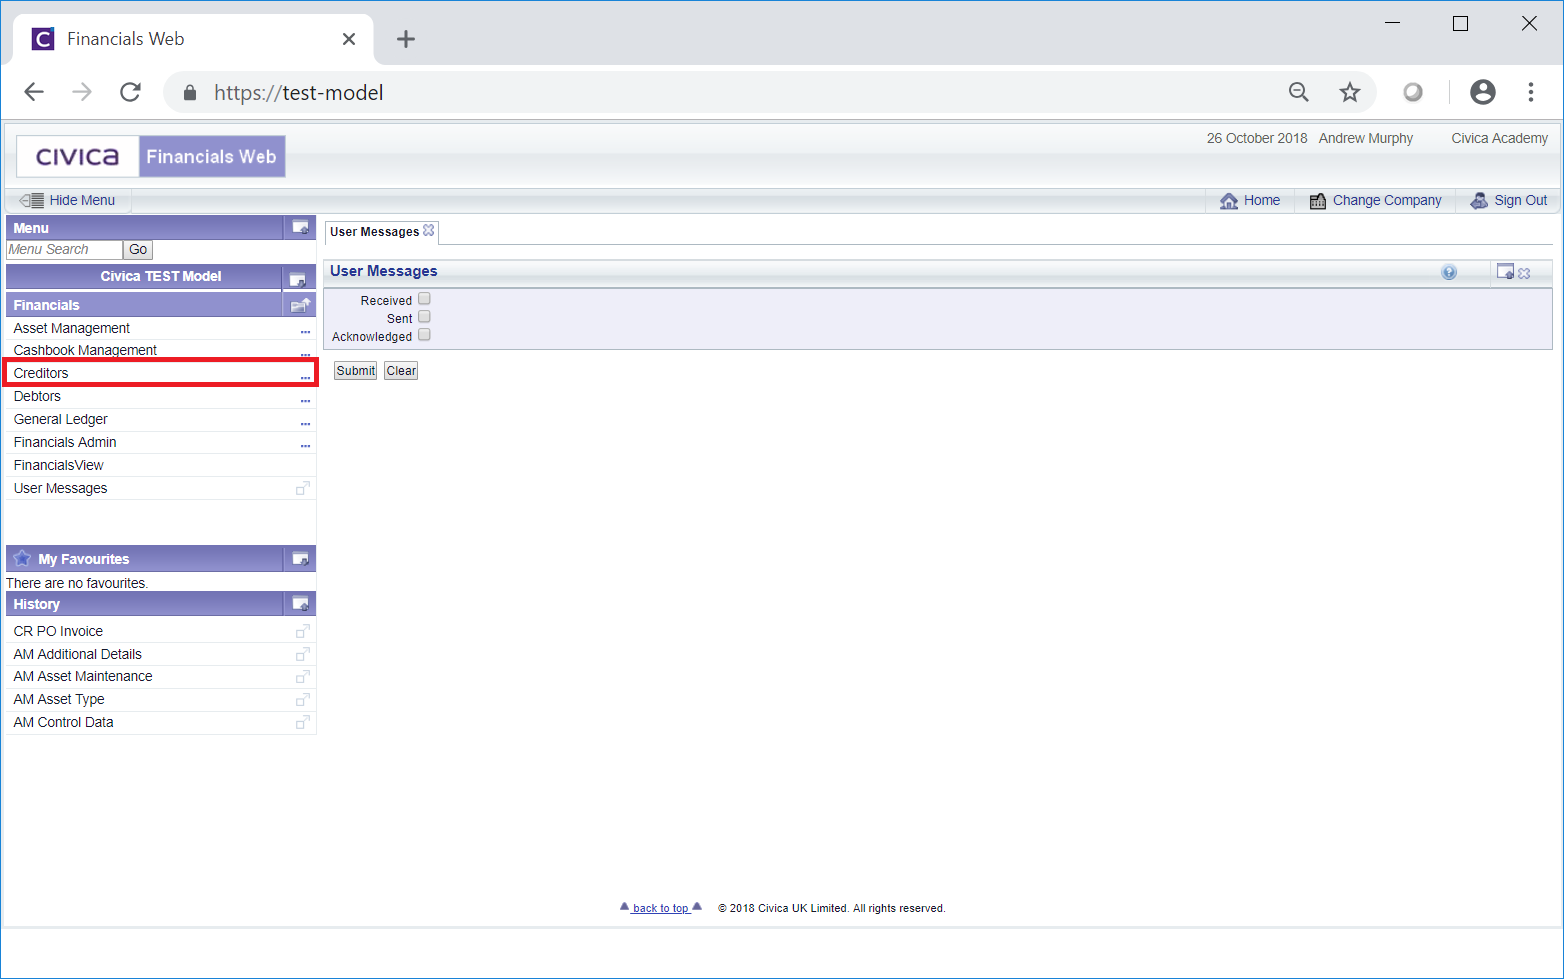
To access the CR Creditor Maintenance form select the Creditors menu option from the Financials menu:
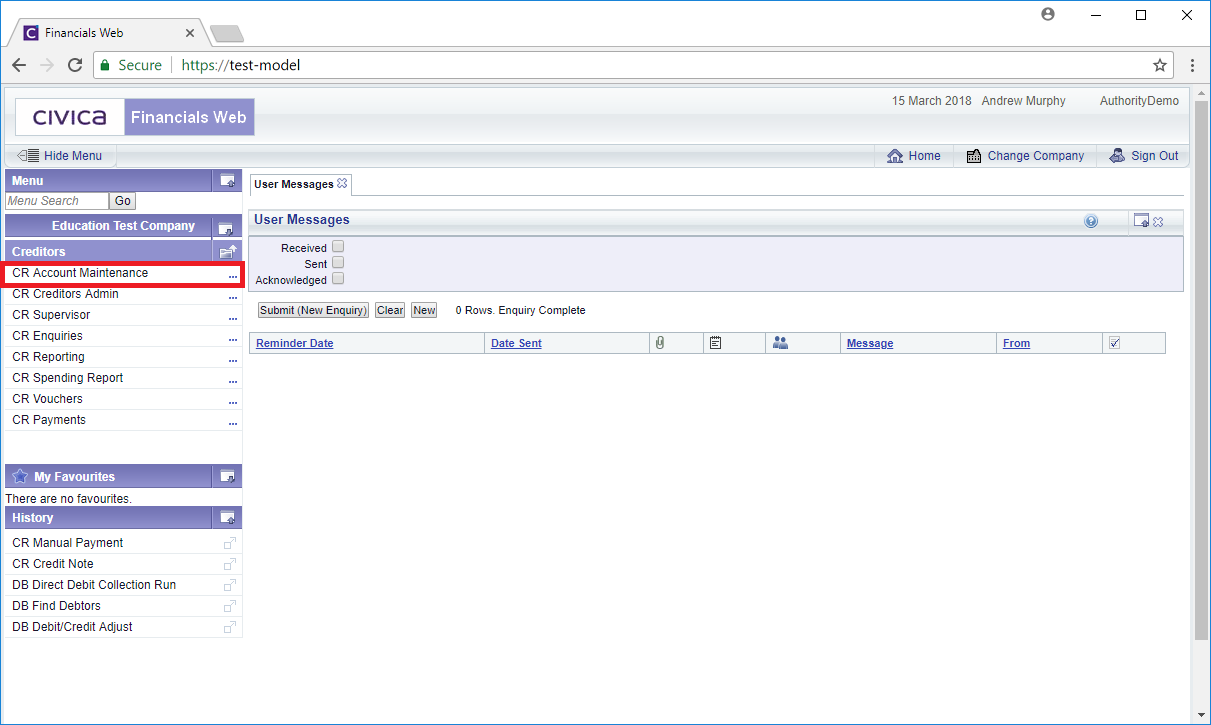
Then the CR Account Maintenance menu option:
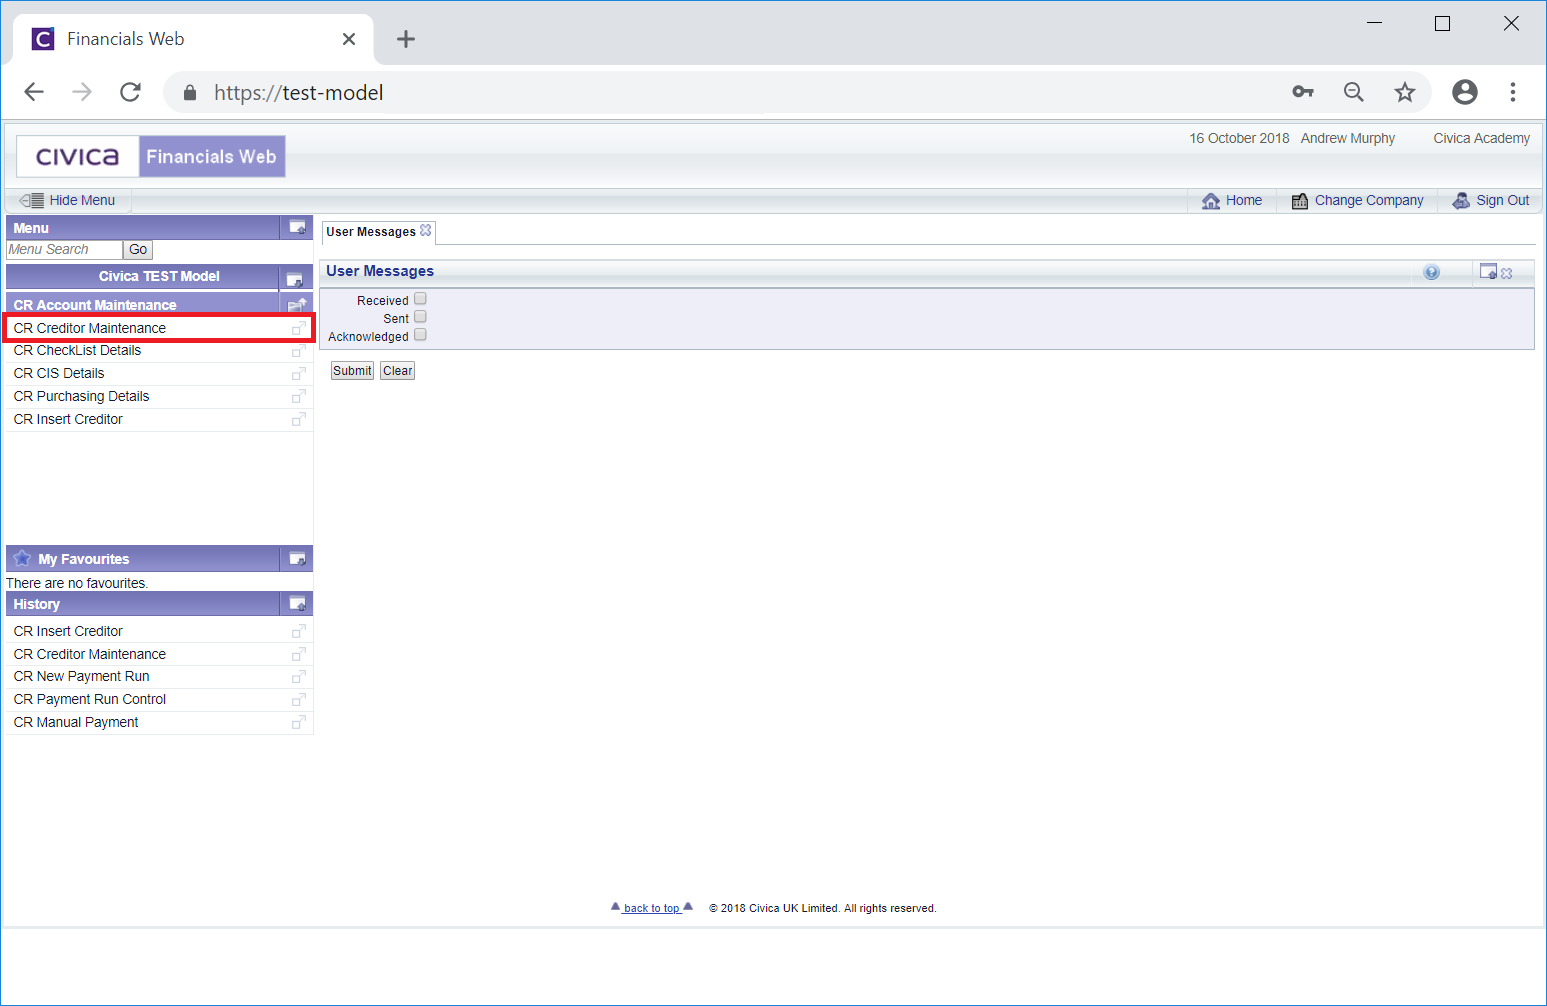
Then the CR Creditor Maintenance menu option:
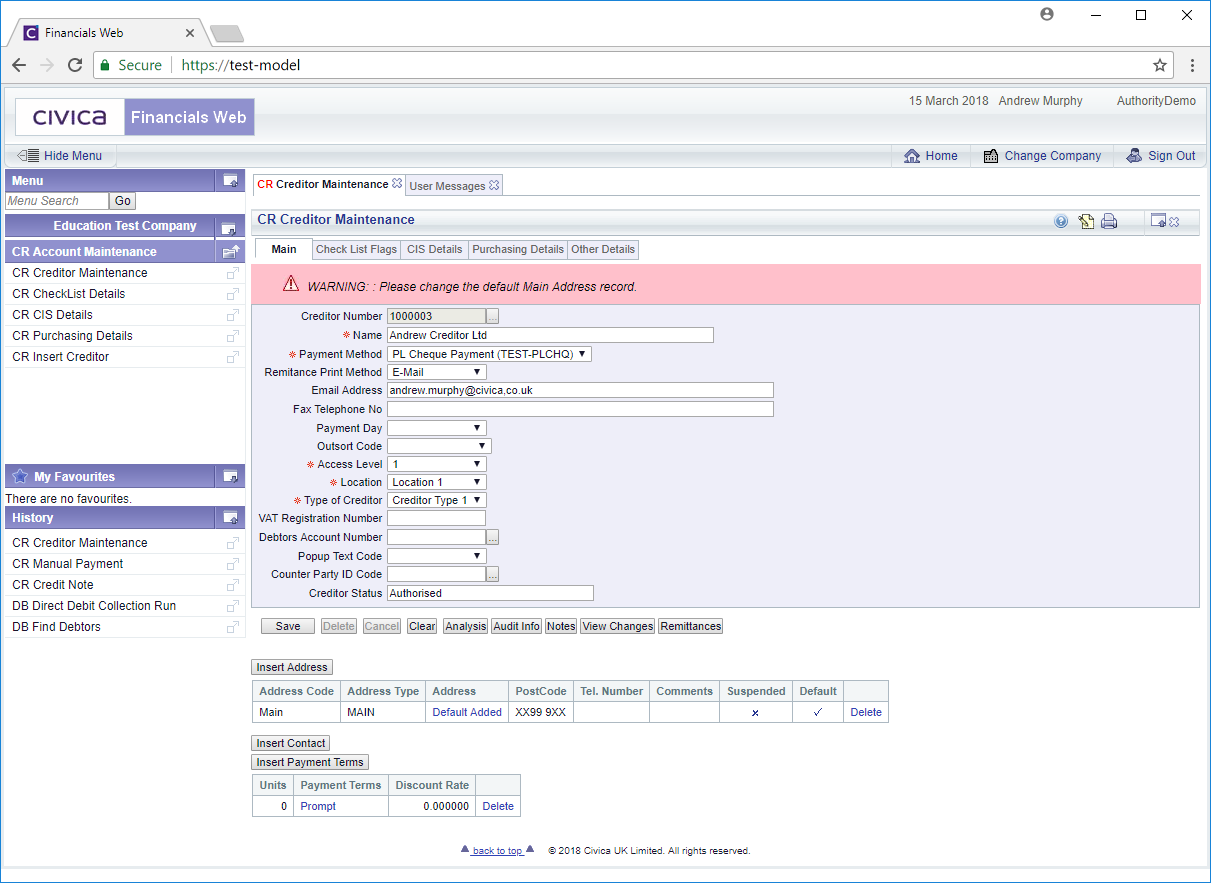
The CR Creditor Maintenance form will then be displayed:

To create a new Creditor click on the  button located at the bottom of the form:
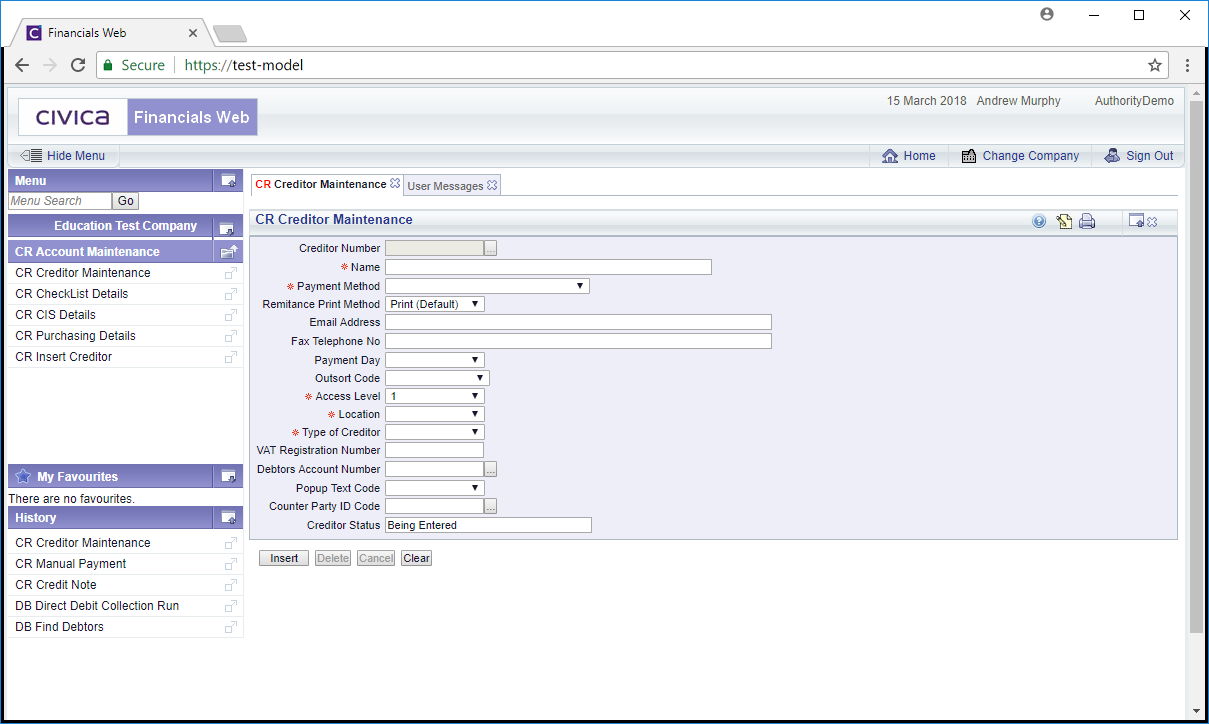
Add details to the following fields as required (mandatory fields are notated with a red asterisk *):
- Name: Add the name of the Creditor.
- Payment Method: Select the relevant option from this drop-down field to detail how payment is to be made to this Creditor. These options will be dependant on your Trust and how many schools you are responsible for. The Trust will be denoted with 100 and each school will be denoted with a subsequent number, e.g, 101, 102, 103 etc.
For example if the Creditor is to receive payments from the Trust, the option selected in the Payment Method field should include100-CRCHQ. If the Creditor is to receive payments from an individual school in the Trust the option selected should include that school number, e.g. 101-CRCHQ, 102-CRCHQ, 103-CRCHQ etc.
Creditors that are to receive payment via BACS should be created through the Insert Creditors functionality - if a BACS option is added to the Payment Method field, an error message will be displayed when the  button is selected.
Alternatively a Cheque payment method can be added at this stage and once the Creditor has been created, the payment method can be changed to a BACS payment method and bank details for the Creditor can be added, which is further detailed in the Amending Creditors section.
The option selected in the Payment Method field will be used when processing payment for Creditors, which is further detailed in the Creditor Payments section.
- Remittance Print Method: This drop-down field defines how Remittances are to be sent to the Creditor once they have been created as part of the payment process, which is further detailed in the Creditor Payments section.
Where the selected option includes Email, Remittances will be emailed directly to the Creditor.
Where the selected option includes Print, the Remittances will be emailed to the user that created the Remittance when processing the payment. It can then be printed and posted to the Creditor.
The following options are available:
- Print (default): This will be the default option - as this option includes Print, if selected the Remittance will be emailed to the user that created it when processing the payment. It can then be printed and posted to the Creditor.
- Email: As this option includes Email, if selected the Remittance will be emailed directly to the Creditor.
- E-Mail and Print: As this option includes Email, if selected the Remittance will be emailed directly to the Creditor. As it also includes Print, it will also be emailed to the user that created the Remittance when processing the payment. It can then be printed and posted to the Creditor.
- Fax: Please ignore this option as the functionality is no longer being used.
Select the relevant option.
- Email Address: Add an email address if one is available or required. Where the Remittance Print Method field includes Email, i.e. Email or Email and Print, this field will be required.
- Fax Telephone No: Please ignore this option as this functionality is no longer available.
- Payment Day: Select the relevant option from this drop-down field to detail which day payment is to be made, if required
- Outsort Code: Please ignore this field as the functionality is not currently available.
- Access Level: Select the relevant option from this drop-down field to detail whether this Creditor should be hidden. This field is normally utilised when the Creditor has gone out of business or has not been used for a substantial period. Selecting 0 will make the Creditor available to all users, selecting 1 will hide the Creditor so they no longer available to users, e.g. in search results.
- Location: Select the relevant option from this drop-down field to detail the location of the Creditor.
- Type of Creditor: Select the relevant option from this drop-down field to detail the type of Creditor. The options in this field will be specified by each site.
- VAT Registration Number: Add the Creditors VAT Registration Number if appropriate.
- Debtors Account Number: This will allow you to link a Debtor that has been created within the Debtors module to the Creditor. For example you may have an organisation that is both a Creditor and a Debtor. Linking the two will allow you to offset payments, for example creating a Creditor invoice that is paid from a Debtor's refund transaction.
- Popup Text Code: This field is not currently being utilised but can provided a message to be displayed in certain circumstance, for example when creating a Creditor a message can be displayed asking you to check that a particular field has been populated.
- Counter Party ID Code: Please ignore this field as this functionality is not currently available.
- Creditor Status: This will default to Being Entered as you are in the process of creating a new Creditor . This will change as you go through the process of creating a Creditor.
Clicking on on the  button will return you to the previous screen, and any changes you have made will not be saved. To create a new Creditor and return to the above screen re-click on the button.
Once the details have been added click on the button and a new Creditor record will be created:
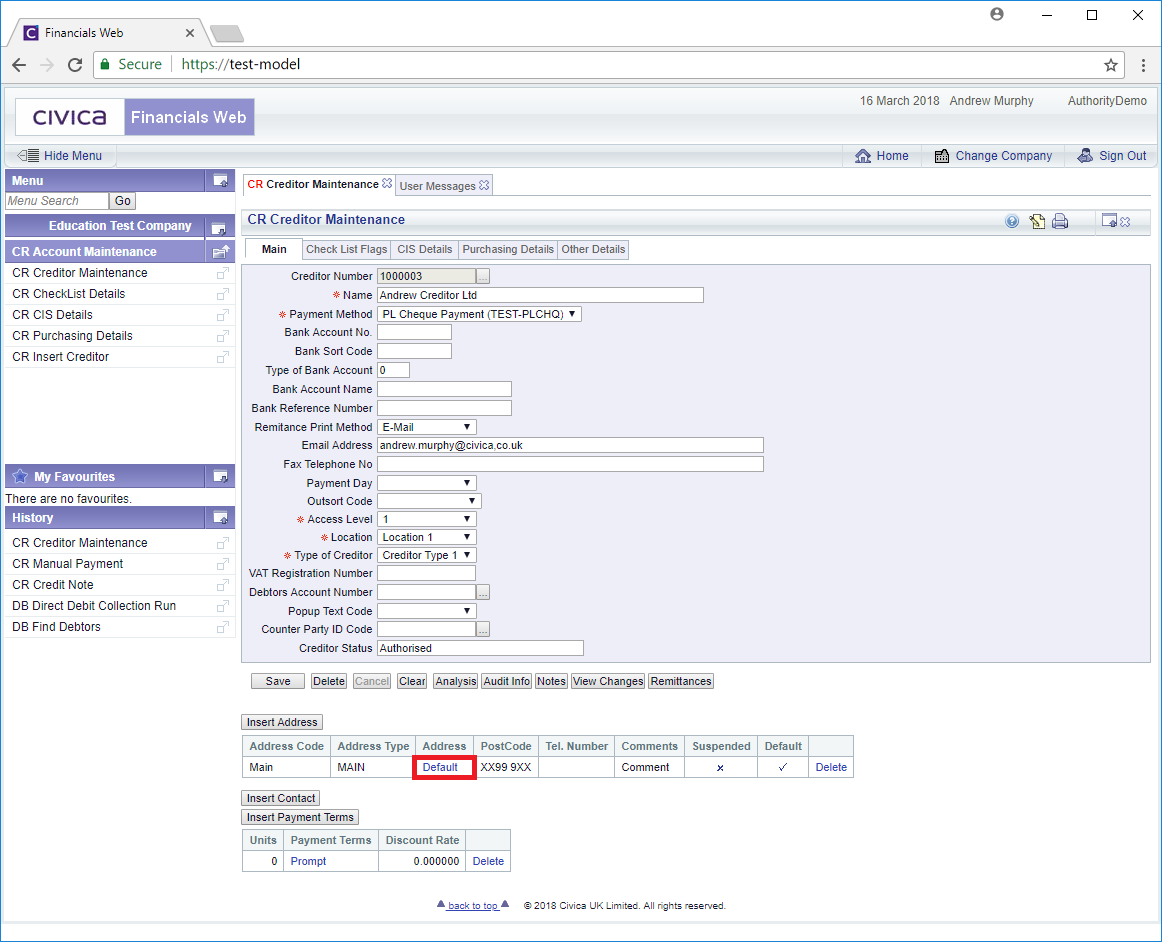
A new Creditor reference number will be created and you will note that new tabs are now displayed at the top of the form with the details from the previous form added to the Main tab. These details can be amended or added to if required, as detailed below.
The Creditor Status field will also be changed from Being Entered to Authorised.
A warning message will also be displayed as a default address has been created for the new Creditor and must be amended. The default address can be amended by clicking on the link in the Address column within the Address Grid:
This is further detailed in the Amending Addresses section.
On the Main tab you can also :
New tabs are available at the top of the form that are further detailed in the Creditors Maintenance tabs section.
Other buttons on the Main tab include the following:
 : Clicking on this button will save any changes made to the Main tab.
 : Clicking on this button will delete the record but only where there are no open items for the Creditor.
- : Clicking on this will return you to the original CR Creditors Maintenance form where you can search for a Creditor or create a new Creditor via the button. Any unsaved changes will be lost.
 : Clicking on this button will allow you to add additional Analysis Codes.
 : Clicking on this button will provide Audit details for the Creditor. This is further detailed in the Audit Info section.
 : Clicking on this button will allow you to add a note to the Creditor. Notes are further detailed in the Notes section.
 : Clicking on this button will open a new window summarising the changes made for the Creditor. Further details are provided in the View Changes section.
 : Selecting this button will allow you to search for any Remittances that have been created for the Creditor. Further details are provided in the Remittances section.