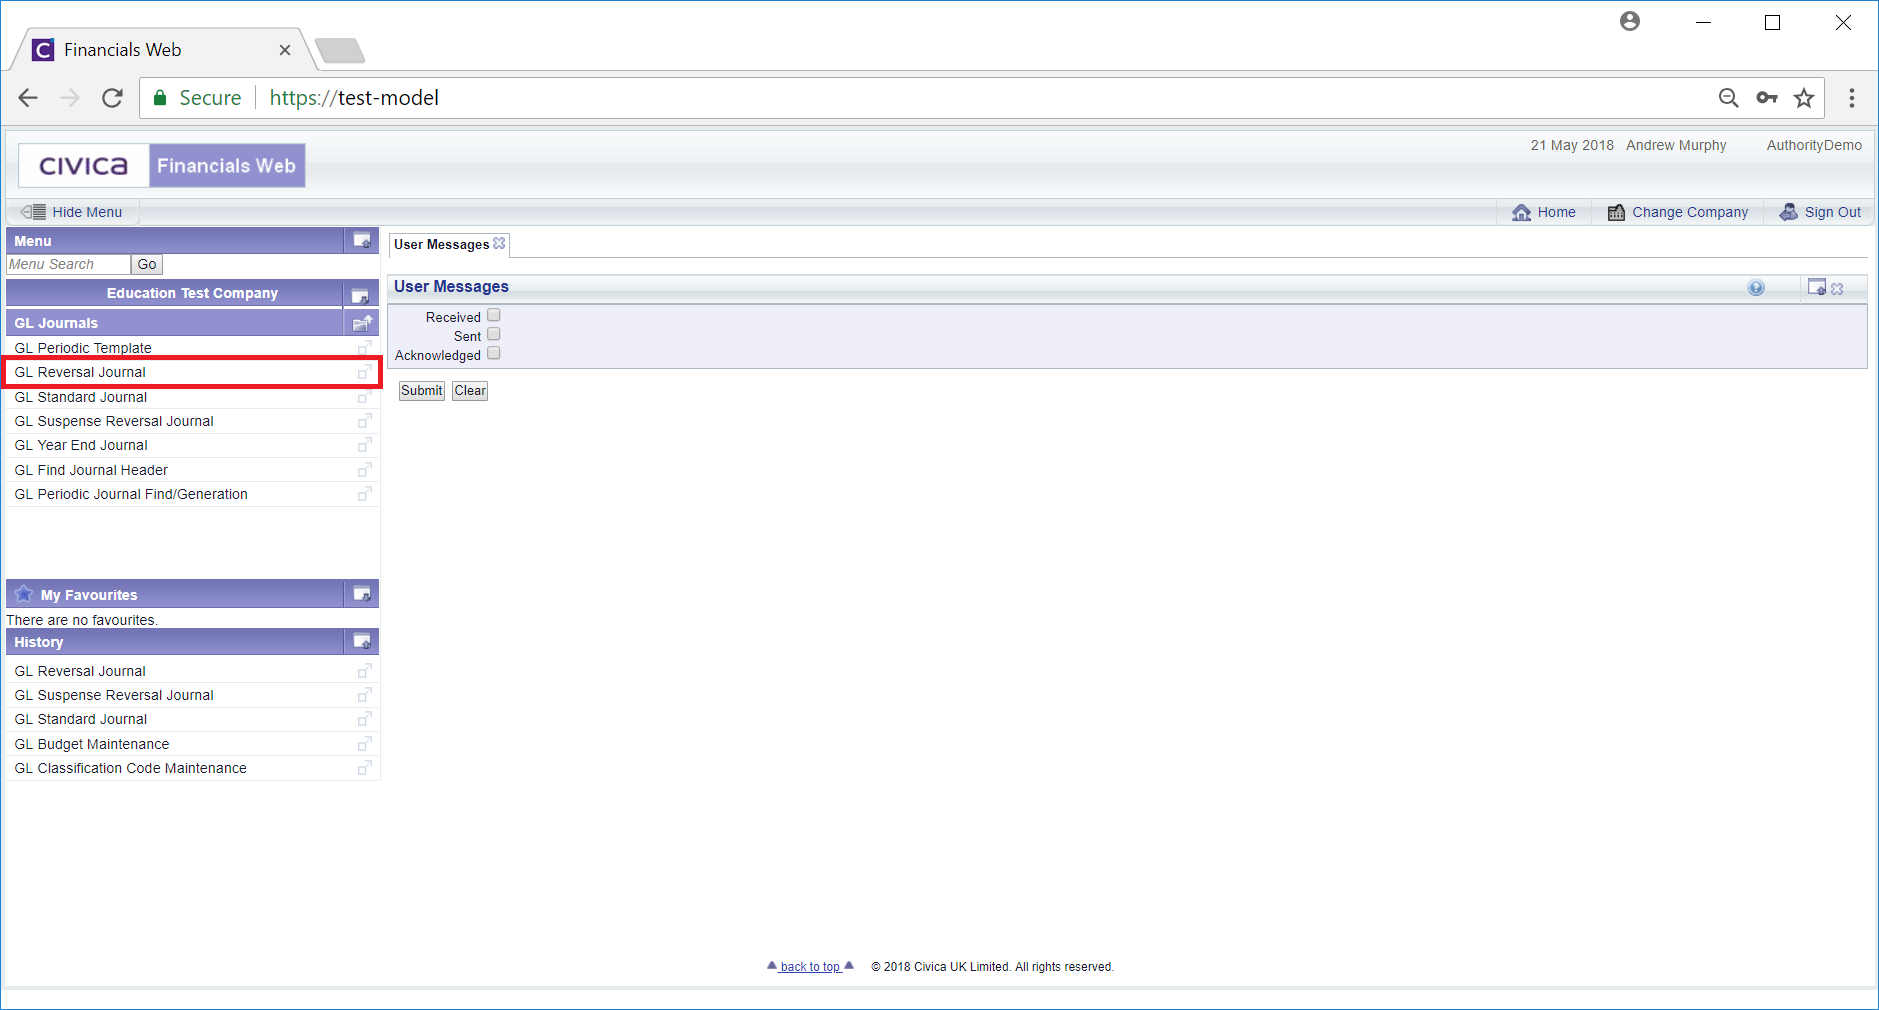
To create a new Reversal Journal select the GL Reversal Journal option from the GL Journals menu:
The GL Reversal Journal form will then be displayed:
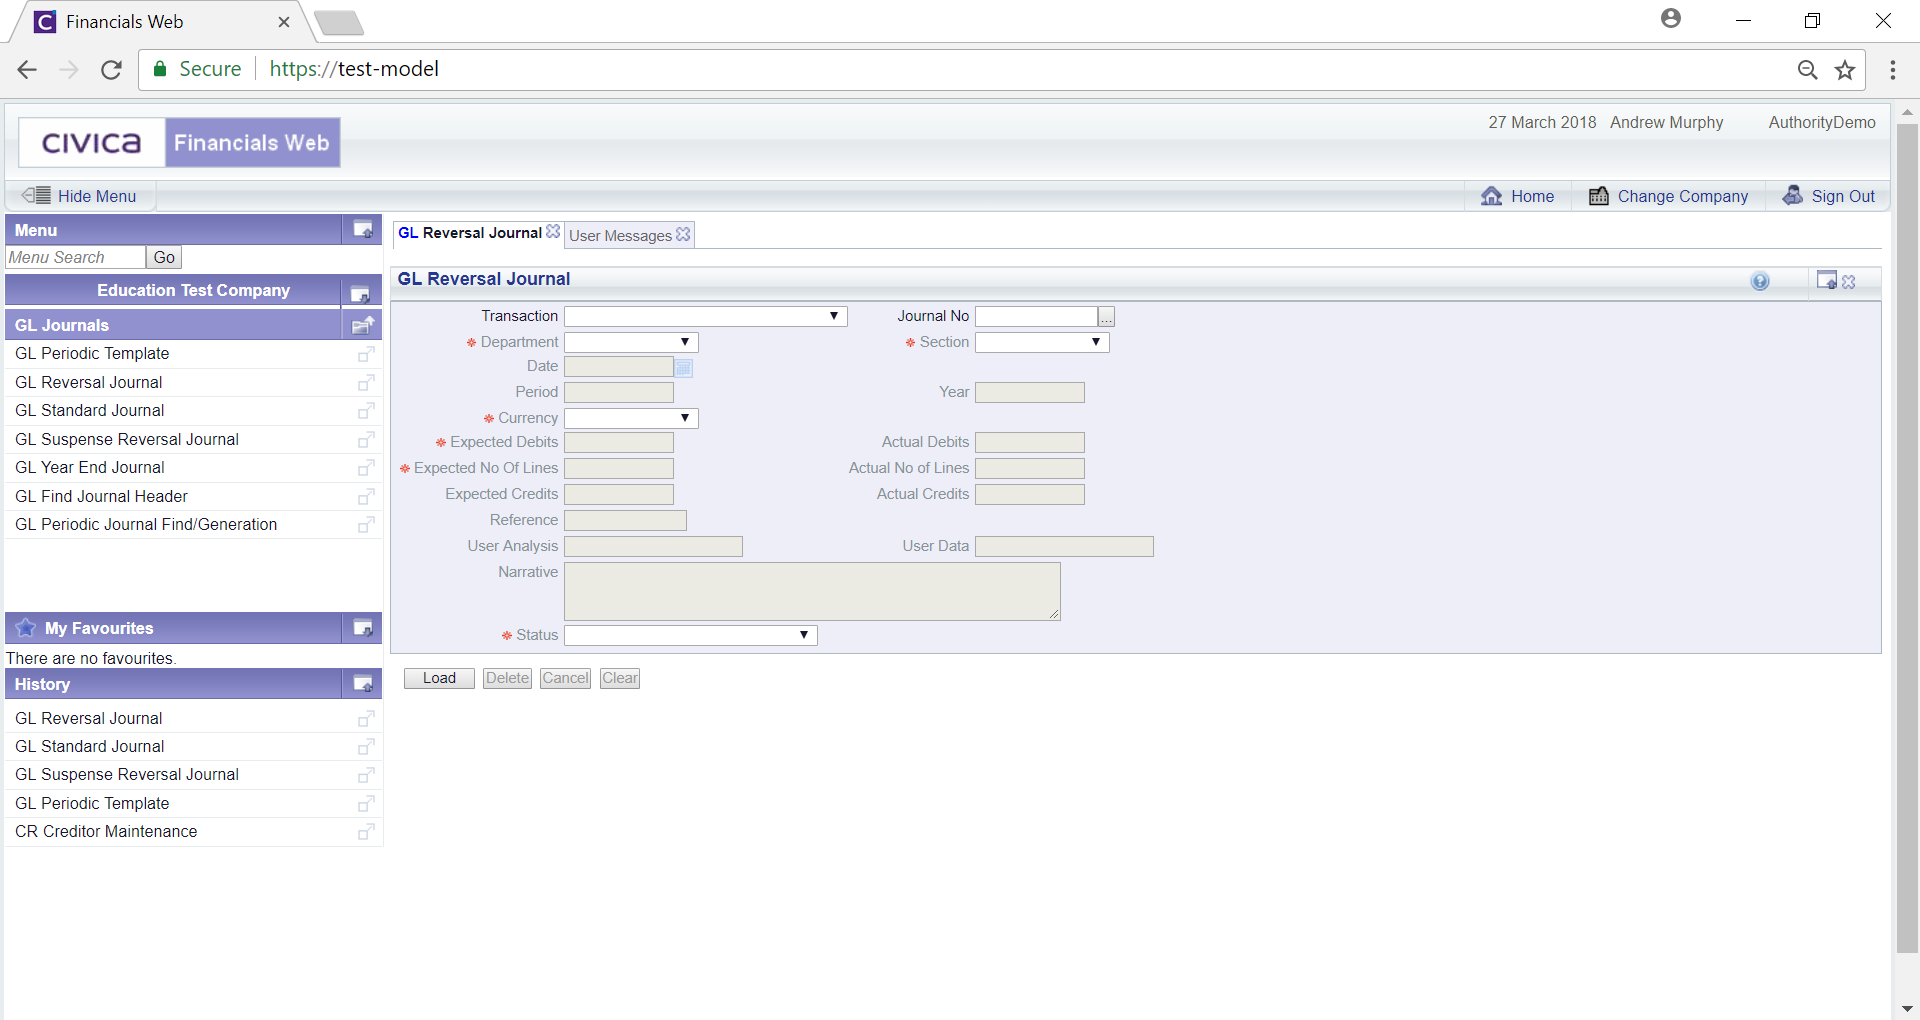
To create a new Reversal Journal select an option from the Transaction field and click on the  button:
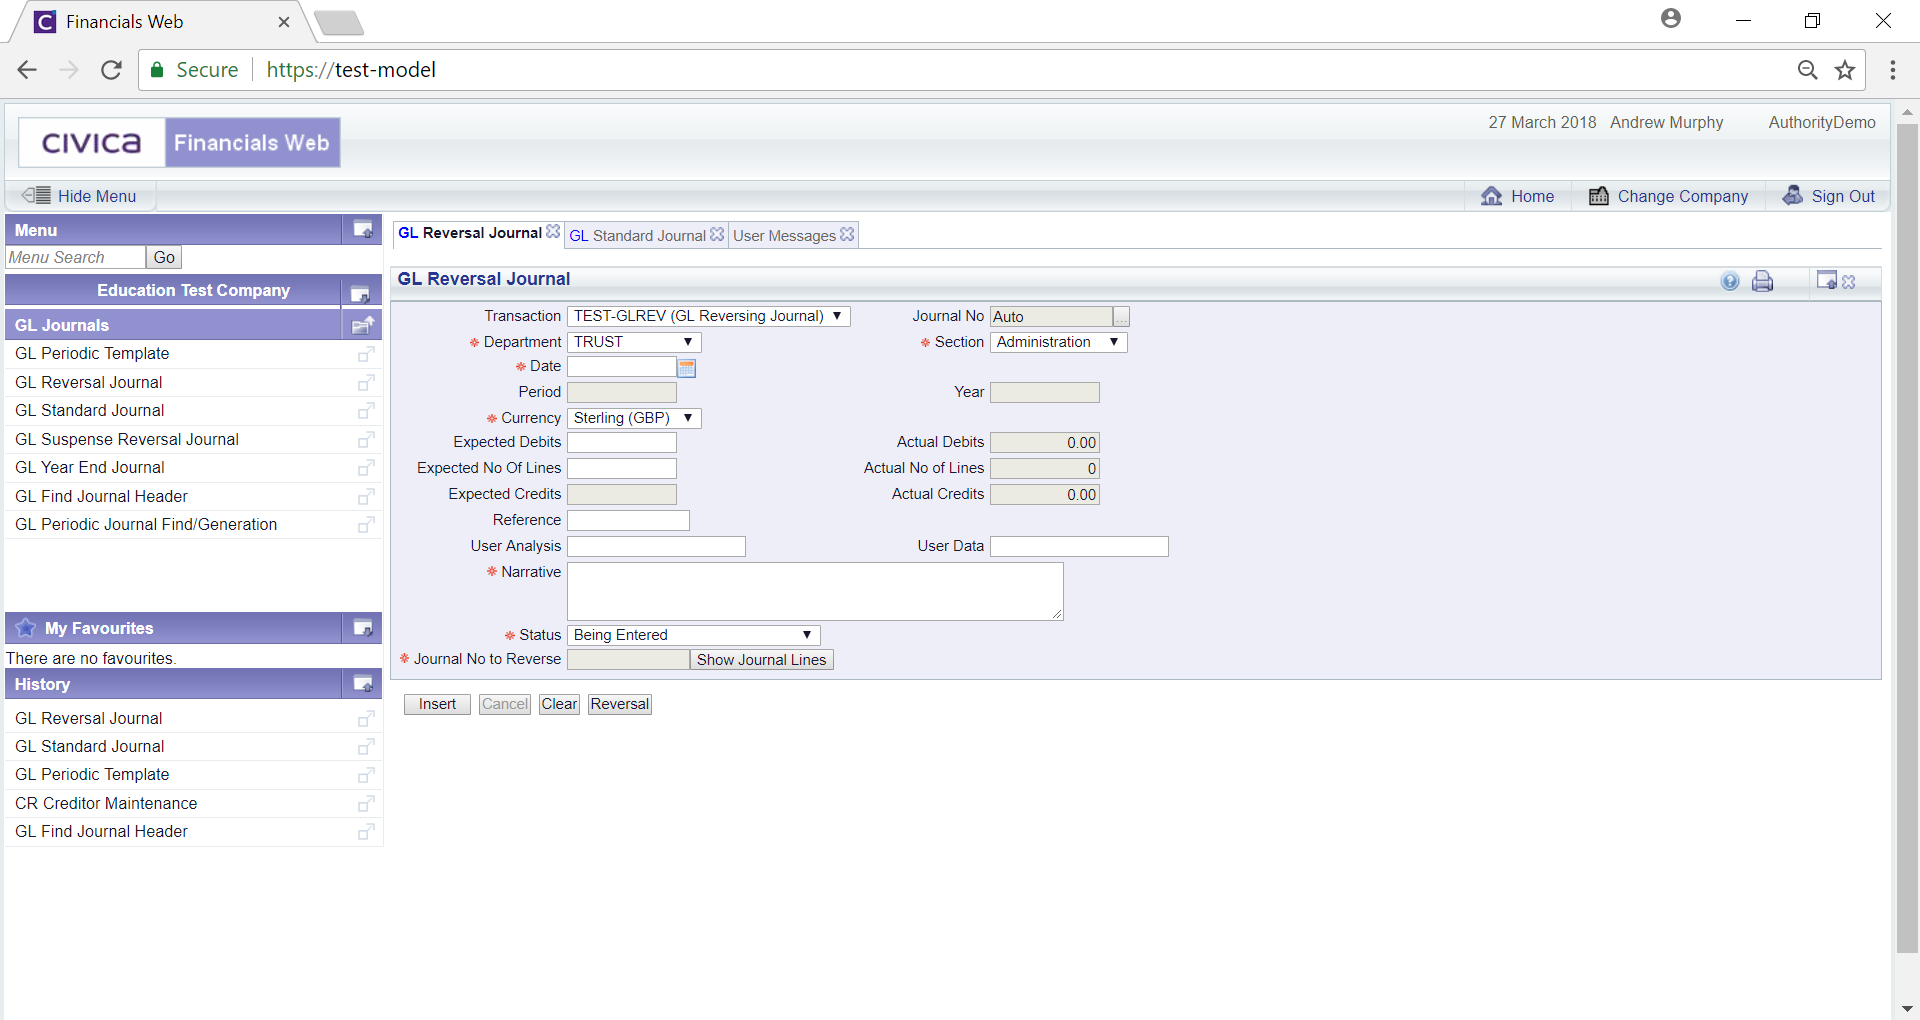
Add further details to any fields that are not greyed out, as required (mandatory fields are notated with a red asterisk *).
Clicking on the ![]() button will clear the form and the initial version of the form will be displayed allowing you to create another Journal or search for, view and amend another Journal.
button will clear the form and the initial version of the form will be displayed allowing you to create another Journal or search for, view and amend another Journal.
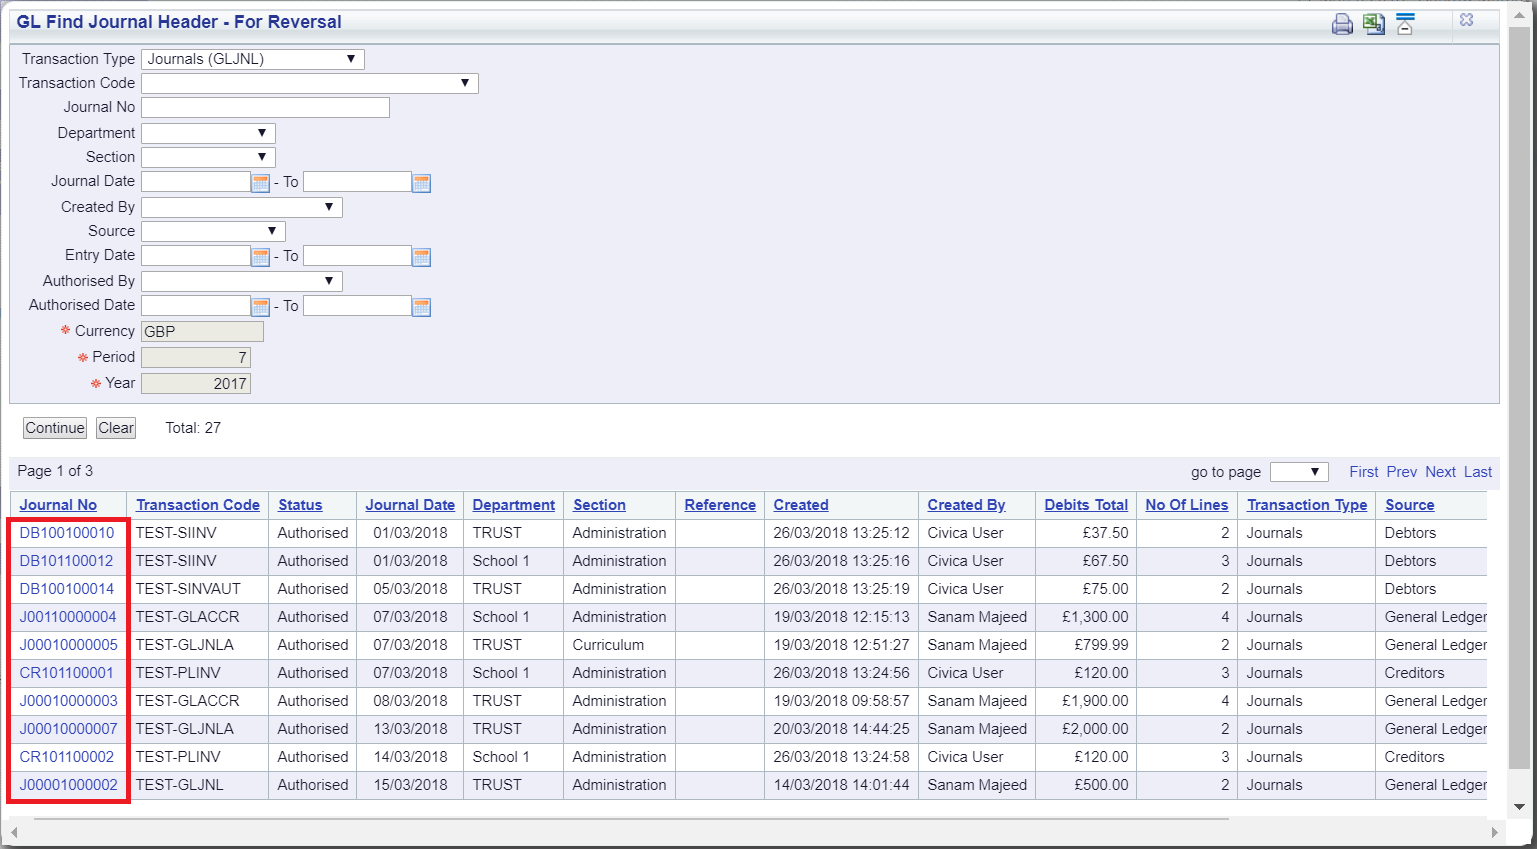
Click on the on  button. This will open a new GL Find Journal Header - For Reversal form:

This for will allow you to search for the Journal that is required to be reversed.
Add the search criteria to the relevant fields and click on the  button. A Grid will then be displayed at the bottom of the form:
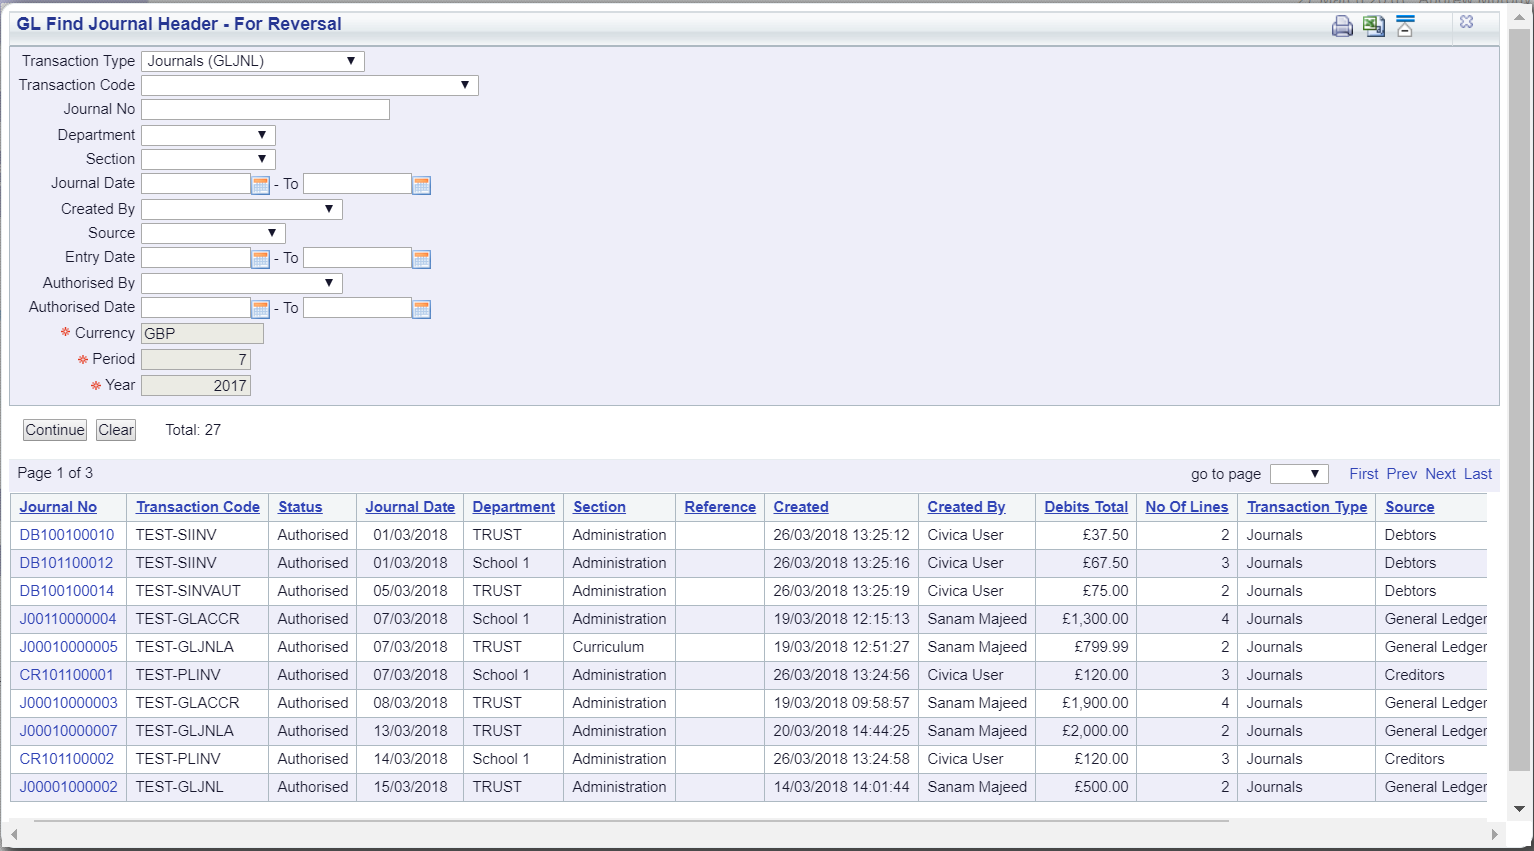
Select the required Journal to be reversed by clicking on the link in the Journal No column:
You will be directed back to the GL Reversal Journal form and the Journal just selected will be in the Journal No to Reverse field near the bottom of the form:
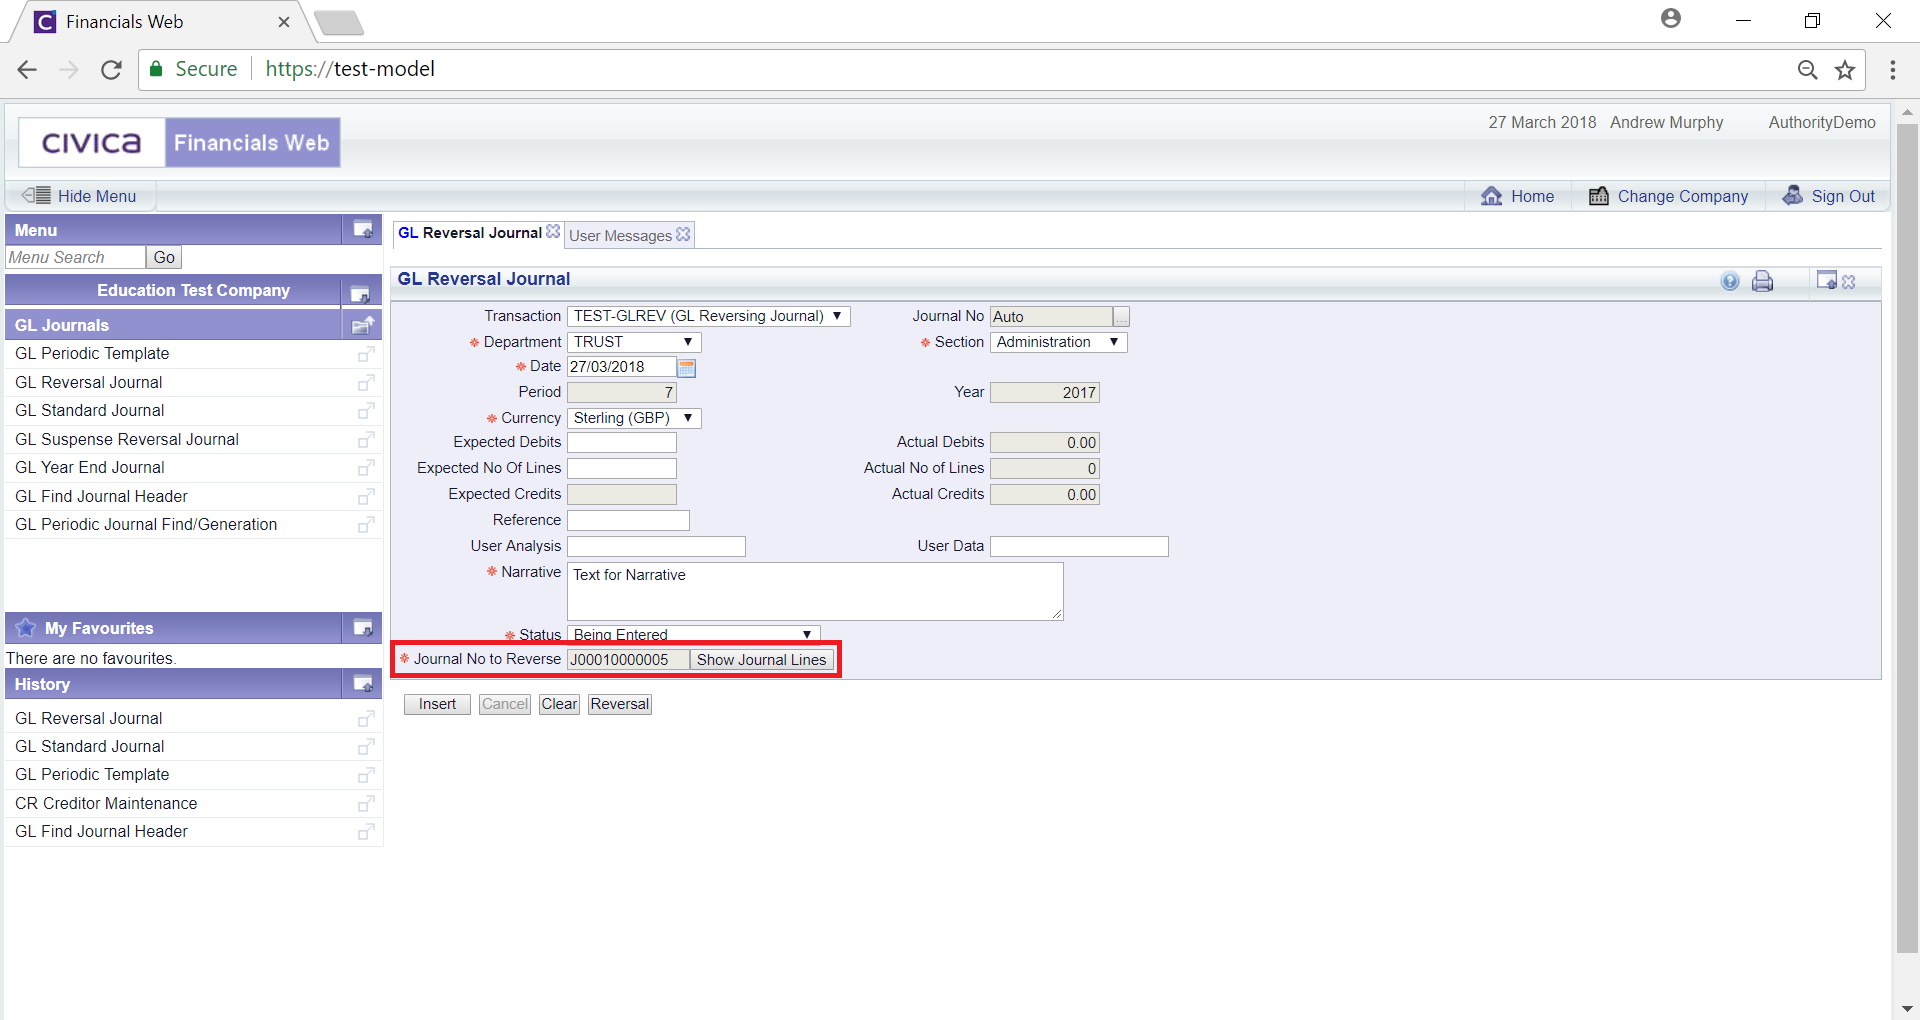
Clicking on the  button adjacent to this field will display all the lines for the Journal:

To create the Reverse Journal click on the  button and the lines will appear in a Grid at the bottom of the form:
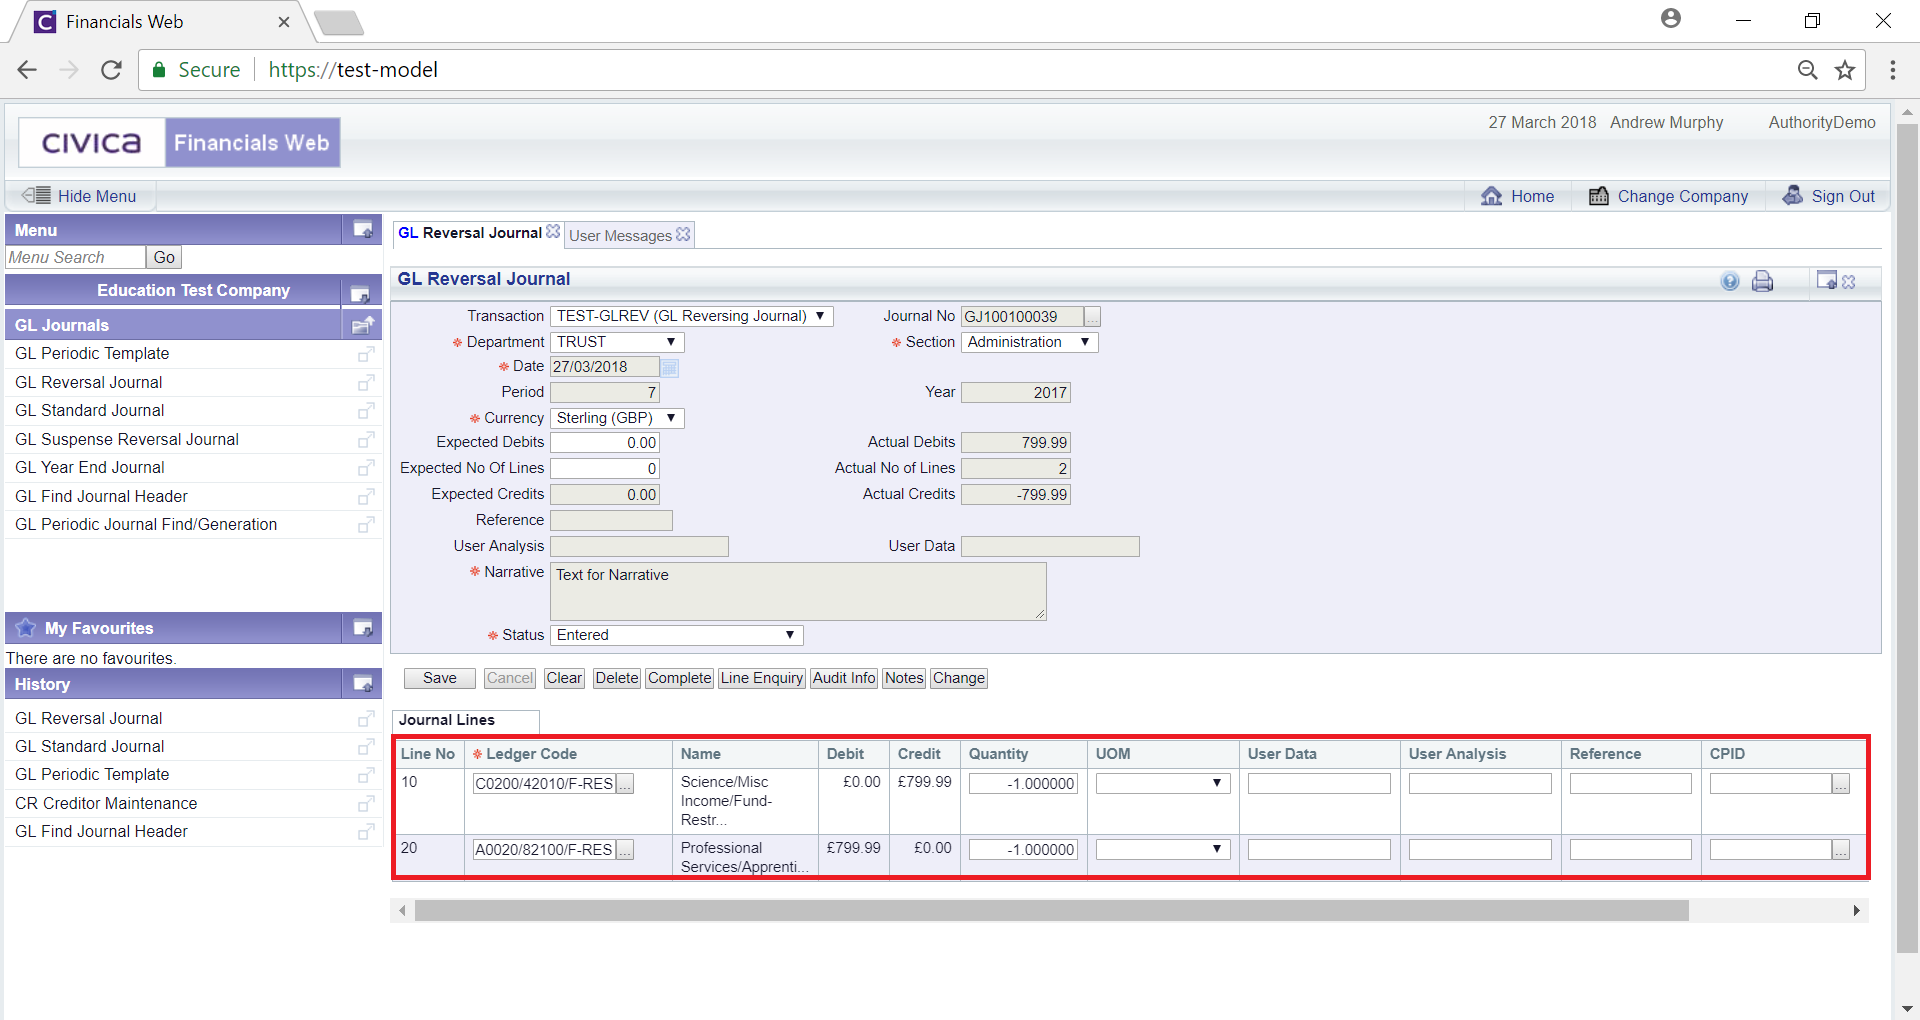
The following additional buttons will be available:
 : Click on this button to save any further changes to the form.
 : Click on this button to delete the Reversal Journal.
 : Click on the button to complete the Reverse Journal and if it does not need to be authorised the Status field will change to
  . If the Journal does need to be authorised the Status field will be changed to:
 : Clicking on this button will open a GL Journals Line screen providing full details of all the Lines in the Grid.
 : Click on this button to see audit details of the Reversal Journal on the Audit Info screen. This is further detailed in the Audit Info section.
 : Click on this button to add a note for the Reversal Journal. Notes are further detailed in the Notes section.